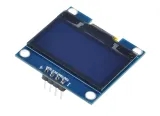
SKU: OT8682 Artikelnummer: OT8682 EAN: 8721244302898
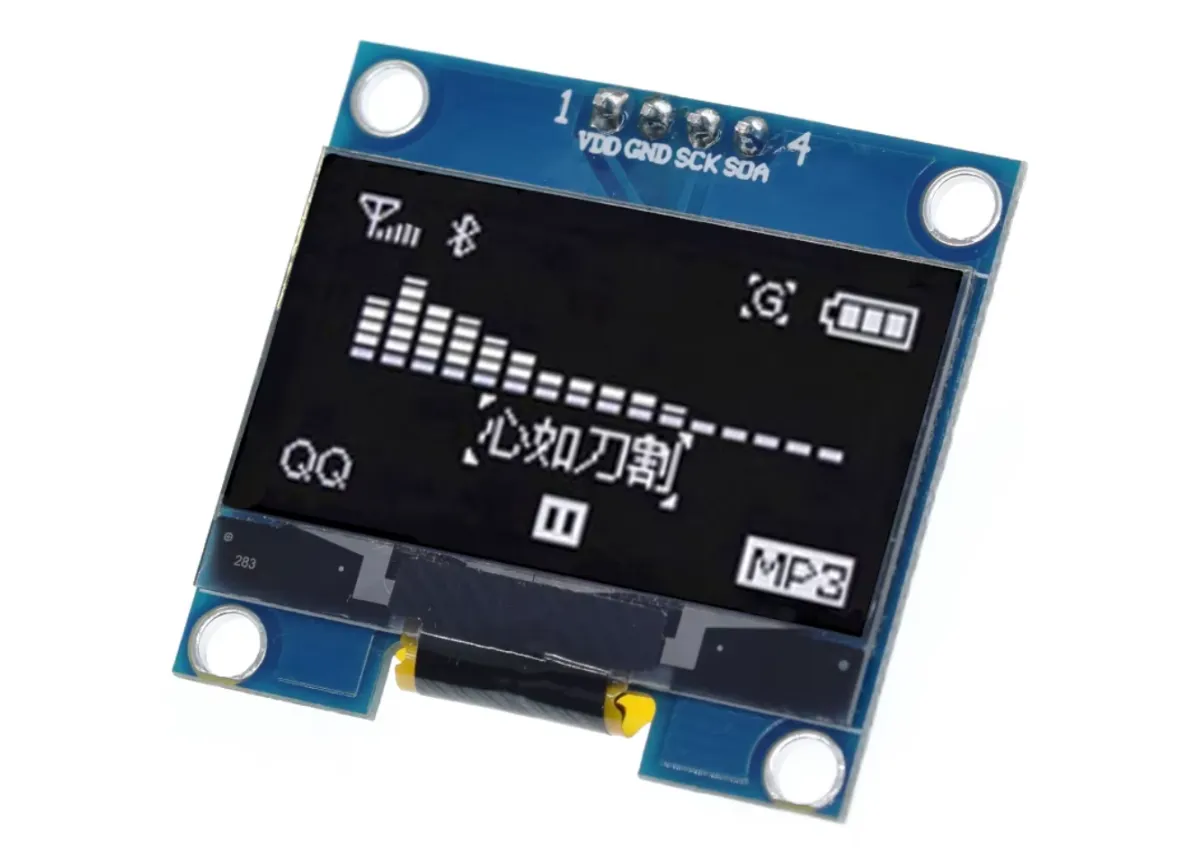
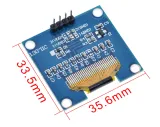
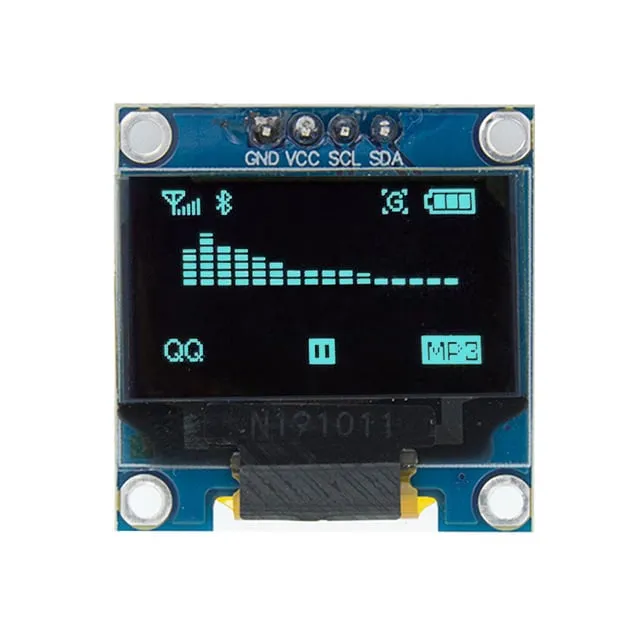
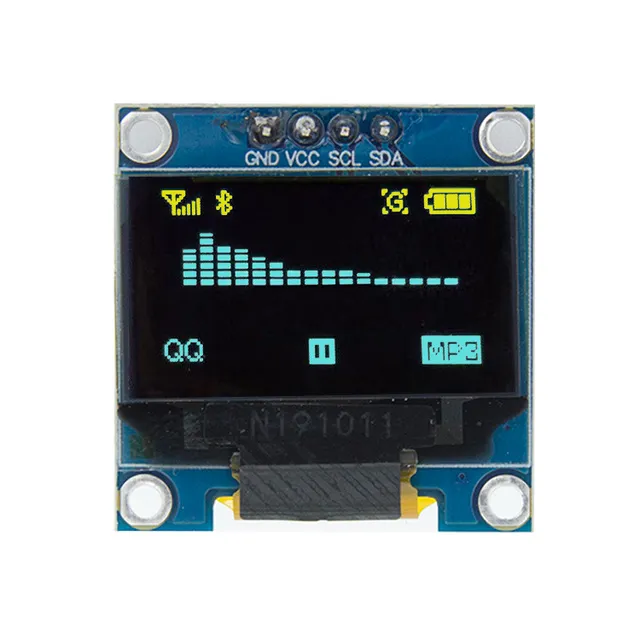
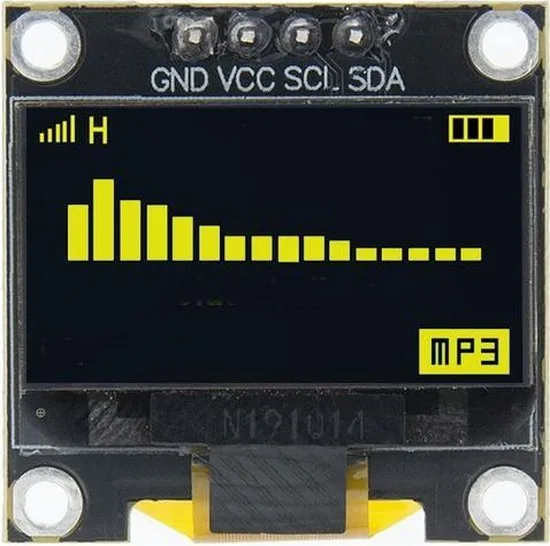
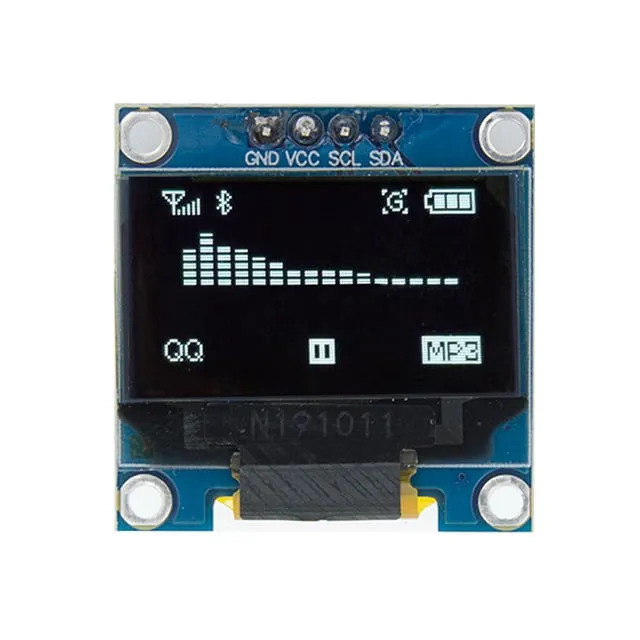
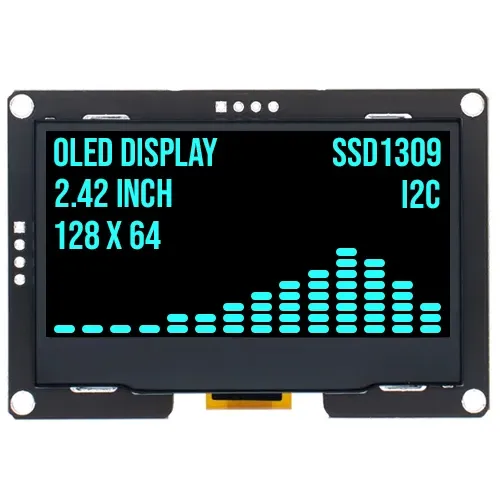
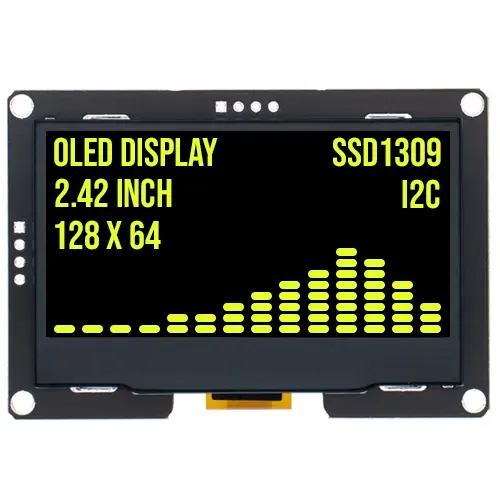
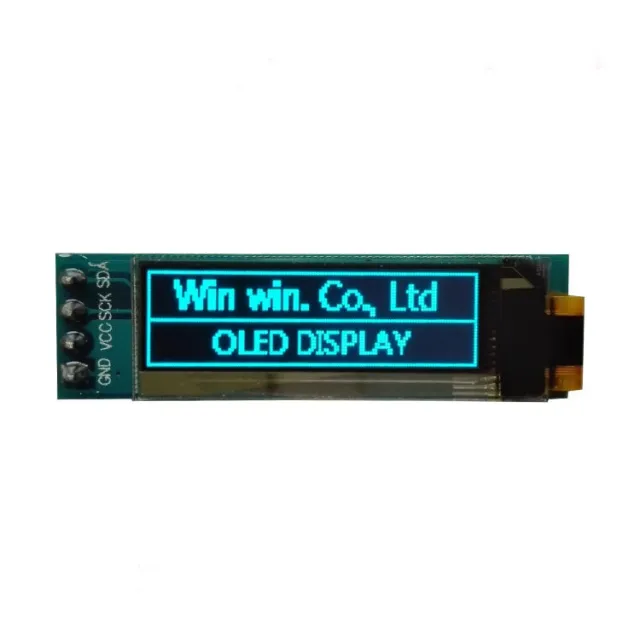
Dieses kompakte OLED-Display hat eine Diagonale von 1.3 inch und eine Auflösung von 128x64 Pixeln. Dank der weißen Darstellung ist der Bildschirm unter verschiedenen Lichtverhältnissen gut lesbar.
Das Display ist ideal für Projekte, bei denen ein helles und scharfes Display mit einer einfachen I2C-Verbindung benötigt wird. Die breite Betriebsspannung und der robuste Temperaturbereich machen es für verschiedene Anwendungen geeignet.
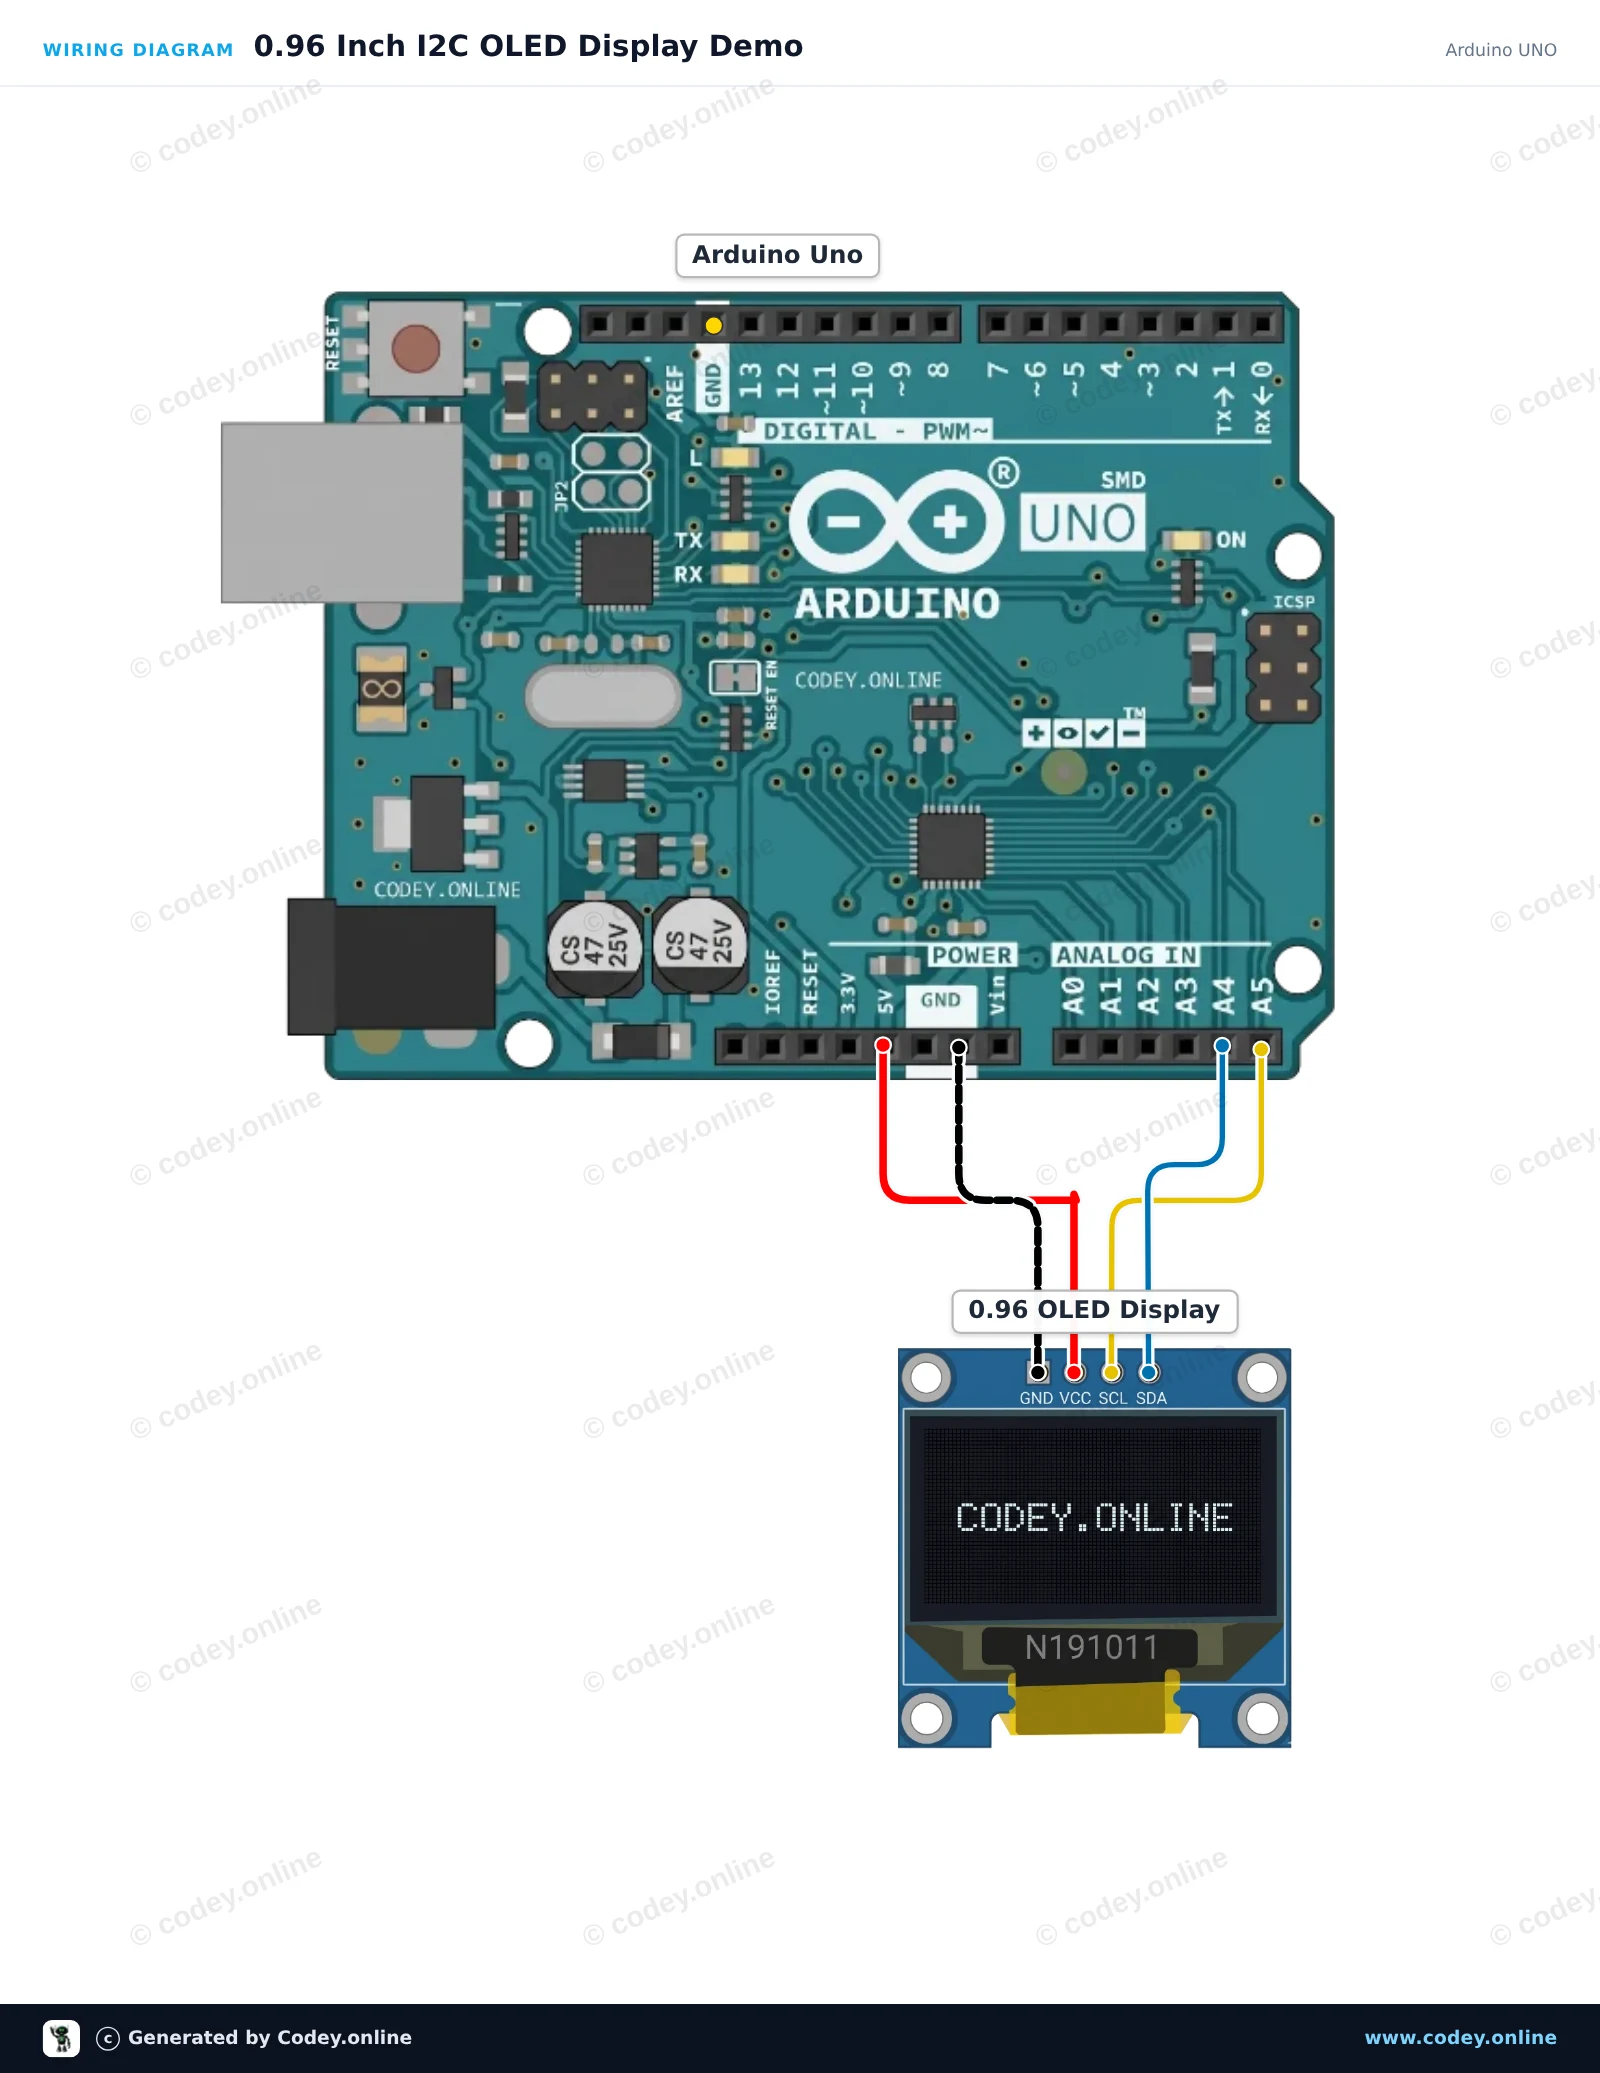
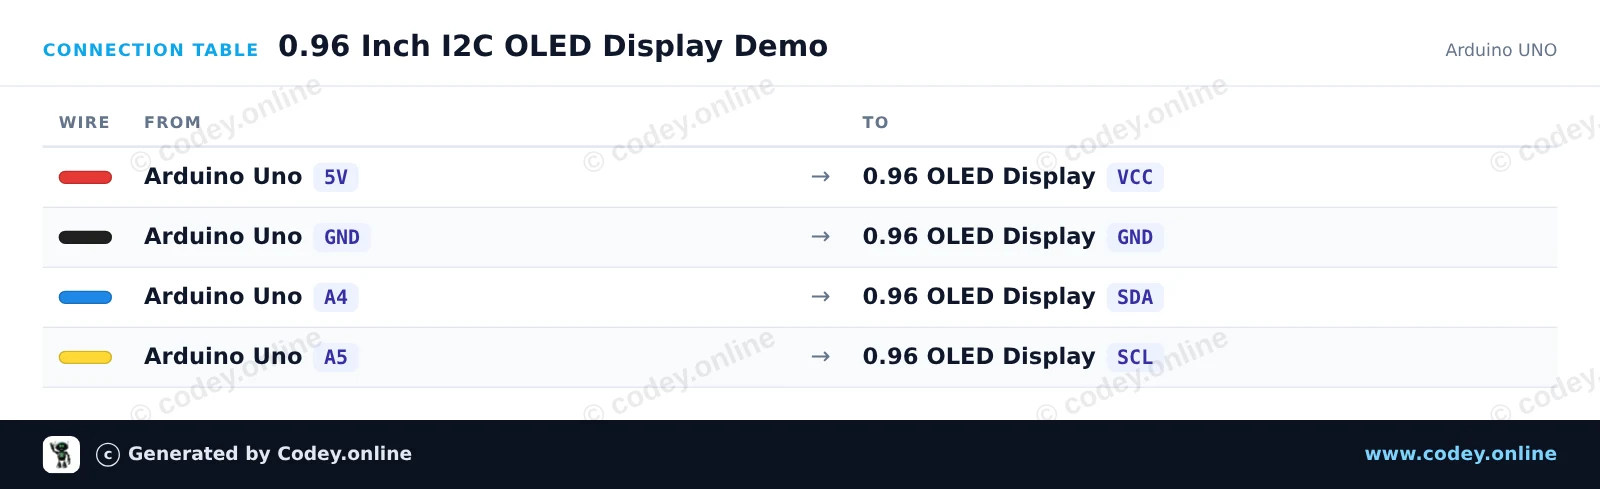
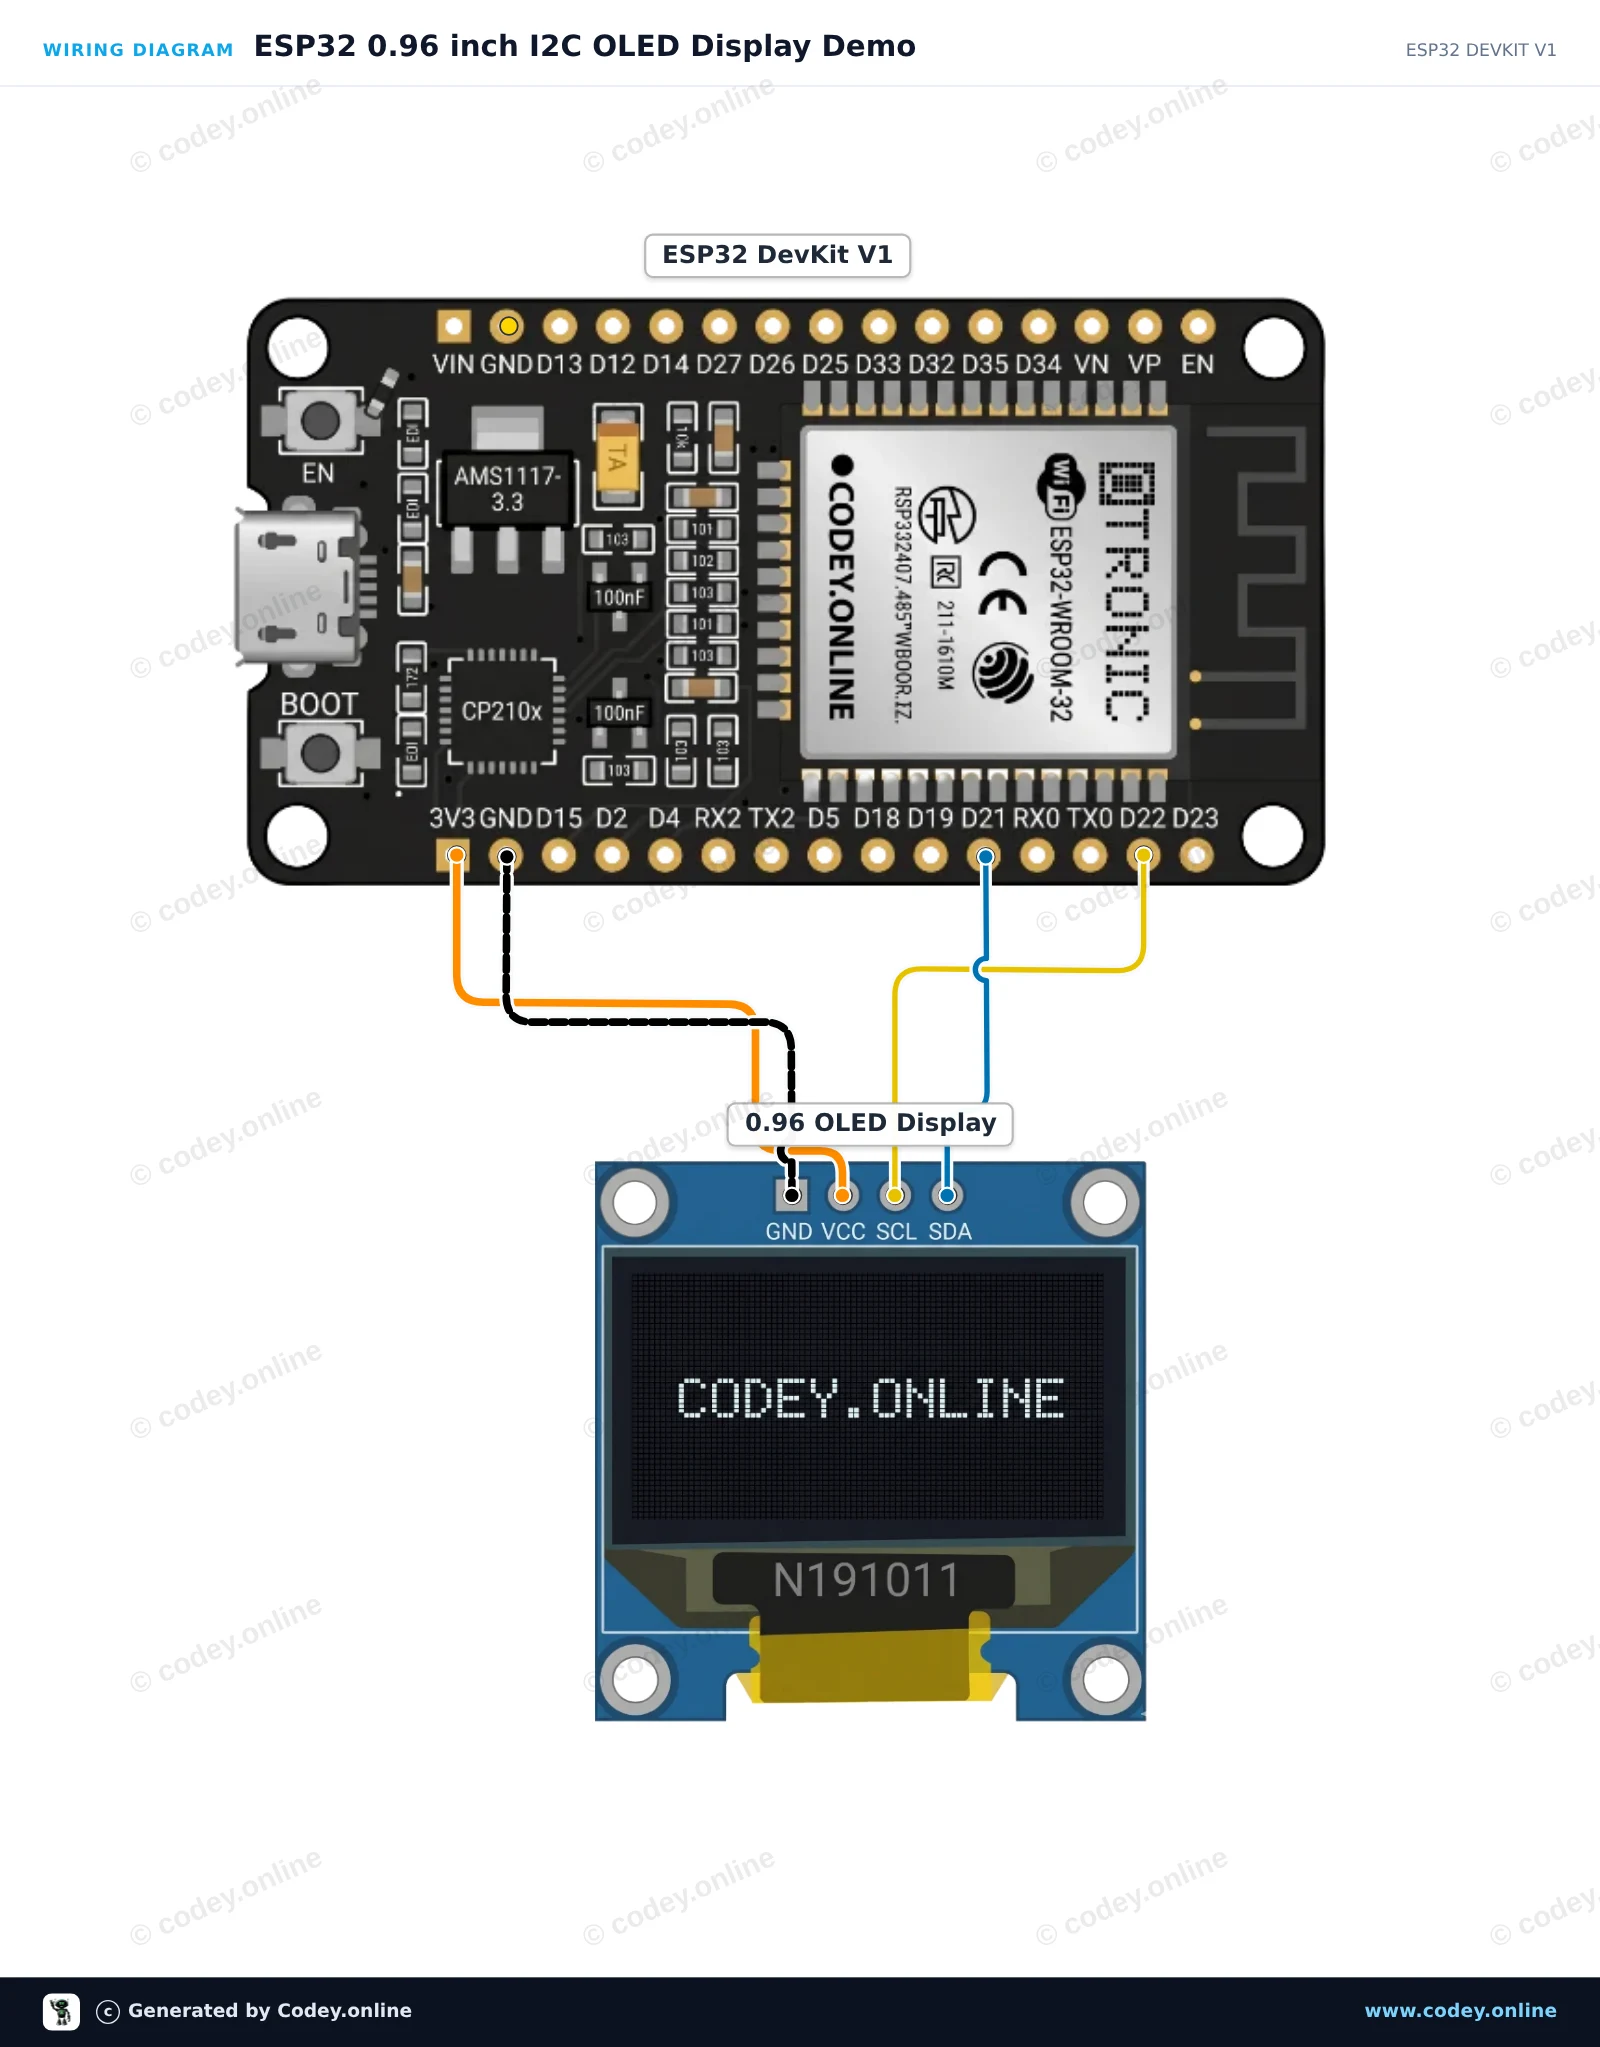
So schließt du den Mini OLED-Display weiß 1.3 inch 128x64 I2C an einen Arduino UNO oder ESP32 an, mit einem Beispiel-Sketch, den du direkt hochladen kannst.
Dieses Projekt zeigt, wie man Text, Grafiken und einen Zähler auf einem 0.96-inch I2C-OLED-Display mit einem Arduino Uno anschließt und anzeigt. Der Sketch verwendet die schlanke U8g2-Bibliothek, um einen Titel, eine Trennlinie und einen hochzählenden Zähler darzustellen.
/*
 * ==================================================================
 *  Generated by Codey.online  —  https://www.codey.online
 * ==================================================================
 *  Project   : 0.96 Inch I2C OLED Display Demo
 *  Board     : Arduino UNO (arduino:avr:uno)
 *  Parts     : OLED Display 0.96 inch
 *  Libraries : U8g2 2.36.19
 *
 *  Codey Online is an AI-powered browser IDE for Arduino and ESP32.
 *  Describe your project and Codey writes the code, draws the wiring
 *  diagram and uploads it to your board, straight from the browser.
 *  This code is free to use, modify and share, without warranty.
 * ==================================================================
 */

#include <Wire.h>
#include <U8g2lib.h>

// Initialize U8g2 for 128x64 SSD1306 OLED using hardware I2C
U8G2_SSD1306_128X64_NONAME_1_HW_I2C u8g2(U8G2_R0, /* reset=*/ U8X8_PIN_NONE);

int counter = 0;

void setup() {
  Serial.begin(115200);
  u8g2.begin();
  Serial.println(F("OLED display initialized."));
}

void loop() {
  u8g2.firstPage();
  do {
    // Header
    u8g2.setFont(u8g2_font_ncenB08_tr);
    u8g2.drawStr(0, 12, "Arduino Uno + OLED");

    // Dividing line
    u8g2.drawLine(0, 16, 127, 16);

    // Counter value
    u8g2.setFont(u8g2_font_ncenB12_tr);
    u8g2.setCursor(0, 40);
    u8g2.print(F("Count: "));
    u8g2.print(counter);

    // Footer / status
    u8g2.setFont(u8g2_font_6x10_tr);
    u8g2.drawStr(0, 58, "Status: Running");
  } while (u8g2.nextPage());

  counter++;
  delay(1000);
}Benötigte Bibliotheken: U8g2 2.36.19
Wiring diagram and example code generated by Codey.online — https://www.codey.online
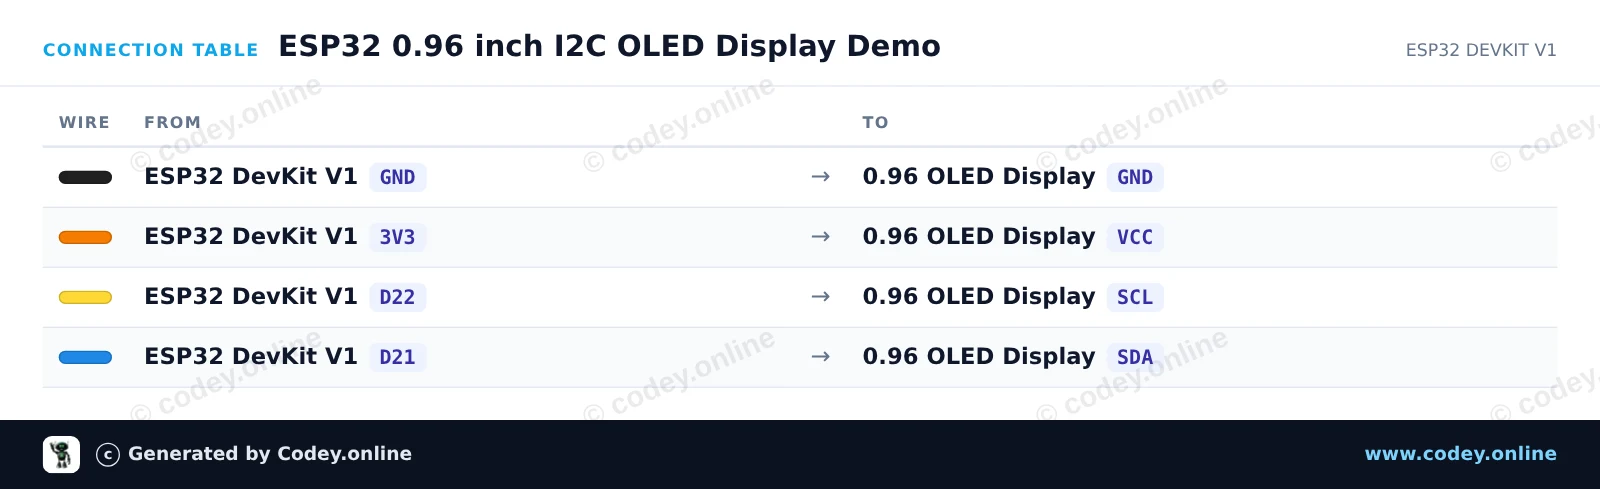
Dieses Projekt zeigt, wie man ein 0.96-inch I2C OLED-Display an einen ESP32 anschließt. Das Display initialisiert mit den Standard-I2C-Pins (GPIO 21 für SDA, GPIO 22 für SCL) und zeigt einen Begrüßungstext sowie einen laufend aktualisierten Live-Zähler an.
/*
 * ==================================================================
 *  Generated by Codey.online  —  https://www.codey.online
 * ==================================================================
 *  Project   : ESP32 0.96 inch I2C OLED Display Demo
 *  Board     : ESP32 DEVKIT V1 (esp32:esp32:esp32doit-devkit-v1)
 *  Parts     : OLED Display 0.96 inch
 *  Libraries : Adafruit SSD1306 2.5.16, Adafruit GFX Library 1.12.6
 *
 *  Codey Online is an AI-powered browser IDE for Arduino and ESP32.
 *  Describe your project and Codey writes the code, draws the wiring
 *  diagram and uploads it to your board, straight from the browser.
 *  This code is free to use, modify and share, without warranty.
 * ==================================================================
 */

#include <Wire.h>
#include <Adafruit_GFX.h>
#include <Adafruit_SSD1306.h>

#define SCREEN_WIDTH 128
#define SCREEN_HEIGHT 64
#define OLED_RESET    -1
#define SCREEN_ADDRESS 0x3C

Adafruit_SSD1306 display(SCREEN_WIDTH, SCREEN_HEIGHT, &Wire, OLED_RESET);

int counter = 0;

void setup() {
  Serial.begin(115200);

  // Default ESP32 I2C pins: SDA = GPIO 21, SCL = GPIO 22
  Wire.begin(21, 22);

  if (!display.begin(SSD1306_SWITCHCAPVCC, SCREEN_ADDRESS)) {
    Serial.println(F("SSD1306 allocation failed"));
    while (true);
  }

  display.clearDisplay();
  display.setTextColor(SSD1306_WHITE);
  display.setTextSize(1);
  display.setCursor(0, 0);
  display.println(F("ESP32 OLED Demo"));
  display.display();
  delay(1500);
}

void loop() {
  display.clearDisplay();

  display.setTextSize(1);
  display.setCursor(0, 0);
  display.println(F("ESP32 + SSD1306"));

  display.drawLine(0, 12, display.width(), 12, SSD1306_WHITE);

  display.setCursor(0, 20);
  display.print(F("Counter: "));
  display.setTextSize(2);
  display.setCursor(0, 36);
  display.print(counter);

  display.display();

  counter++;
  delay(1000);
}Benötigte Bibliotheken: Adafruit SSD1306 2.5.16, Adafruit GFX Library 1.12.6
Wiring diagram and example code generated by Codey.online — https://www.codey.online





 English
  Nederlands
  Frans
Frans  Italiano
  Español
  Suomi
Suomi  Polski
  Dansk
Dansk  Ελληνικά
  Български
  Čeština
  Hrvatski
  Aileen