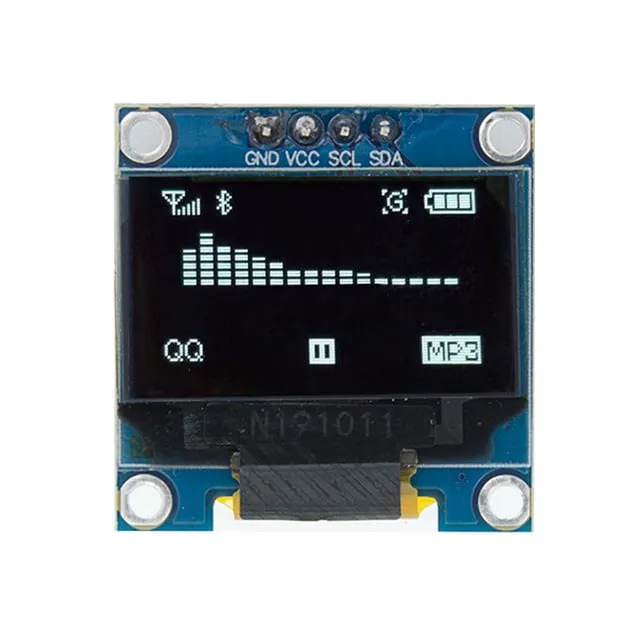
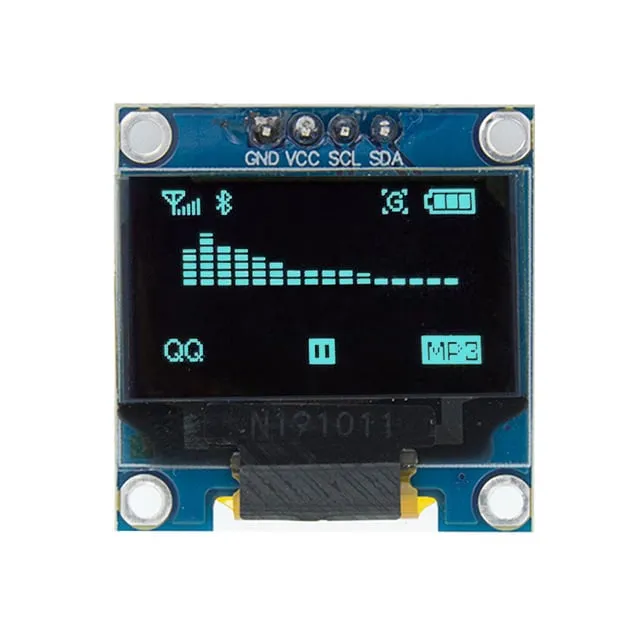
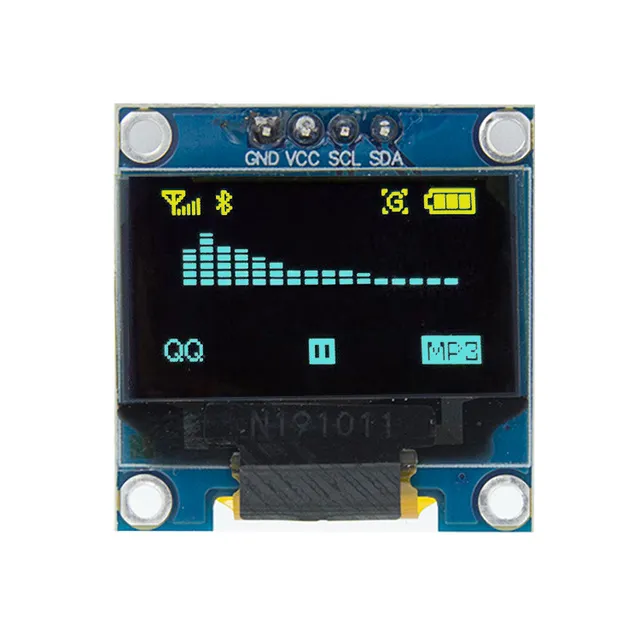
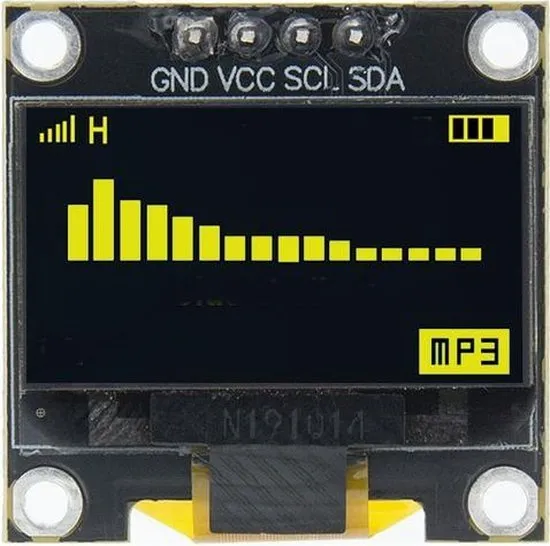
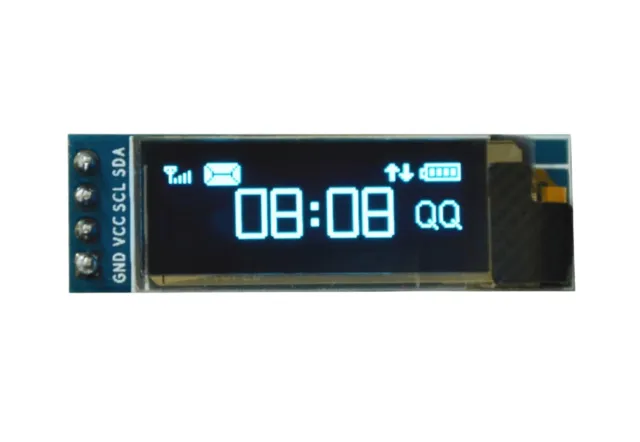
Mini-OLED-Display für Arduino- und ESP32/ESP8266-Projekte mit scharfem 128x64-Bild.
SKU: OT822-C66 Artikelnummer: AA413 EAN: 2268898153460 Lagerort: C06.06
Alternative
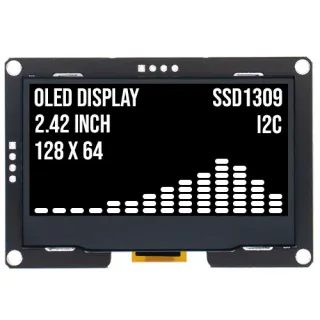
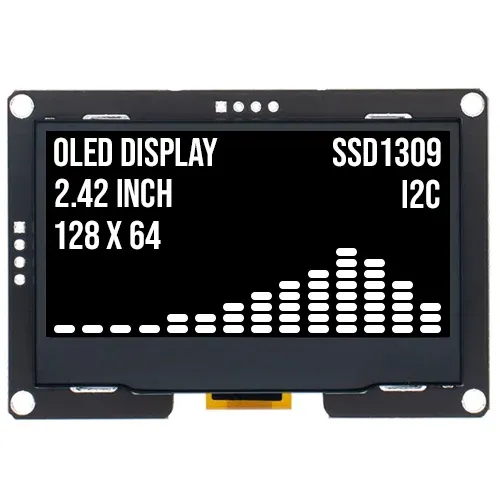
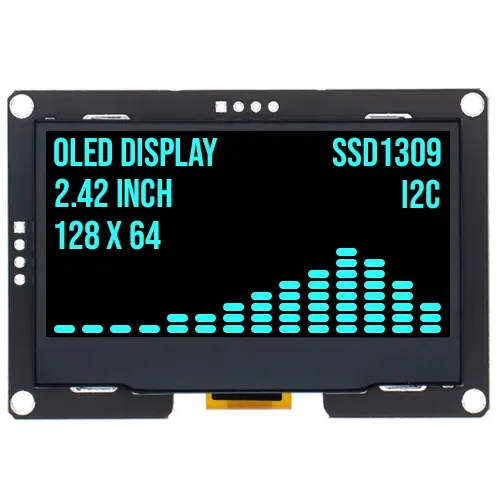
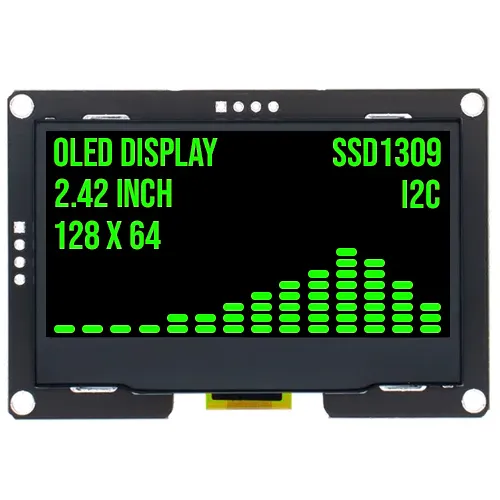
2.4 inch OLED-Display 128x64 Weiß I2C SSD1309 3.3V
€ 17,70
Diese Alternative ansehen
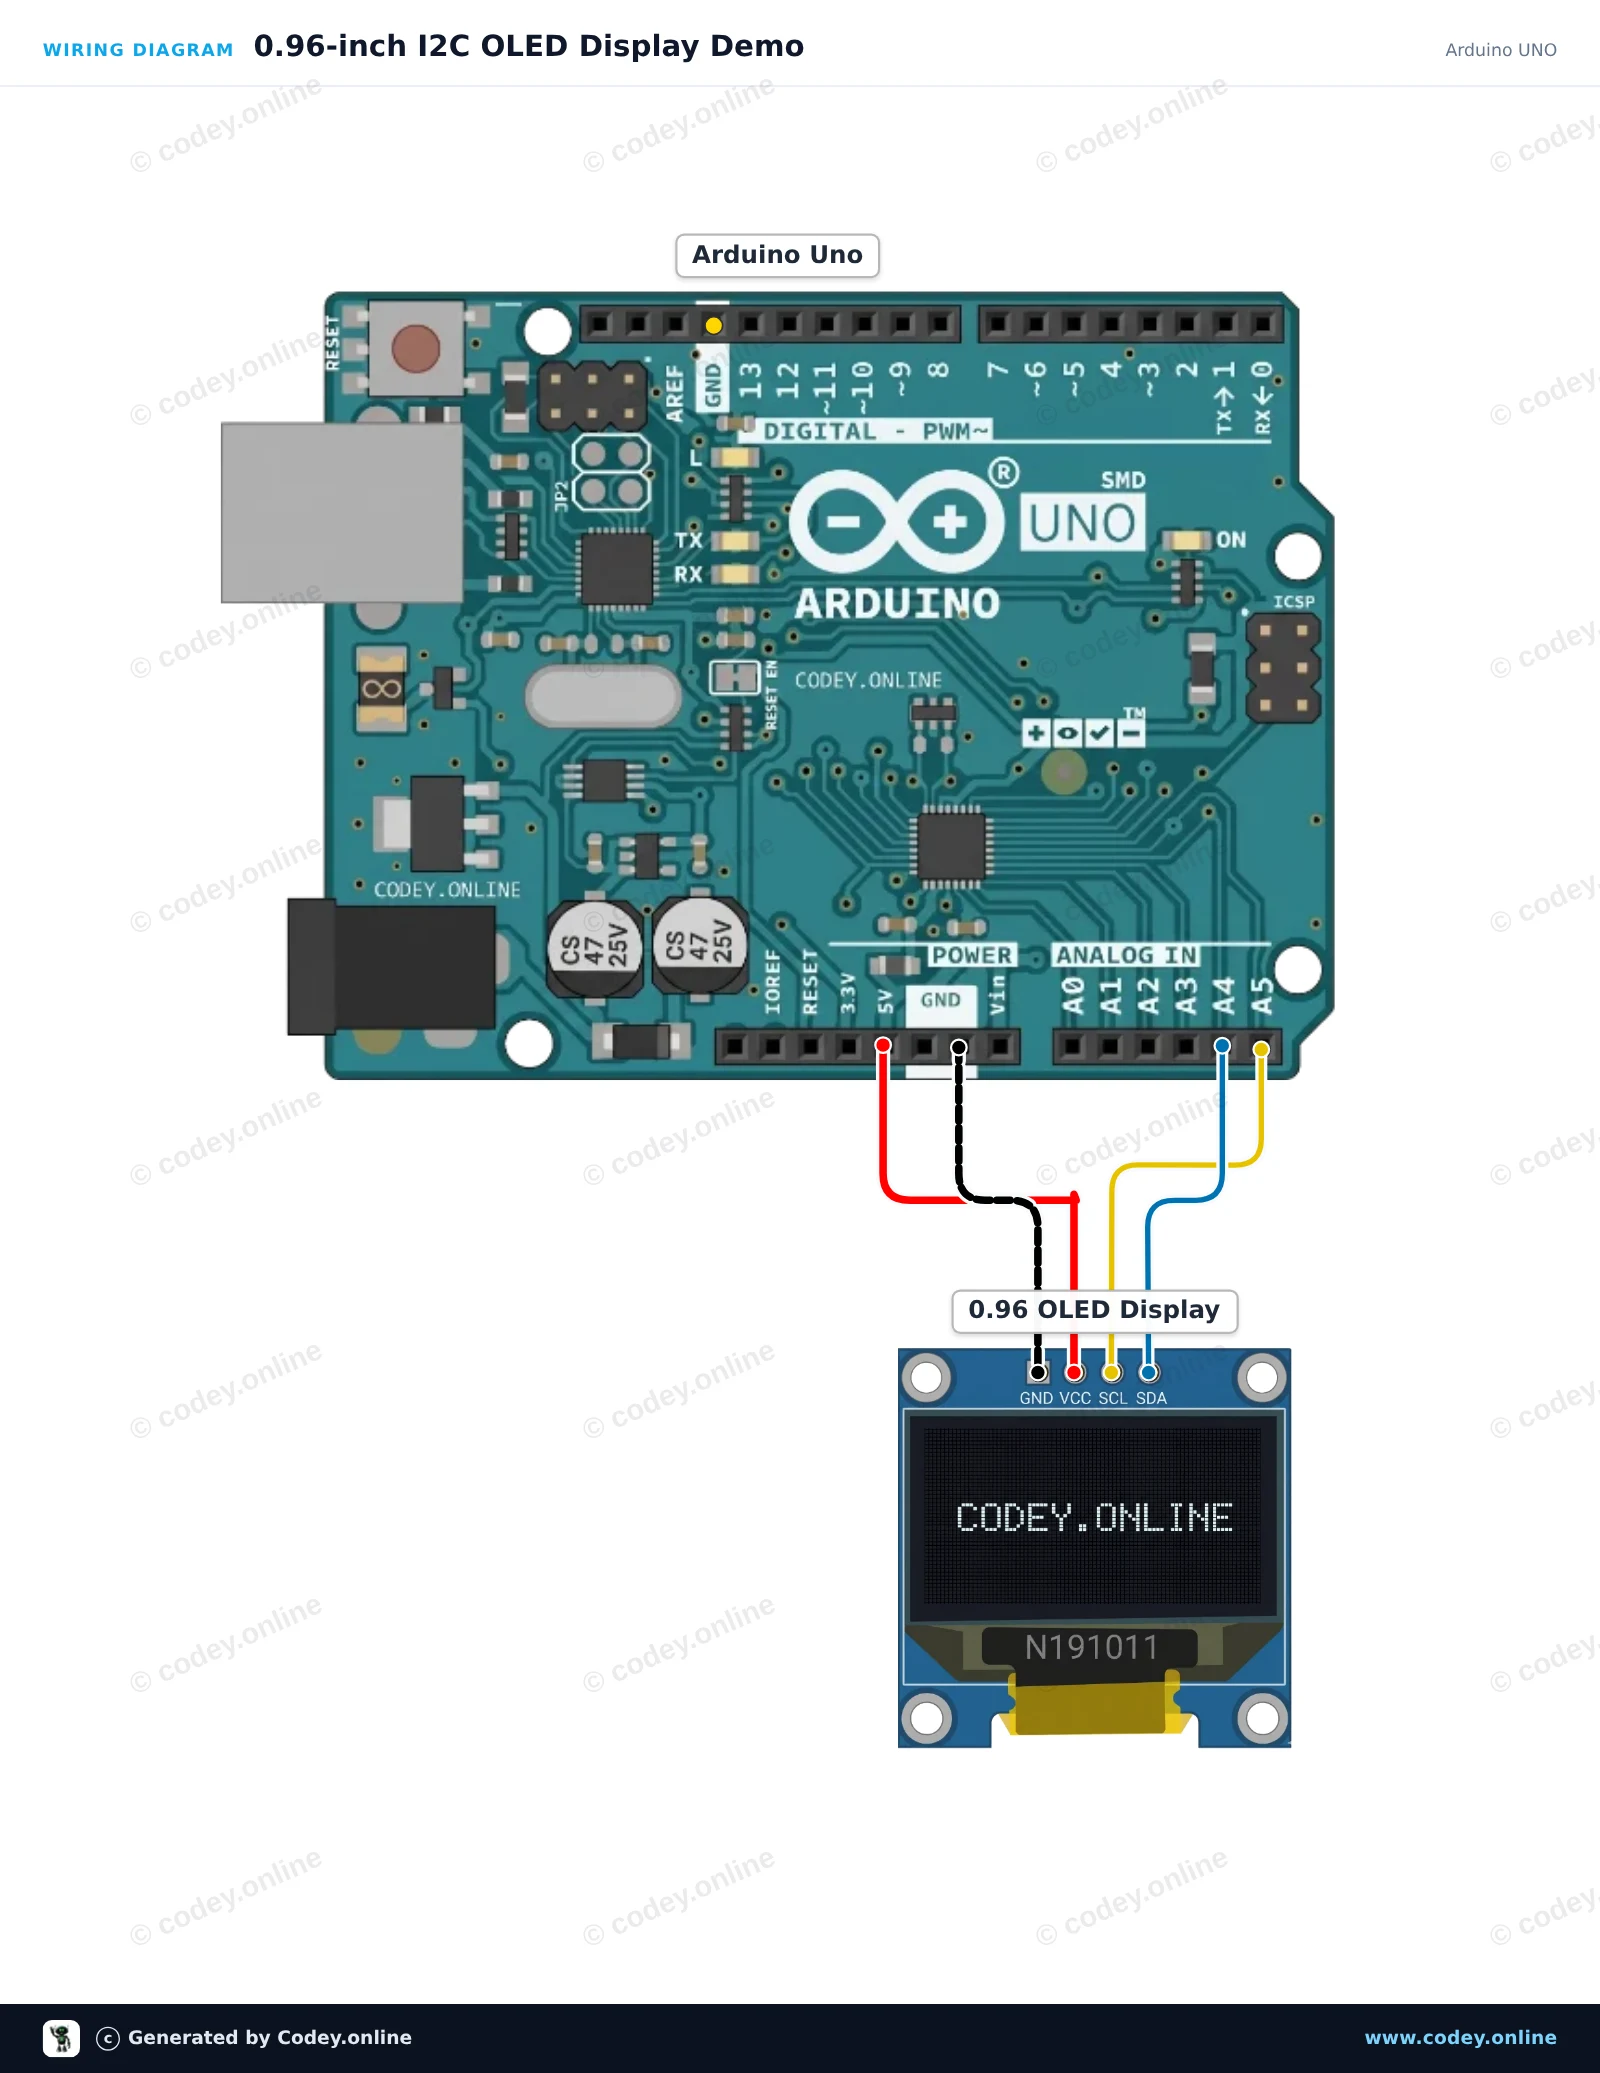
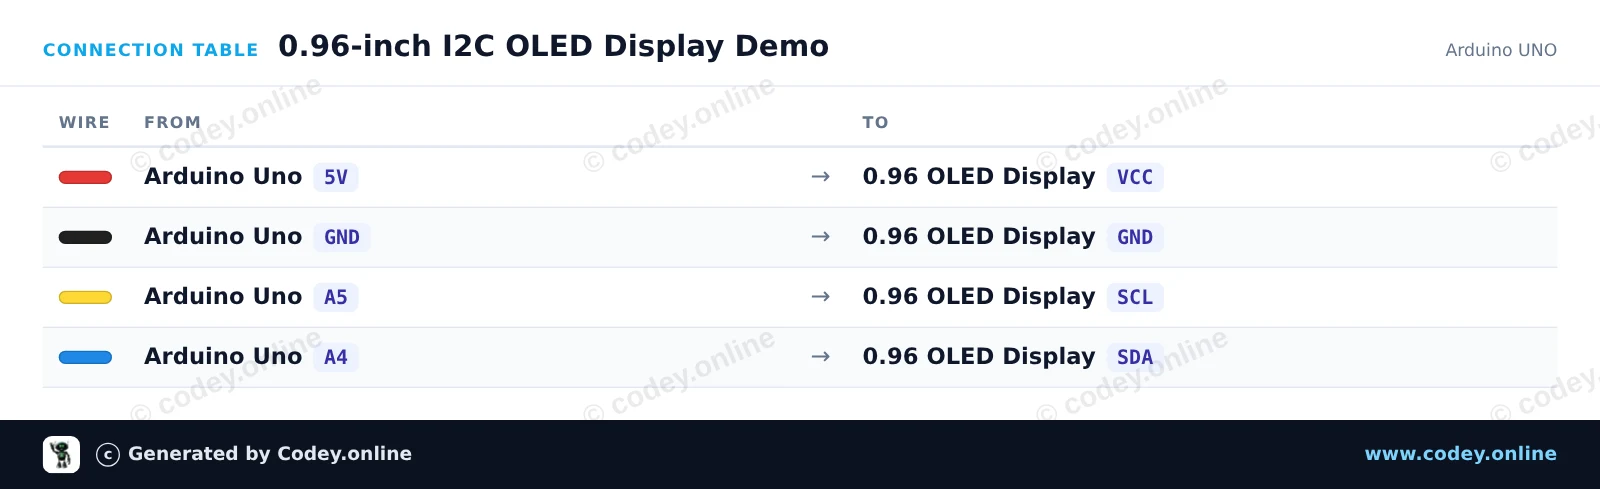
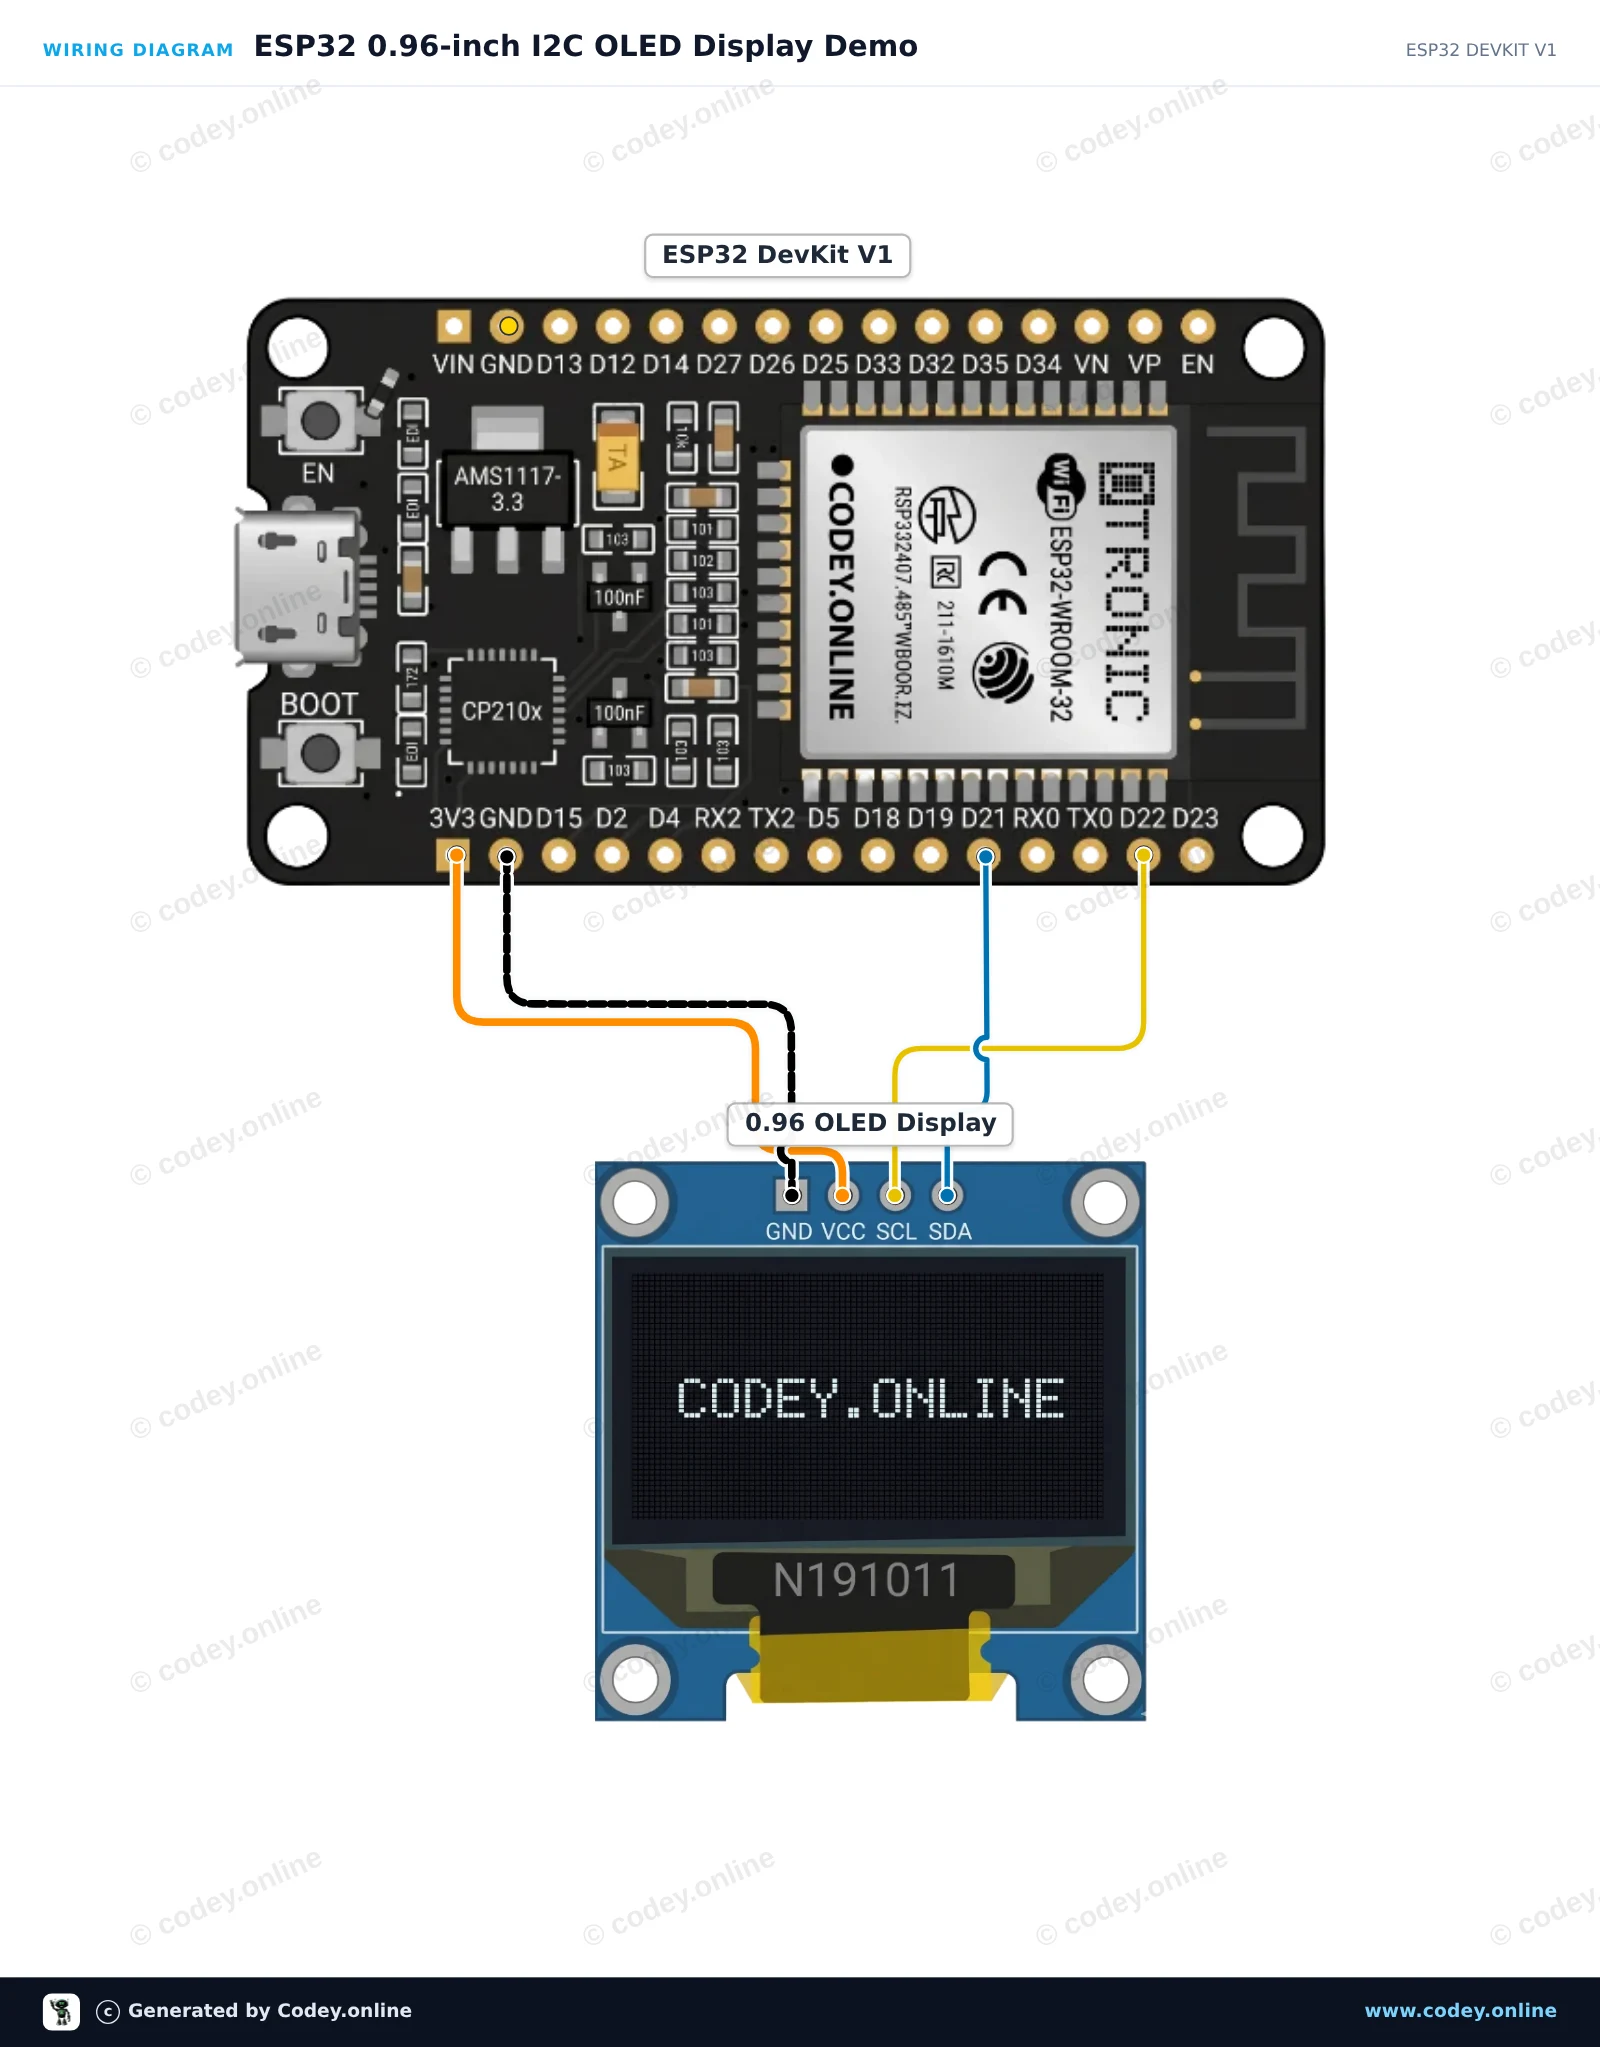
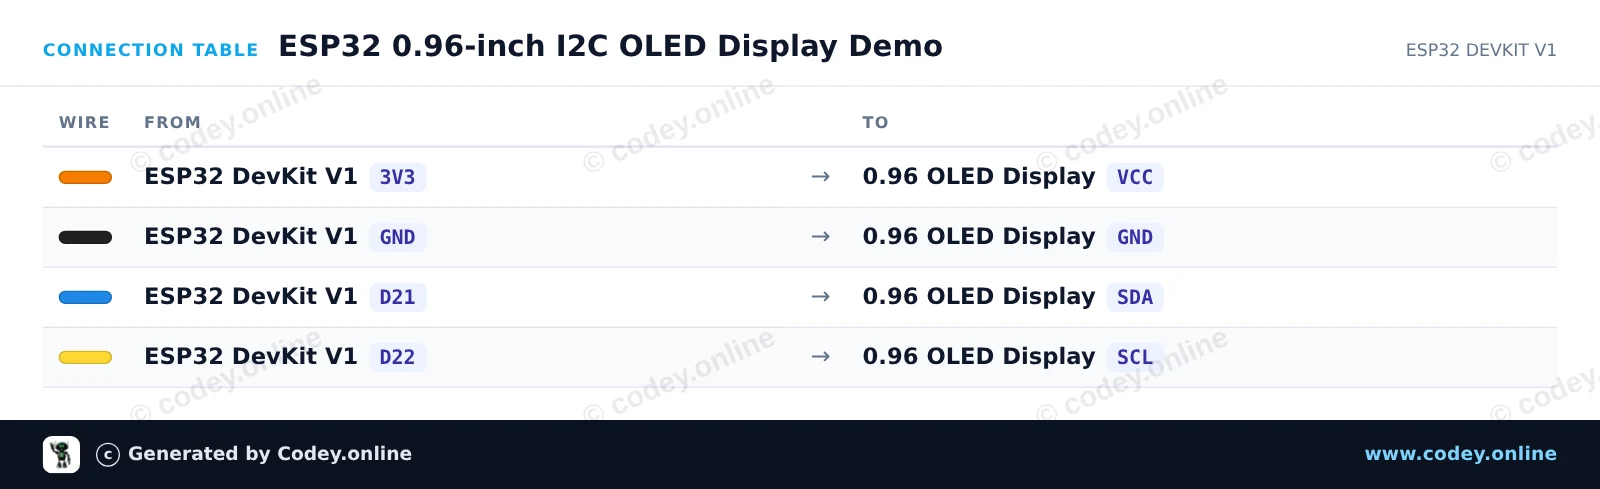
So schließt du den Mini-OLED-Display wit 0.96 inch 128x64 I2C an einen Arduino UNO oder ESP32 an, mit einem Beispiel-Sketch, den du direkt hochladen kannst.
Verbinden Sie das 0,96-Zoll 128x64 I2C-OLED-Display direkt mit den I2C-Pins des Arduino Uno (A4 für SDA, A5 für SCL). Dieser Sketch verwendet standardmäßige I2C-Befehle, um den SSD1306-Controller zu initialisieren, und zeigt einen Live-Zähler sowie Text direkt an, ohne dass externe Grafikbibliotheken erforderlich sind.
/*
* ==================================================================
* Generated by Codey.online — https://www.codey.online
* ==================================================================
* Project : 0.96-inch I2C OLED Display Demo
* Board : Arduino UNO (arduino:avr:uno)
* Parts : OLED Display 0.96 inch
* Libraries : none (built-in)
*
* Codey Online is an AI-powered browser IDE for Arduino and ESP32.
* Describe your project and Codey writes the code, draws the wiring
* diagram and uploads it to your board, straight from the browser.
* This code is free to use, modify and share, without warranty.
* ==================================================================
*/
#include <Wire.h>
const uint8_t OLED_ADDR = 0x3C;
const uint8_t OLED_WIDTH = 128;
const uint8_t OLED_HEIGHT = 64;
uint8_t buffer[1024];
int counter = 0;
const uint8_t font5x7[][5] = {
{0x00, 0x00, 0x00, 0x00, 0x00}, // space
{0x7E, 0x11, 0x11, 0x11, 0x7E}, // A
{0x7F, 0x49, 0x49, 0x49, 0x36}, // B
{0x3E, 0x41, 0x41, 0x41, 0x22}, // C
{0x7F, 0x41, 0x41, 0x22, 0x1C}, // D
{0x7F, 0x49, 0x49, 0x49, 0x41}, // E
{0x7F, 0x09, 0x09, 0x09, 0x01}, // F
{0x3E, 0x41, 0x49, 0x49, 0x7A}, // G
{0x7F, 0x08, 0x08, 0x08, 0x7F}, // H
{0x00, 0x41, 0x7F, 0x41, 0x00}, // I
{0x7F, 0x40, 0x40, 0x40, 0x40}, // L
{0x7F, 0x02, 0x0C, 0x02, 0x7F}, // M
{0x7F, 0x04, 0x08, 0x10, 0x7F}, // N
{0x3E, 0x41, 0x41, 0x41, 0x3E}, // O
{0x7F, 0x09, 0x09, 0x09, 0x06}, // P
{0x7F, 0x09, 0x19, 0x29, 0x46}, // R
{0x46, 0x49, 0x49, 0x49, 0x31}, // S
{0x01, 0x01, 0x7F, 0x01, 0x01}, // T
{0x3F, 0x40, 0x40, 0x40, 0x3F}, // U
{0x3E, 0x51, 0x49, 0x45, 0x3E}, // 0
{0x00, 0x42, 0x7F, 0x40, 0x00}, // 1
{0x42, 0x61, 0x51, 0x49, 0x46}, // 2
{0x21, 0x41, 0x45, 0x4B, 0x31}, // 3
{0x18, 0x14, 0x12, 0x7F, 0x10}, // 4
{0x27, 0x45, 0x45, 0x45, 0x39}, // 5
{0x3C, 0x4A, 0x49, 0x49, 0x30}, // 6
{0x01, 0x71, 0x09, 0x05, 0x03}, // 7
{0x36, 0x49, 0x49, 0x49, 0x36}, // 8
{0x06, 0x49, 0x49, 0x29, 0x1E}, // 9
{0x00, 0x36, 0x36, 0x00, 0x00}, // :
{0x00, 0x60, 0x60, 0x00, 0x00} // .
};
int charIndex(char c) {
if (c >= 'a' && c <= 'z') c -= 32;
if (c == ' ') return 0;
if (c == 'A') return 1; if (c == 'B') return 2; if (c == 'C') return 3;
if (c == 'D') return 4; if (c == 'E') return 5; if (c == 'F') return 6;
if (c == 'G') return 7; if (c == 'H') return 8; if (c == 'I') return 9;
if (c == 'L') return 10; if (c == 'M') return 11; if (c == 'N') return 12;
if (c == 'O') return 13; if (c == 'P') return 14; if (c == 'R') return 15;
if (c == 'S') return 16; if (c == 'T') return 17; if (c == 'U') return 18;
if (c >= '0' && c <= '9') return 19 + (c - '0');
if (c == ':') return 29;
if (c == '.') return 30;
return 0;
}
void sendCmd(uint8_t cmd) {
Wire.beginTransmission(OLED_ADDR);
Wire.write(0x00);
Wire.write(cmd);
Wire.endTransmission();
}
void sendCmd2(uint8_t cmd, uint8_t val) {
Wire.beginTransmission(OLED_ADDR);
Wire.write(0x00);
Wire.write(cmd);
Wire.write(val);
Wire.endTransmission();
}
void clearDisplay() {
memset(buffer, 0, sizeof(buffer));
}
void setPixel(int x, int y, bool state) {
if (x < 0 || x >= OLED_WIDTH || y < 0 || y >= OLED_HEIGHT) return;
int idx = x + (y / 8) * OLED_WIDTH;
if (state) buffer[idx] |= (1 << (y % 8));
else buffer[idx] &= ~(1 << (y % 8));
}
void printText(int x, int y, const char* str) {
while (*str) {
int idx = charIndex(*str++);
for (int col = 0; col < 5; col++) {
uint8_t line = font5x7[idx][col];
for (int row = 0; row < 7; row++) {
setPixel(x + col, y + row, (line >> row) & 1);
}
}
x += 6;
}
}
void updateDisplay() {
sendCmd(0x20); sendCmd(0x00);
sendCmd2(0x21, 0x00); sendCmd(0x7F);
sendCmd2(0x22, 0x00); sendCmd(0x07);
for (uint16_t i = 0; i < 1024; i += 16) {
Wire.beginTransmission(OLED_ADDR);
Wire.write(0x40);
for (uint8_t j = 0; j < 16; j++) {
Wire.write(buffer[i + j]);
}
Wire.endTransmission();
}
}
void setup() {
Serial.begin(115200);
Wire.begin();
delay(50);
sendCmd(0xAE); sendCmd2(0xD5, 0x80); sendCmd2(0xA8, 0x3F);
sendCmd2(0xD3, 0x00); sendCmd(0x40); sendCmd2(0x8D, 0x14);
sendCmd(0xA1); sendCmd(0xC8); sendCmd2(0xDA, 0x12);
sendCmd2(0x81, 0xCF); sendCmd2(0xD9, 0xF1); sendCmd2(0xDB, 0x40);
sendCmd(0xA4); sendCmd(0xA6); sendCmd(0xAF);
Serial.println(F("OLED Initialized"));
}
void loop() {
clearDisplay();
printText(0, 0, "OLED 0.96 INCH");
printText(0, 16, "ARDUINO UNO");
char buf[16];
itoa(counter, buf, 10);
printText(0, 32, "COUNT: ");
printText(42, 32, buf);
int barWidth = (counter % 120);
for (int x = 0; x <= barWidth; x++) {
for (int y = 48; y < 58; y++) {
setPixel(x, y, true);
}
}
updateDisplay();
counter++;
delay(100);
}
Wiring diagram and example code generated by Codey.online — https://www.codey.online
Dieses Projekt zeigt, wie man mit dem ESP32 Text und Zahlen auf einem 0.96-inch I2C OLED-Display anschließt und anzeigt. Der Sketch initialisiert das Display und aktualisiert jede Sekunde einen Live-Zähler. Stelle vor dem Hochladen sicher, dass die Bibliotheken Adafruit SSD1306 und Adafruit GFX installiert sind.
/*
* ==================================================================
* Generated by Codey.online — https://www.codey.online
* ==================================================================
* Project : ESP32 0.96-inch I2C OLED Display Demo
* Board : ESP32 DEVKIT V1 (esp32:esp32:esp32doit-devkit-v1)
* Parts : OLED Display 0.96 inch
* Libraries : Adafruit SSD1306 2.5.16, Adafruit GFX Library 1.12.6
*
* Codey Online is an AI-powered browser IDE for Arduino and ESP32.
* Describe your project and Codey writes the code, draws the wiring
* diagram and uploads it to your board, straight from the browser.
* This code is free to use, modify and share, without warranty.
* ==================================================================
*/
#include <Wire.h>
#include <Adafruit_GFX.h>
#include <Adafruit_SSD1306.h>
#define SCREEN_WIDTH 128
#define SCREEN_HEIGHT 64
#define OLED_RESET -1
#define SCREEN_ADDRESS 0x3C
Adafruit_SSD1306 display(SCREEN_WIDTH, SCREEN_HEIGHT, &Wire, OLED_RESET);
int counter = 0;
void setup() {
Serial.begin(115200);
// Initialize I2C on ESP32 default pins (SDA: 21, SCL: 22)
Wire.begin(21, 22);
if (!display.begin(SSD1306_SWITCHCAPVCC, SCREEN_ADDRESS)) {
Serial.println(F("SSD1306 allocation failed"));
while (true); // Freeze
}
display.clearDisplay();
display.setTextColor(SSD1306_WHITE);
display.setTextSize(1);
display.setCursor(0, 0);
display.println("ESP32 OLED Test");
display.display();
delay(1500);
}
void loop() {
display.clearDisplay();
// Header text
display.setTextSize(1);
display.setCursor(0, 0);
display.println("ESP32 + SSD1306");
// Separator line
display.drawLine(0, 12, 127, 12, SSD1306_WHITE);
// Counter display
display.setCursor(0, 20);
display.println("Counter value:");
display.setTextSize(2);
display.setCursor(0, 36);
display.print(counter);
display.display();
counter++;
delay(1000);
}
Benötigte Bibliotheken: Adafruit SSD1306 2.5.16, Adafruit GFX Library 1.12.6
Wiring diagram and example code generated by Codey.online — https://www.codey.online
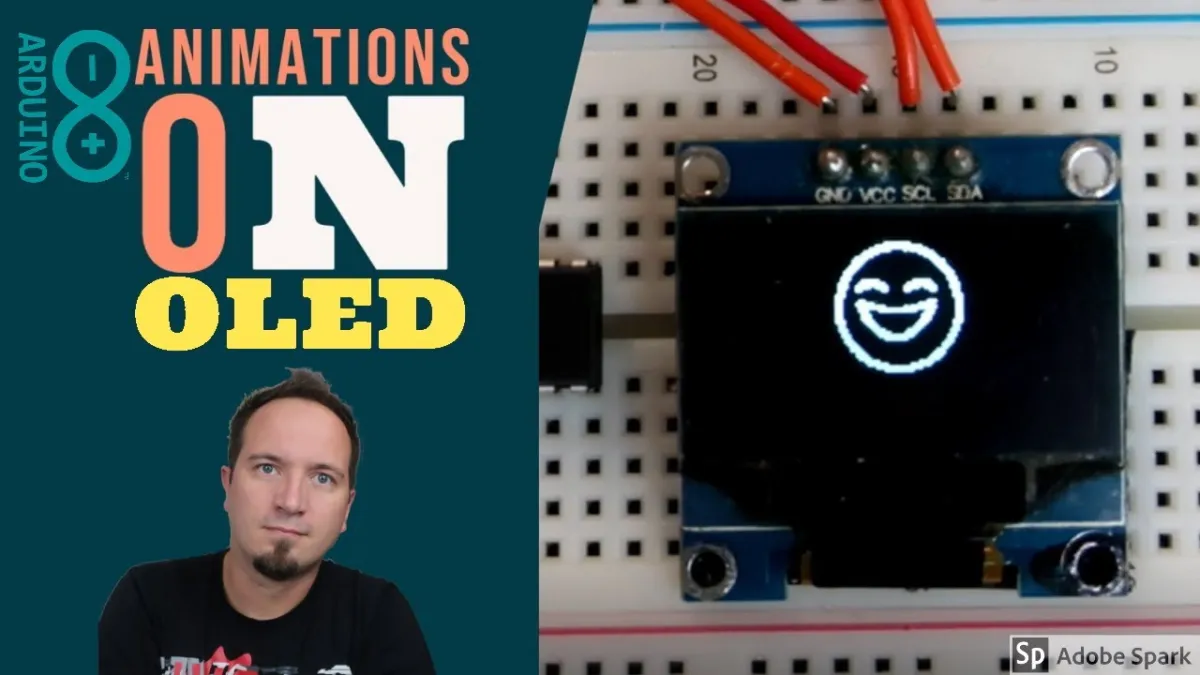
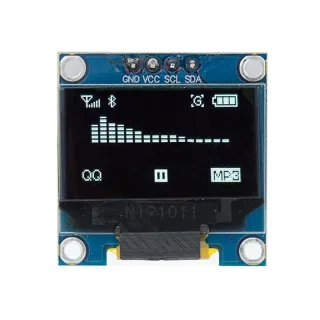
0,96 inch mini OLED-Bildschirm. Kristallklares Bild mit einer Auflösung von 128x64 Pixeln.
Funktioniert mit einer Spannungsquelle von 3v-5v. Ideal für Arduino- oder ESP32 / ESP8266-Projekte.
Die Abmessungen dieses Boards betragen nur 26,1 x 26,1 x 3,2mm.
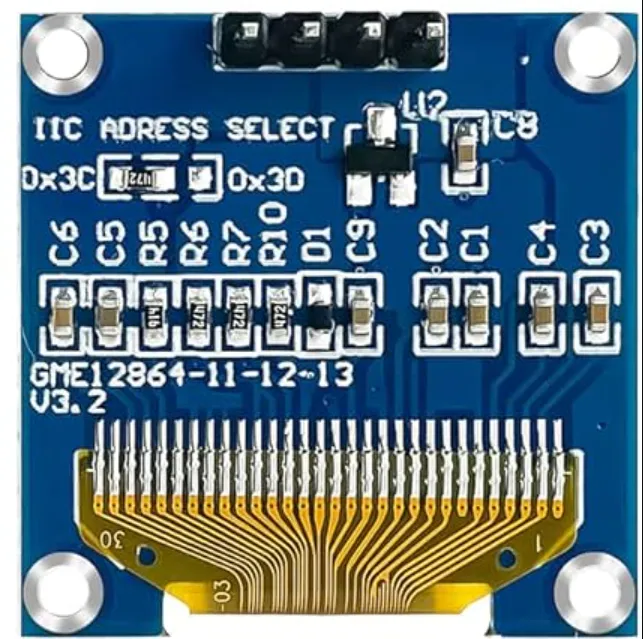
Es sind 2 i2c-Adressen auswählbar, indem der Widerstand auf der Rückseite geändert wird.
Verfügbare Adressen sind: 0x3C (default) und x3D
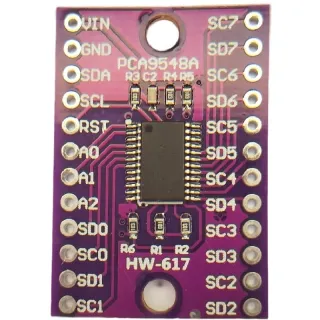
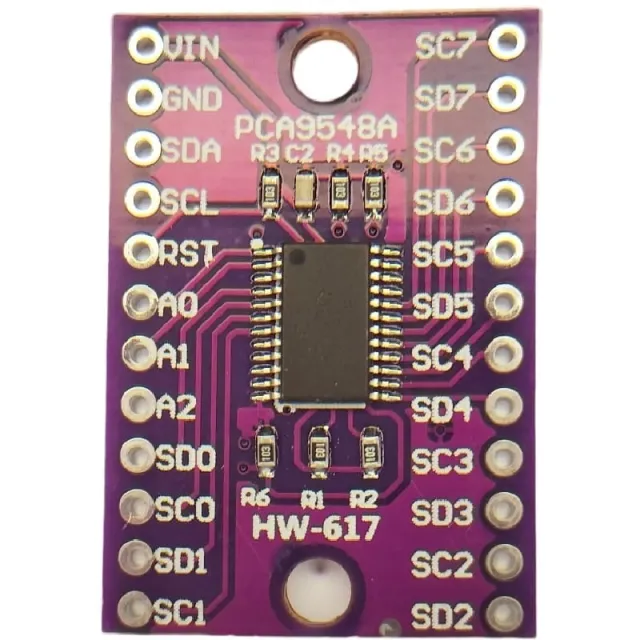
Wenn Sie mehrere OLED-Displays ansteuern möchten oder die SMD nicht löten möchten, können Sie mithilfe eines i2c mutliplexer auch bis zu 8x i2C-Displays mit derselben Adresse ansteuern.
sehen Sie hier das Anschlussdiagramm und den Beispielcode >>>
Abmessungen
Länge: 2,61cm
Breite: 2,61cm
Höhe: 0,32cm
| Stromversorgung | 3v-5v |
|---|---|
| Abmessungen | 26,1 x 26,1 x 3,2 mm |
| Breite | 2,61 cm |
| Auflösung | 128 x 64 Pixel |
| Schnittstelle | I2C |
| Geeignet für | Arduino |
| Länge | 2,61 cm |
| Höhe | 0,32 cm |
| I2C-Adresse | 0x3C |
...........
Es war in Ordnung
Prima Display!
Direkt an einem ESP32-C6 ohne Pull-up-Widerstände.
Prima Auflösung und Helligkeit.
Nicht getestet
Funktioniert ausgezeichnet
Ausgezeichnete Qualität und super schön pr
Funktioniert ausgezeichnet und ist sehr praktisch, um Messdaten anzuzeigen.
Prima Produkt. Helles Display und sogar in der Sonne gut sichtbar
0,96-Zoll-Display, sieht prima aus. Aber eben klein.
Nicht zufrieden? Du hast 30 Tage nach Erhalt Zeit, das Produkt zurückzusenden.
Alles zur Rücksendung
Mini-OLED-Display wit 0.96 inch 128x64 I2C