SKU: OT823-C64 Artikelnummer: XM968 EAN: 2115440195952

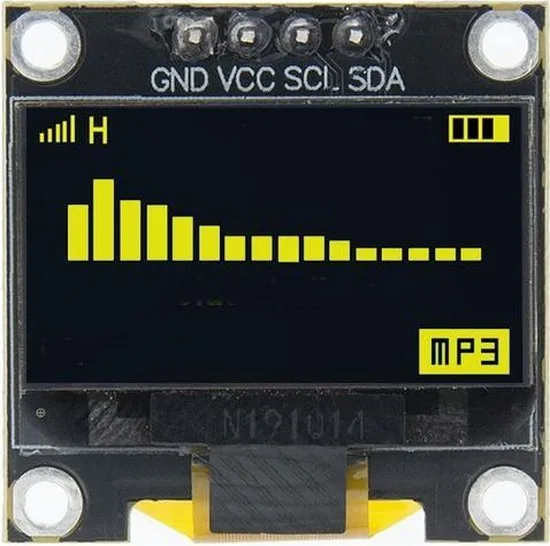
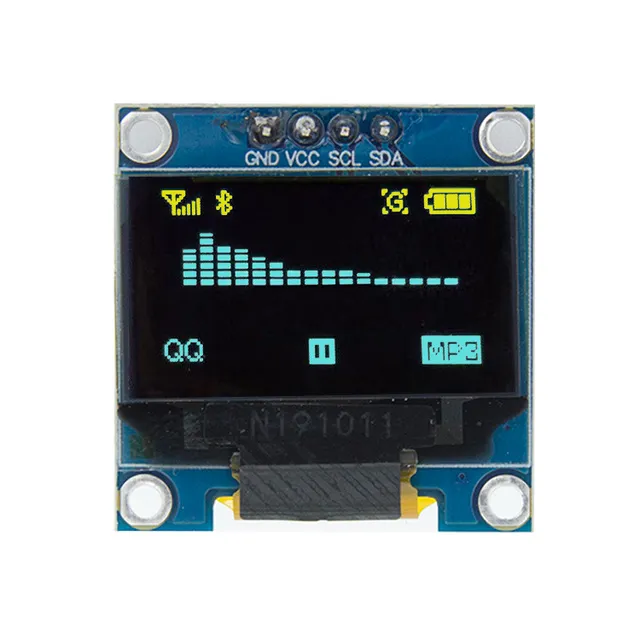
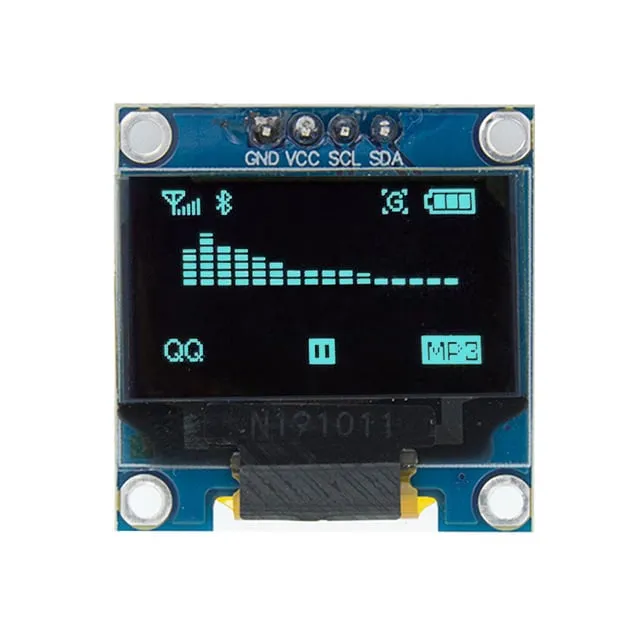
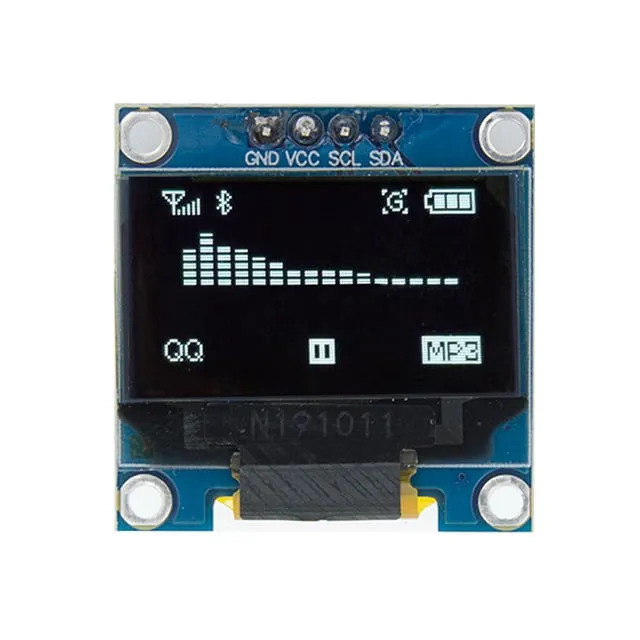
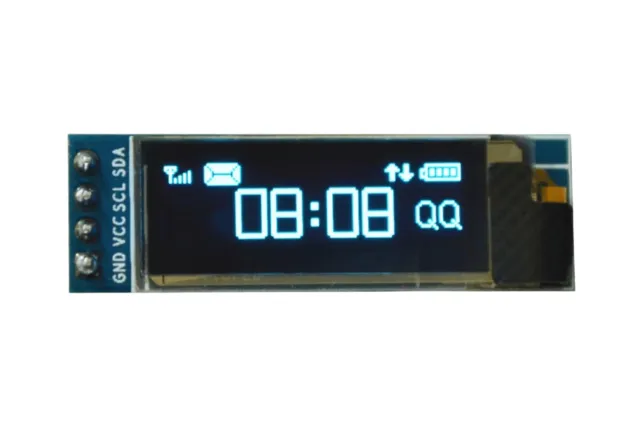
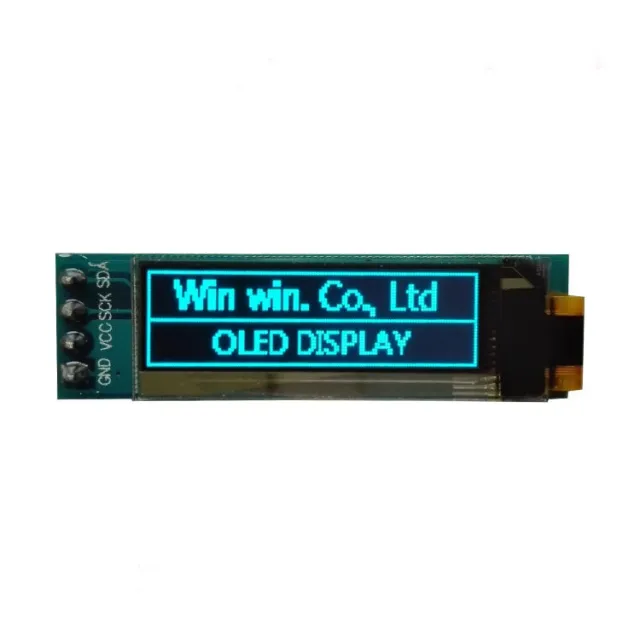
0,96 inch mini gelbes OLED-Bildschirm. Kristallklares Bild mit einer Auflösung von 128x64 pixels.
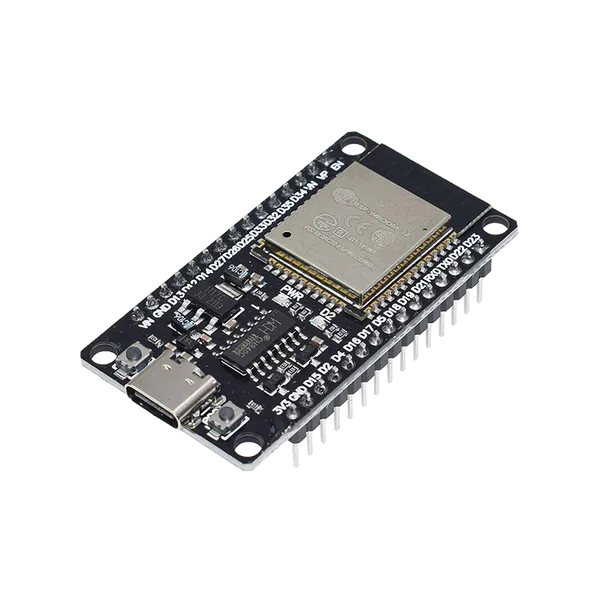
Funktioniert mit einer Stromquelle von 3v-5v. Ideal für Arduino- oder ESP32 / ESP8266-Projekte.
Die Abmessungen dieses Boards betragen nur 26,1 x 26,1 x 3,2mm.
Abmessungen
Länge: 2,61cm
Breite: 2,61cm
Höhe: 0,32cm
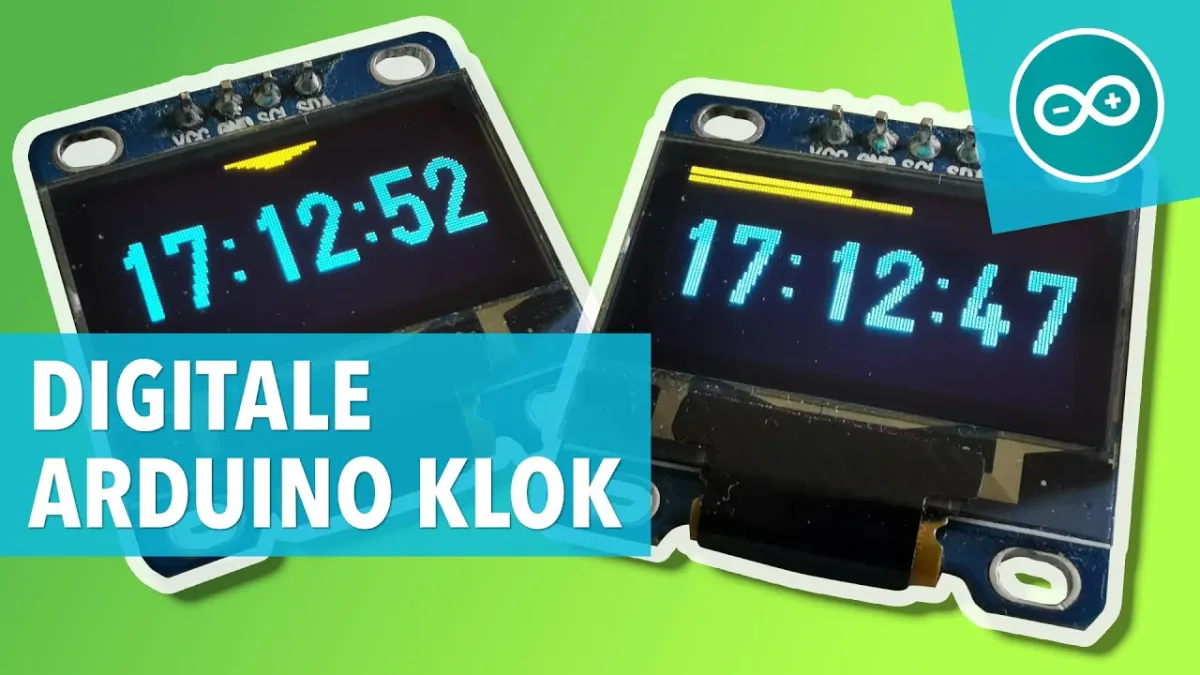
Beim Abspielen wird das Video von YouTube geladen.
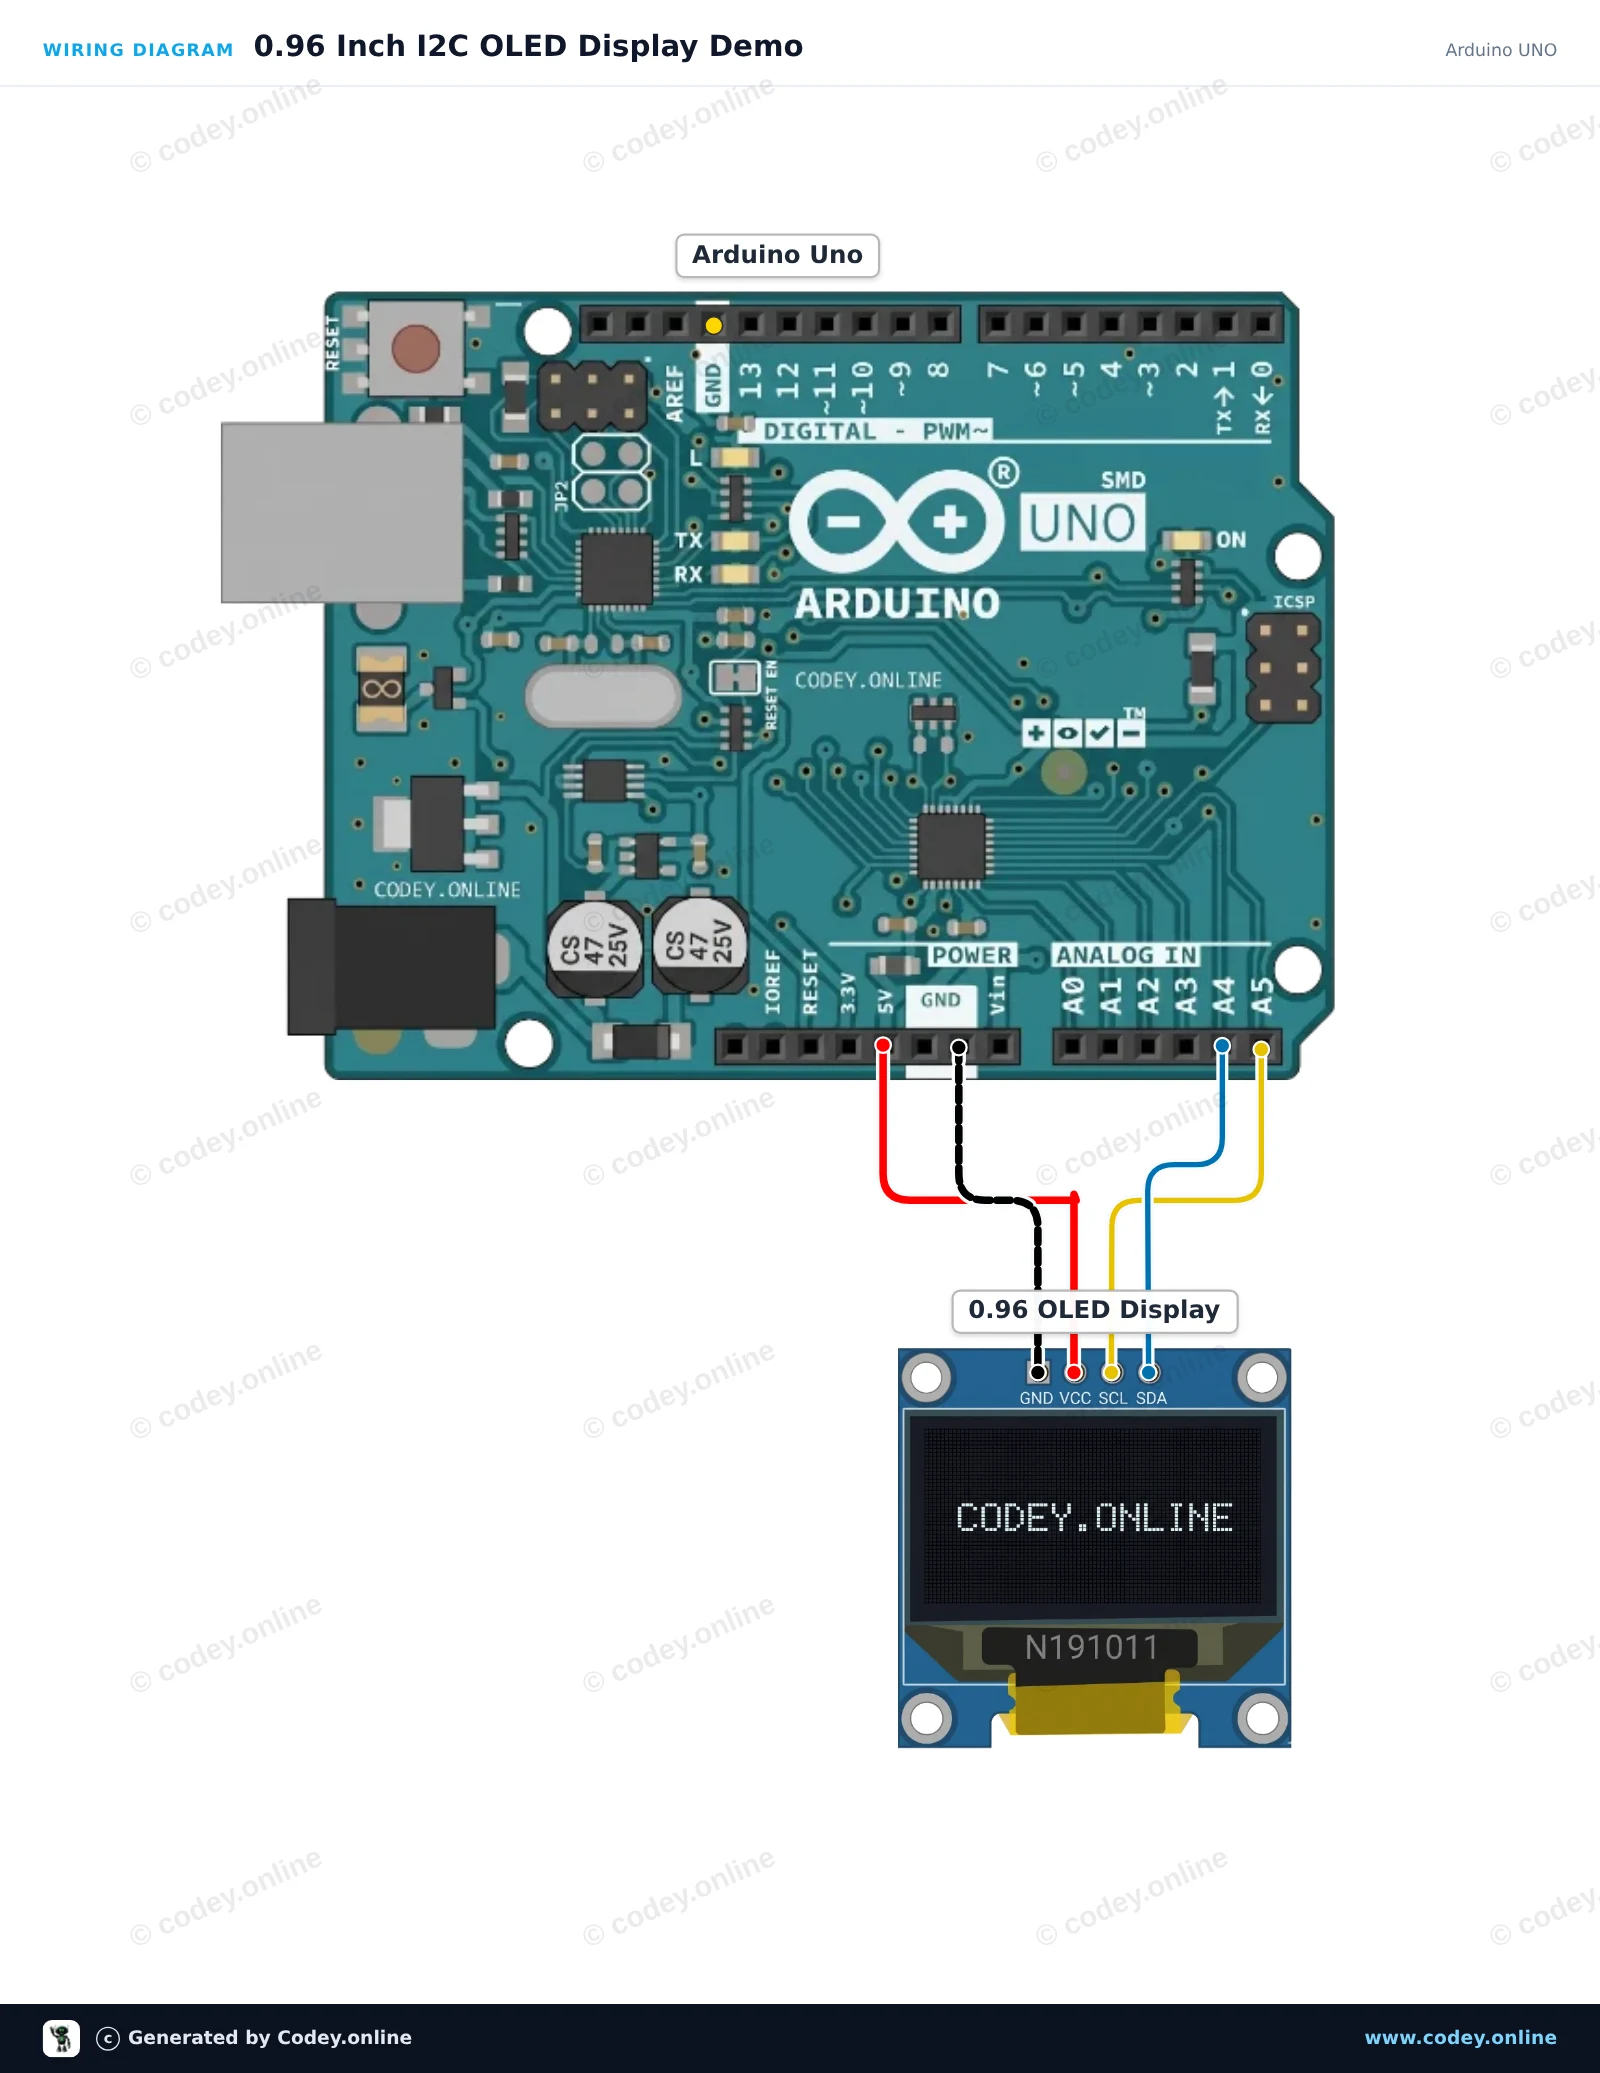
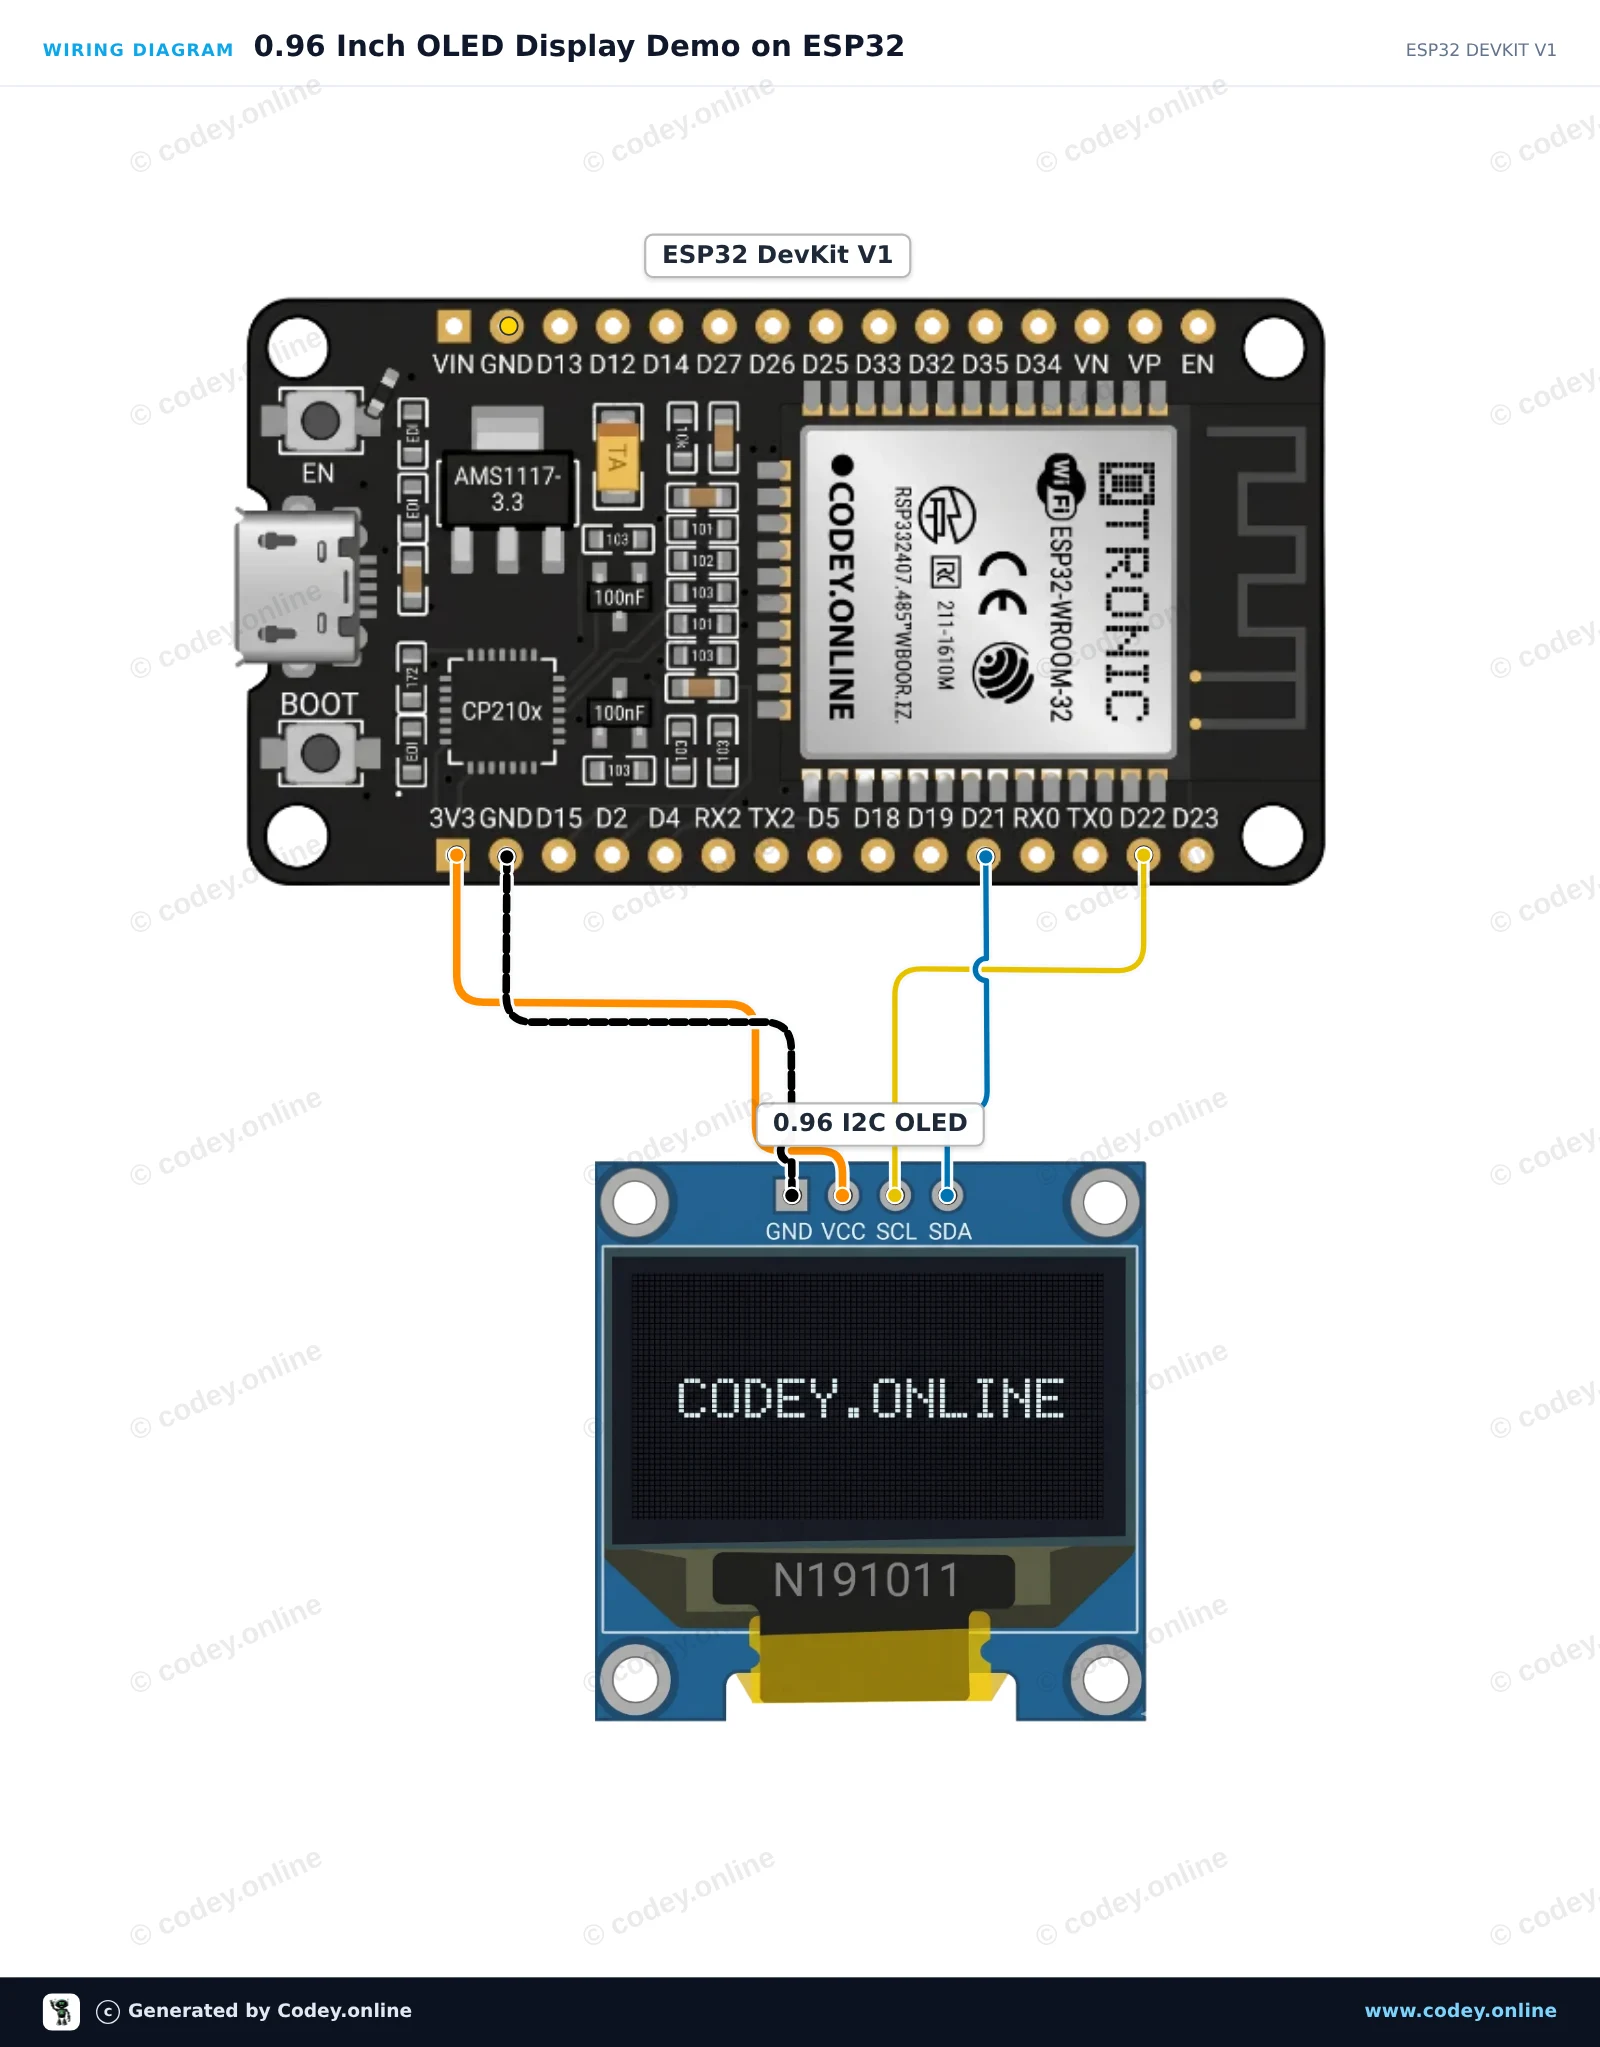
So schließt du den Mini OLED-Display gelb 0.96 inch 128x64 I2C an einen Arduino UNO oder ESP32 an, mit einem Beispiel-Sketch, den du direkt hochladen kannst.
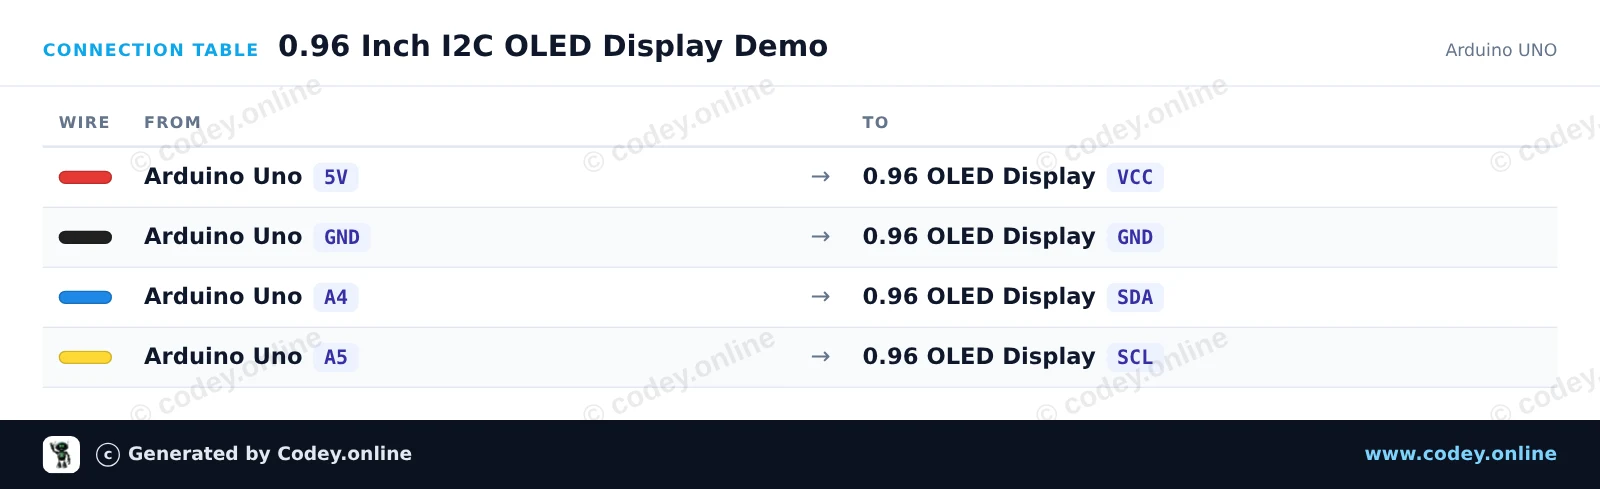
Verbindet das 0.96-Zoll I2C-OLED-Display (SSD1306) mit dem Arduino Uno, um Text, Linien und einen hochzählenden Zähler anzuzeigen. Das Display kommuniziert über I2C mit A4 für SDA und A5 für SCL. U8g2 übernimmt das Rendering des Displays mit einem effizienten Page Buffer.
/*
 * ==================================================================
 *  Generated by Codey.online  —  https://www.codey.online
 * ==================================================================
 *  Project   : 0.96 Inch I2C OLED Display Demo
 *  Board     : Arduino UNO (arduino:avr:uno)
 *  Parts     : OLED Display 0.96 inch
 *  Libraries : U8g2 2.36.19
 *
 *  Codey Online is an AI-powered browser IDE for Arduino and ESP32.
 *  Describe your project and Codey writes the code, draws the wiring
 *  diagram and uploads it to your board, straight from the browser.
 *  This code is free to use, modify and share, without warranty.
 * ==================================================================
 */

#include <Wire.h>
#include <U8g2lib.h>

// 128x64 SSD1306 noname I2C display using page buffer (low RAM usage)
U8G2_SSD1306_128X64_NONAME_1_HW_I2C u8g2(U8G2_R0, /* reset=*/ U8X8_PIN_NONE);

int counter = 0;

void setup() {
  Serial.begin(115200);
  u8g2.begin();
}

void loop() {
  u8g2.firstPage();
  do {
    u8g2.setFont(u8g2_font_ncenB08_tr);
    u8g2.drawStr(0, 12, "0.96\" OLED Demo");
    u8g2.drawHLine(0, 15, 128);

    u8g2.drawStr(0, 32, "Uptime:");
    u8g2.setCursor(60, 32);
    u8g2.print(millis() / 1000);
    u8g2.print(" s");

    u8g2.drawStr(0, 50, "Count:");
    u8g2.setCursor(60, 50);
    u8g2.print(counter);
  } while (u8g2.nextPage());

  counter++;
  delay(1000);
}Benötigte Bibliotheken: U8g2 2.36.19
Wiring diagram and example code generated by Codey.online — https://www.codey.online
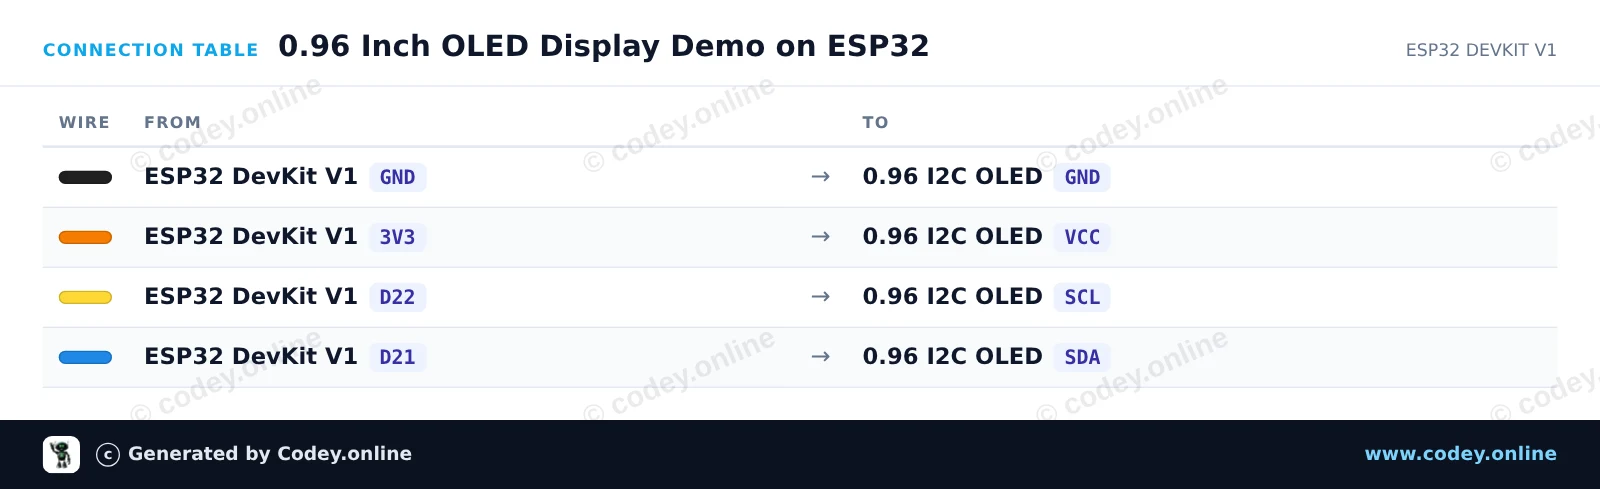
Dieses Projekt verbindet ein 0.96 inch I2C-OLED-Display (SSD1306) mit einem ESP32. Der Sketch initialisiert das Display und zeigt eine einfache Willkommensnachricht sowie einen laufend aktualisierten Uptime-Zähler an. Das ist eine schnelle und saubere Möglichkeit zu prüfen, ob dein Display funktioniert.
/*
 * ==================================================================
 *  Generated by Codey.online  —  https://www.codey.online
 * ==================================================================
 *  Project   : 0.96 Inch OLED Display Demo on ESP32
 *  Board     : ESP32 DEVKIT V1 (esp32:esp32:esp32doit-devkit-v1)
 *  Parts     : OLED Display 0.96 inch
 *  Libraries : Adafruit SSD1306 2.5.16, Adafruit GFX Library 1.12.6
 *
 *  Codey Online is an AI-powered browser IDE for Arduino and ESP32.
 *  Describe your project and Codey writes the code, draws the wiring
 *  diagram and uploads it to your board, straight from the browser.
 *  This code is free to use, modify and share, without warranty.
 * ==================================================================
 */

#include <Wire.h>
#include <Adafruit_GFX.h>
#include <Adafruit_SSD1306.h>

#define SCREEN_WIDTH 128
#define SCREEN_HEIGHT 64
#define OLED_RESET -1
#define SCREEN_ADDRESS 0x3C

Adafruit_SSD1306 display(SCREEN_WIDTH, SCREEN_HEIGHT, &Wire, OLED_RESET);

int counter = 0;

void setup() {
  Serial.begin(115200);

  // Initialize I2C with default ESP32 pins (SDA=21, SCL=22)
  Wire.begin(21, 22);

  if (!display.begin(SSD1306_SWITCHCAPVCC, SCREEN_ADDRESS)) {
    Serial.println(F("SSD1306 allocation failed"));
    while (true); // Freeze if display initialization fails
  }

  display.clearDisplay();
  display.setTextColor(SSD1306_WHITE);
  display.setTextSize(1);
  display.setCursor(10, 10);
  display.println("ESP32 OLED Test");
  display.display();
  delay(2000);
}

void loop() {
  display.clearDisplay();

  // Header
  display.setTextSize(1);
  display.setCursor(0, 0);
  display.println("ESP32 DevKit V1");
  display.drawLine(0, 10, 127, 10, SSD1306_WHITE);

  // Counter display
  display.setTextSize(2);
  display.setCursor(10, 24);
  display.print("Count: ");
  display.print(counter);

  // Uptime in seconds
  display.setTextSize(1);
  display.setCursor(10, 48);
  display.print("Uptime: ");
  display.print(millis() / 1000);
  display.print(" s");

  display.display();
  counter++;
  delay(1000);
}Benötigte Bibliotheken: Adafruit SSD1306 2.5.16, Adafruit GFX Library 1.12.6
Wiring diagram and example code generated by Codey.online — https://www.codey.online





 English
  Nederlands
  Frans
Frans  Italiano
  Español
  Suomi
Suomi  Polski
  Dansk
Dansk  Ελληνικά
  Български
  Čeština
  Hrvatski
  Aileen