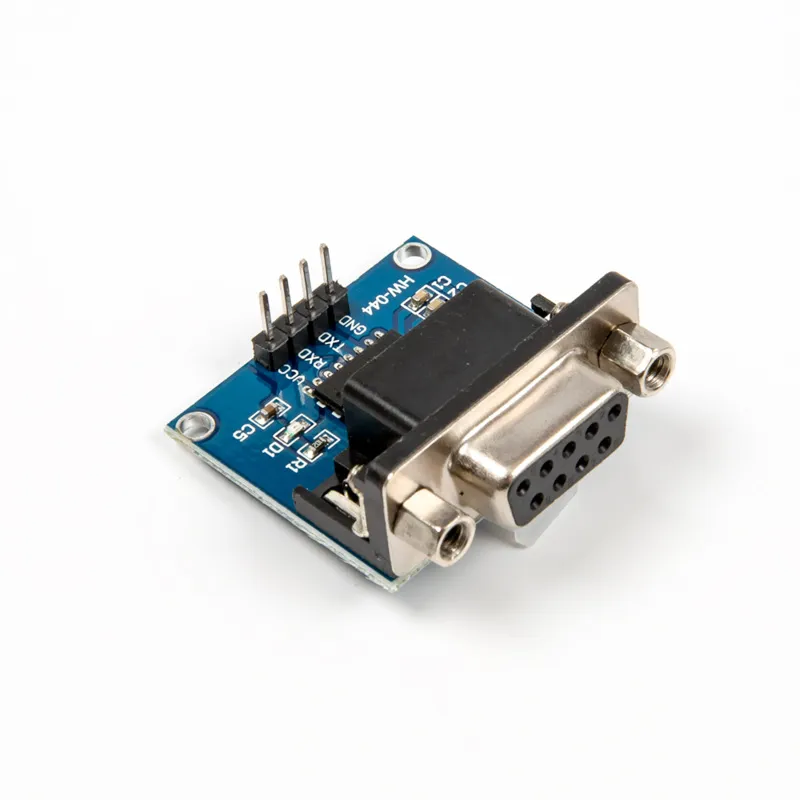
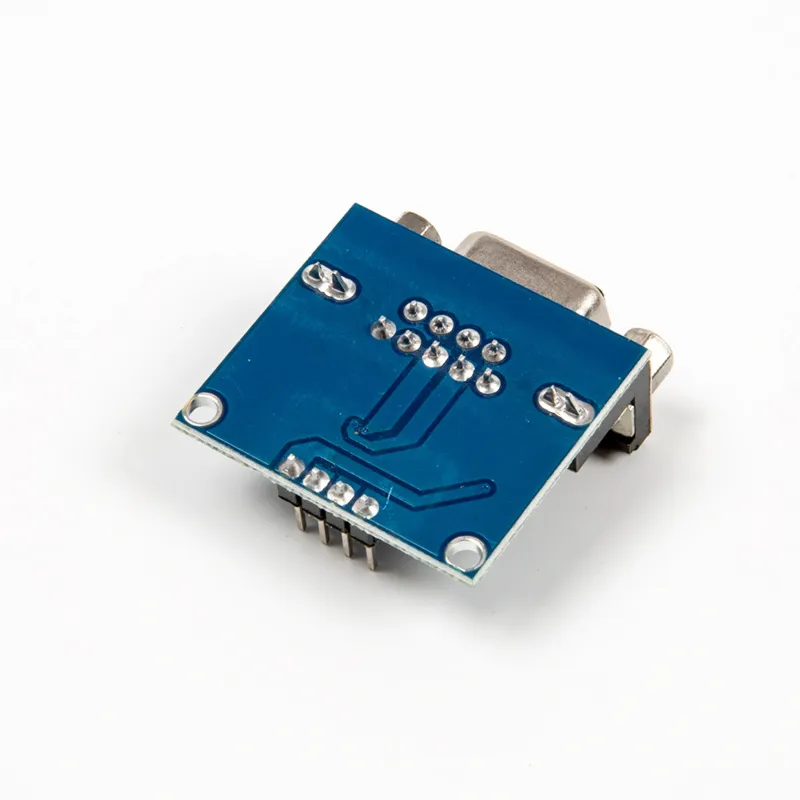
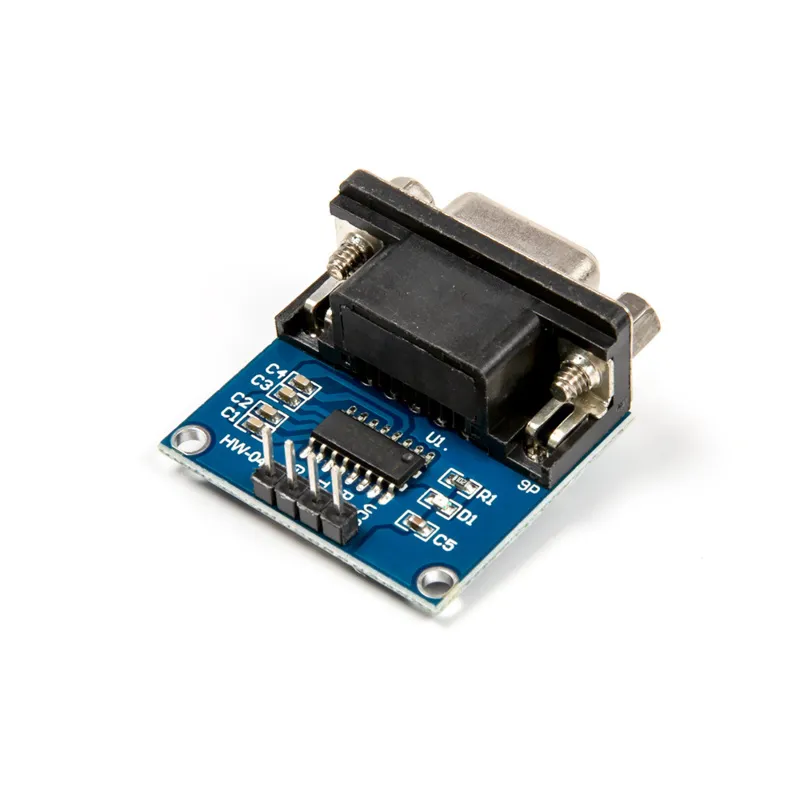
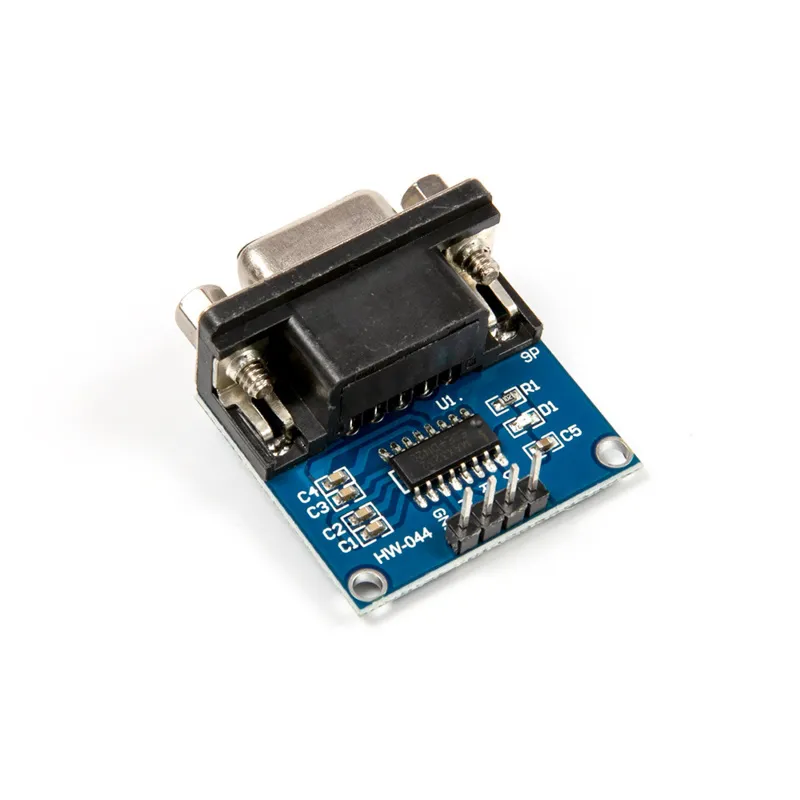
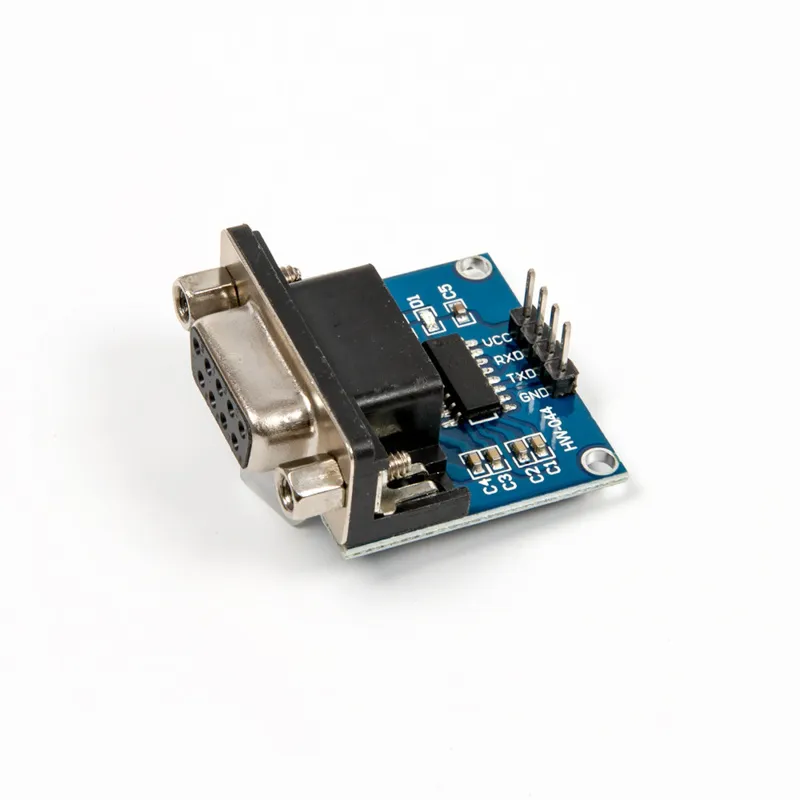
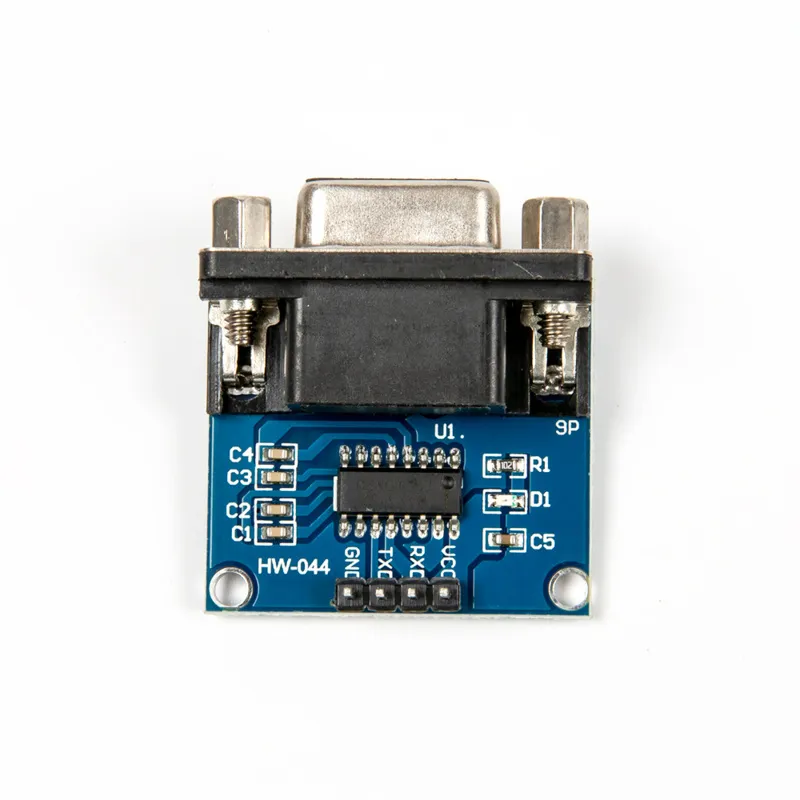
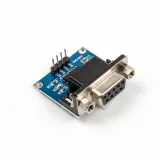
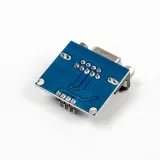
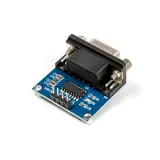
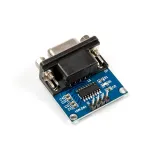
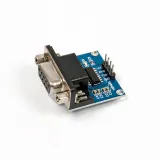
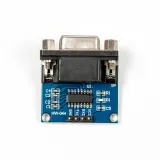
Serielle Wandler-Modul für alle, die RS232 mit TTL-Signalen verbinden möchten.
SKU: OT3678 Artikelnummer: NA652 EAN: 8720618690371 Lagerort: G09.01
Alternative
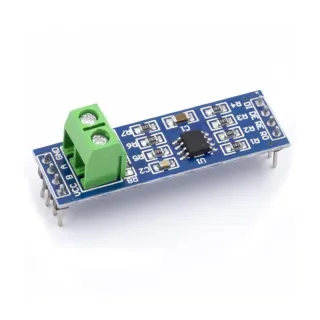
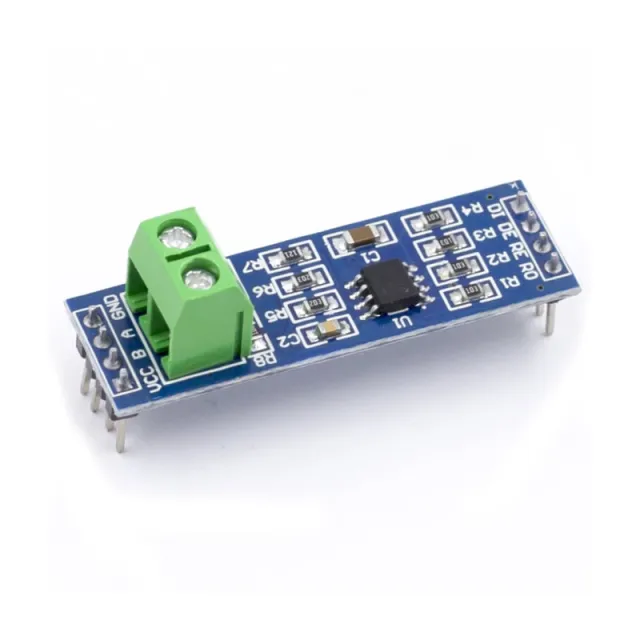
MAX485 TTL zu RS485 Konvertermodul
€ 1,15
Diese Alternative ansehen
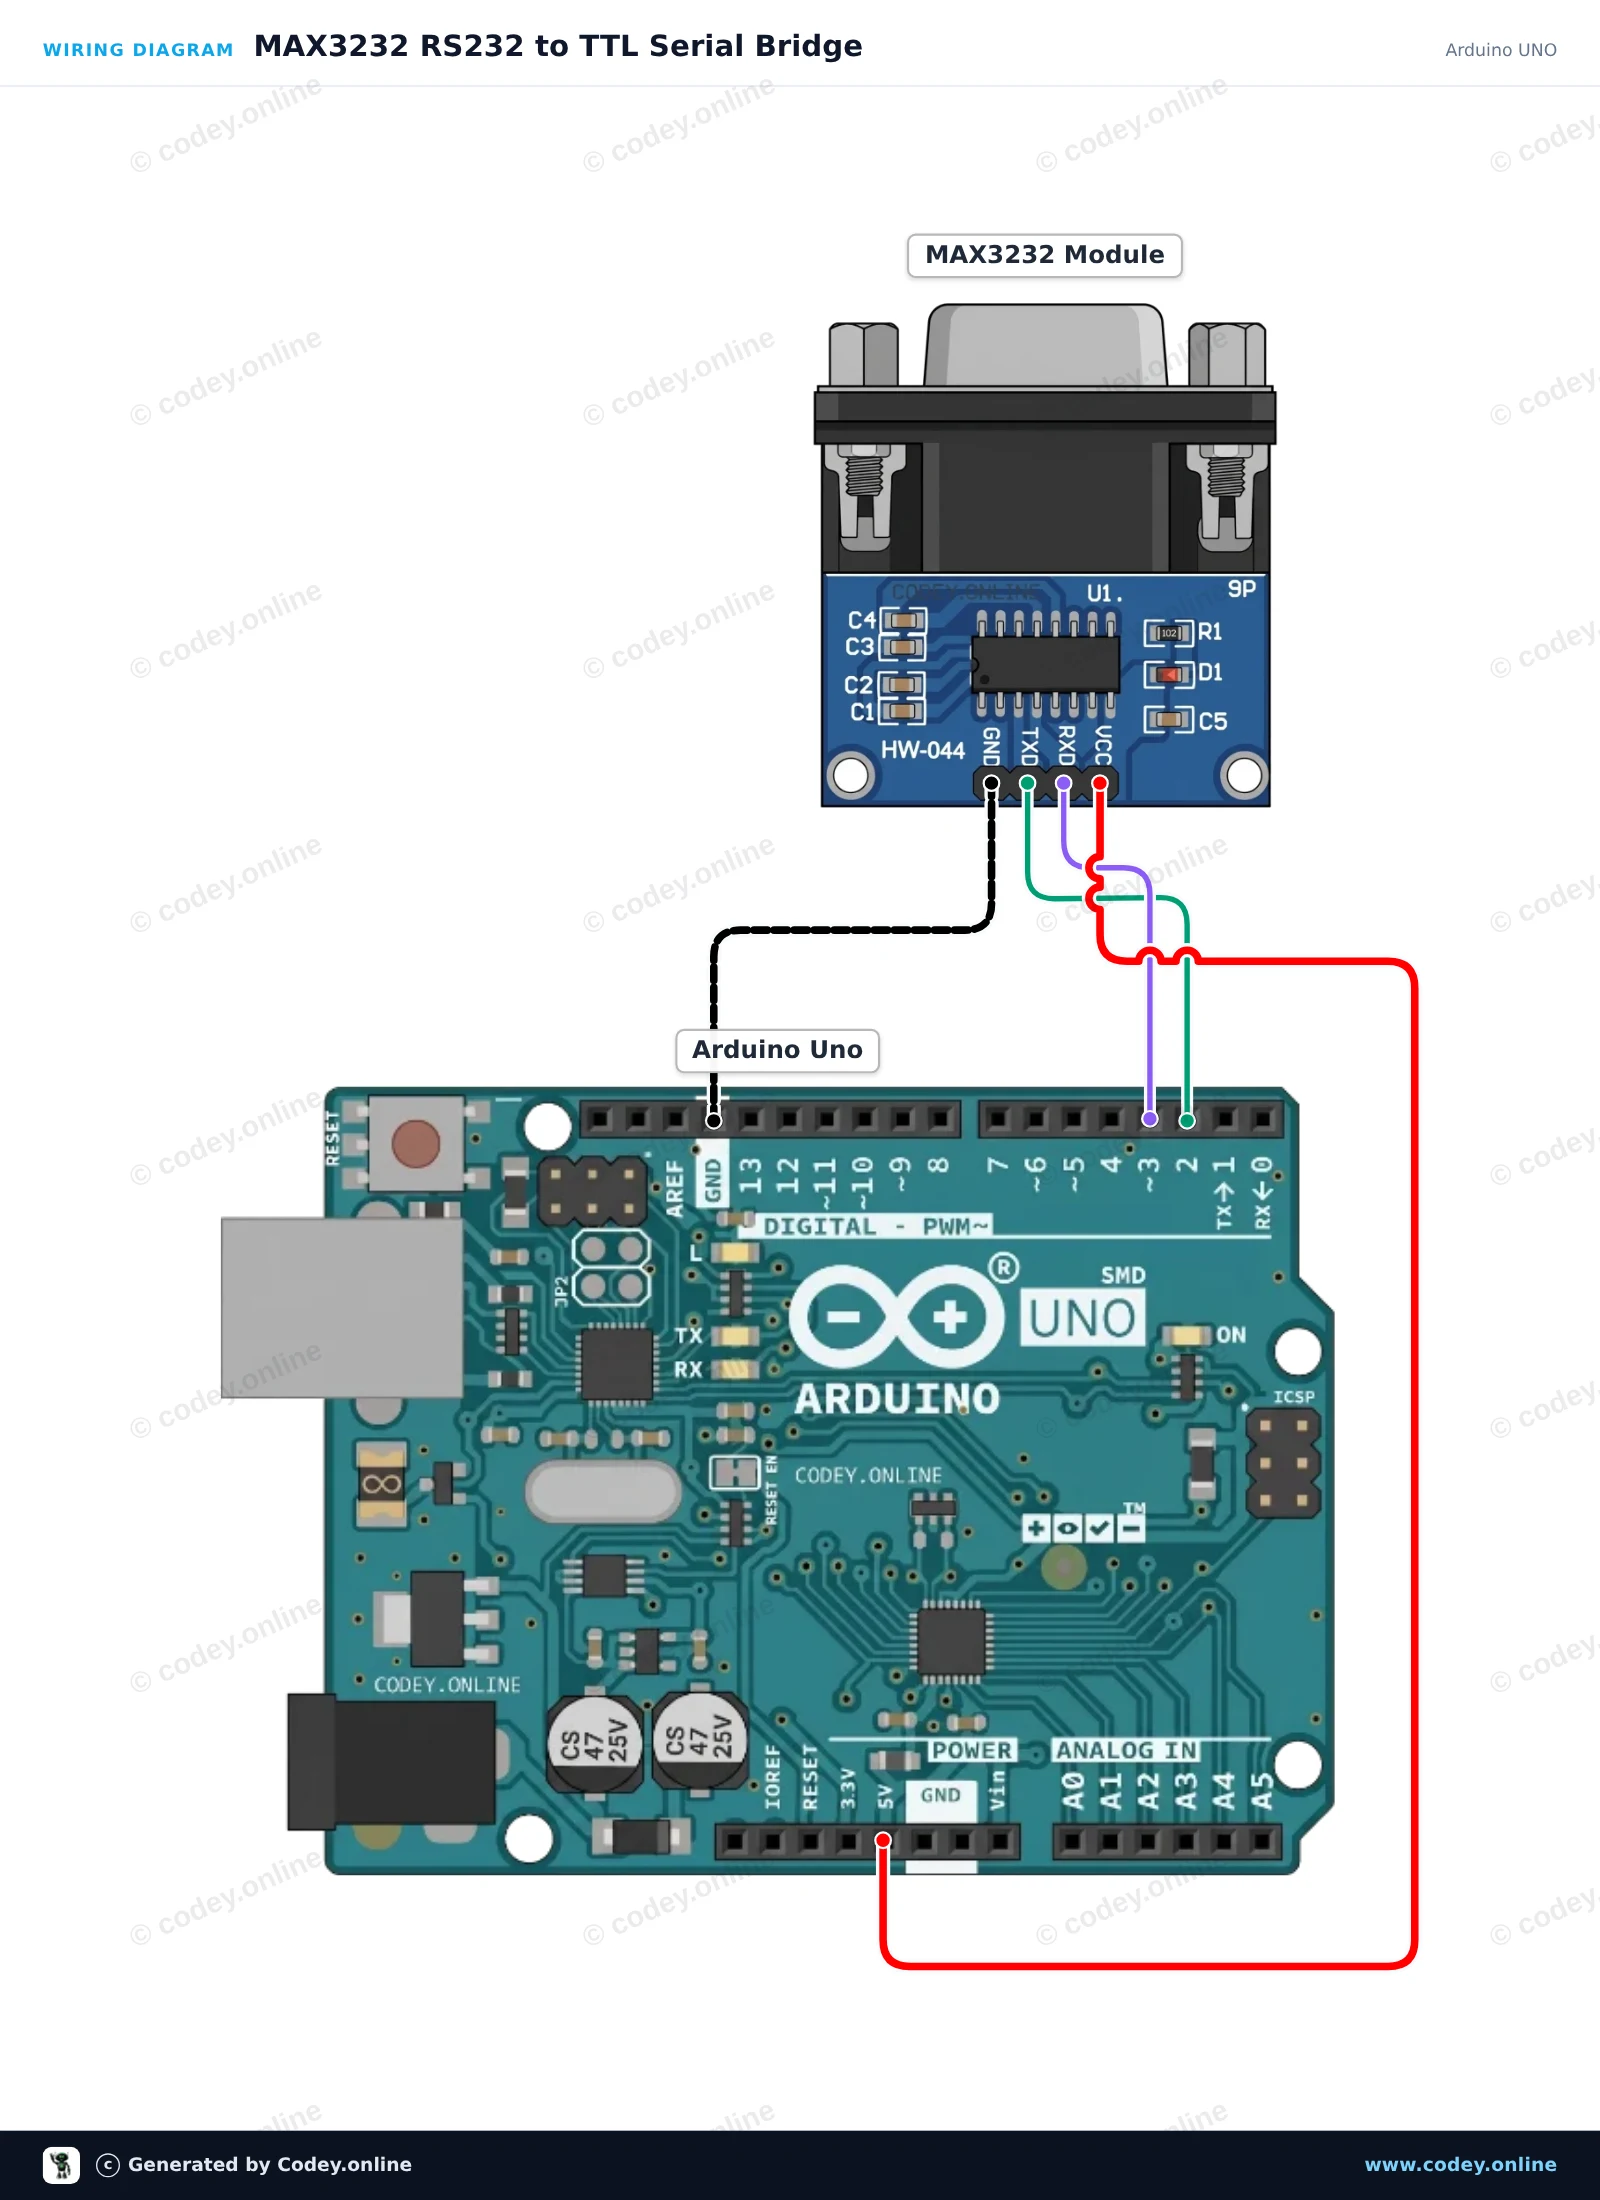
So schließt du den MAX3232 RS232 zu TTL serielle Module an einen Arduino UNO oder ESP32 an, mit einem Beispiel-Sketch, den du direkt hochladen kannst.
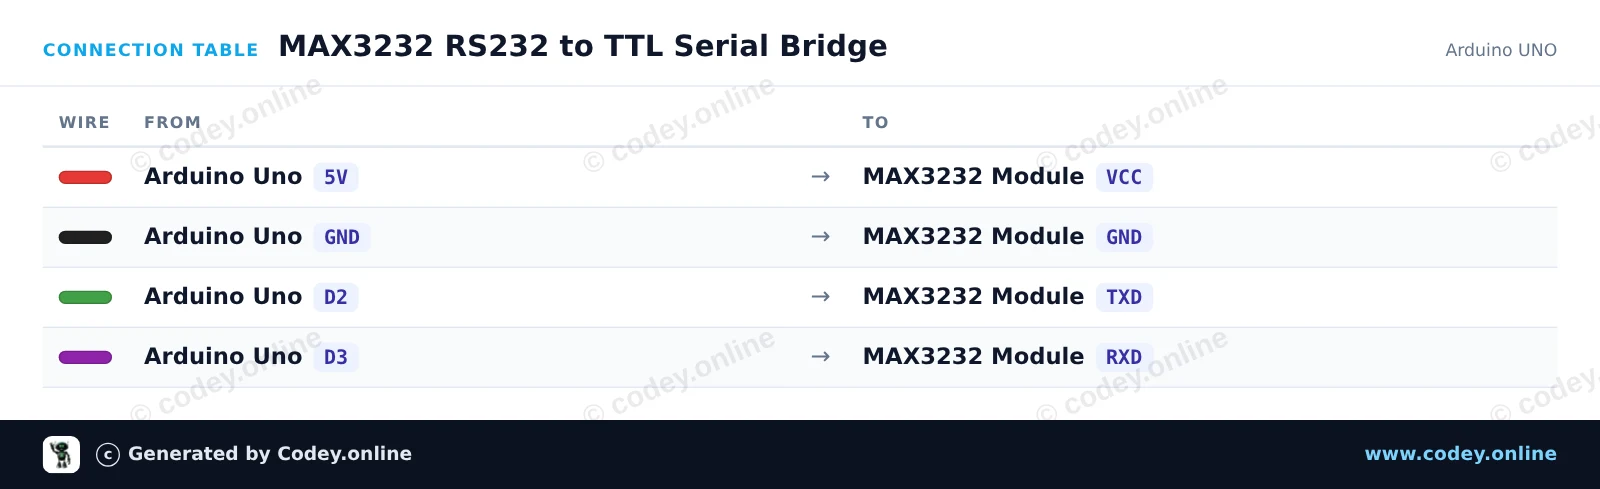
Dieses Projekt richtet eine transparente serielle Brücke zwischen dem Arduino USB Serial Monitor und einem RS232-Gerät über das MAX3232-Modul ein. SoftwareSerial übernimmt die Kommunikation auf den Pins D2 und D3 mit 9600 baud, während die Hardware-Serial für den Computermonitor frei bleibt. Jedes im Serial Monitor eingegebene Zeichen wird über RS232 gesendet, und alle eingehenden RS232-Bytes werden im Monitor ausgegeben.
/*
* ==================================================================
* Generated by Codey.online — https://www.codey.online
* ==================================================================
* Project : MAX3232 RS232 to TTL Serial Bridge
* Board : Arduino UNO (arduino:avr:uno)
* Parts : MAX3232 RS232 to TTL Serial Converter Module
* Libraries : none (built-in)
*
* Codey Online is an AI-powered browser IDE for Arduino and ESP32.
* Describe your project and Codey writes the code, draws the wiring
* diagram and uploads it to your board, straight from the browser.
* This code is free to use, modify and share, without warranty.
* ==================================================================
*/
#include <SoftwareSerial.h>
const uint8_t RX_PIN = 2; // Connect to MAX3232 TXD
const uint8_t TX_PIN = 3; // Connect to MAX3232 RXD
SoftwareSerial rs232Serial(RX_PIN, TX_PIN);
void setup() {
Serial.begin(115200);
rs232Serial.begin(9600);
Serial.println(F("--- MAX3232 RS232 Bridge Ready ---"));
Serial.println(F("Type in the Serial Monitor (115200 baud) to send over RS232 (9600 baud)."));
Serial.println(F("Any response from the RS232 device will appear here."));
}
void loop() {
// Forward characters from the USB Serial Monitor to the RS232 module
while (Serial.available() > 0) {
char c = Serial.read();
rs232Serial.write(c);
}
// Forward characters from the RS232 module to the USB Serial Monitor
while (rs232Serial.available() > 0) {
char c = rs232Serial.read();
Serial.write(c);
}
}
Wiring diagram and example code generated by Codey.online — https://www.codey.online
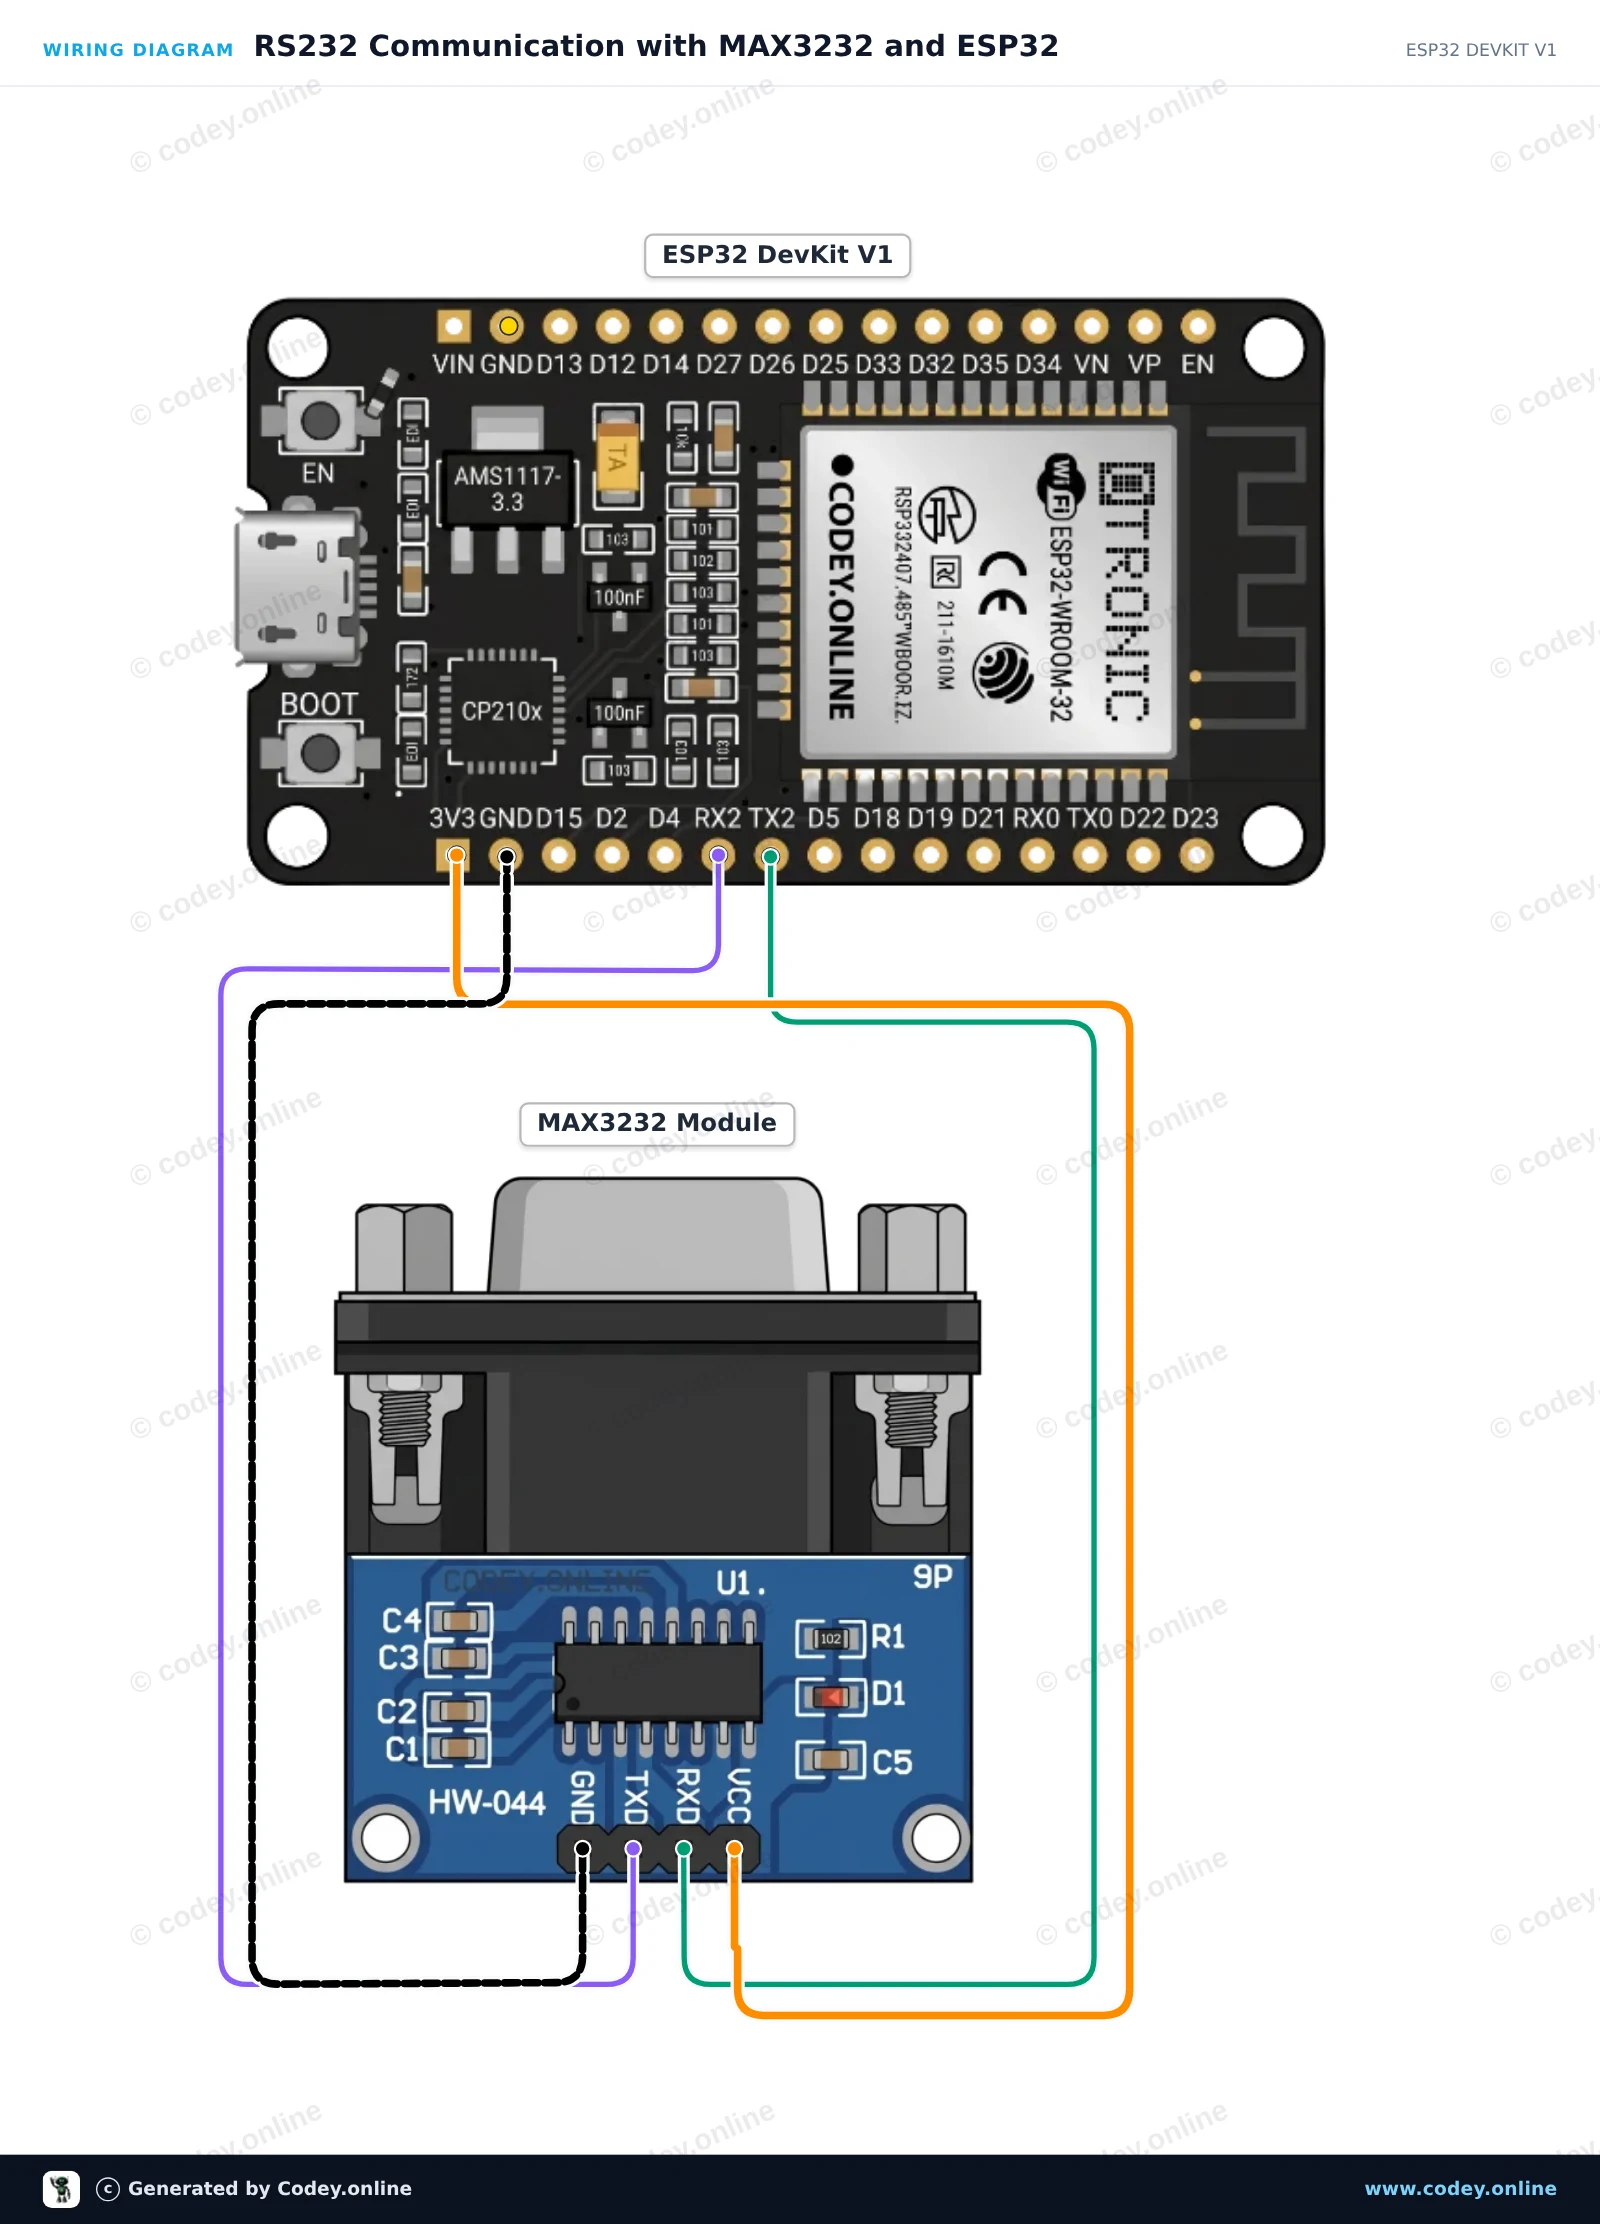
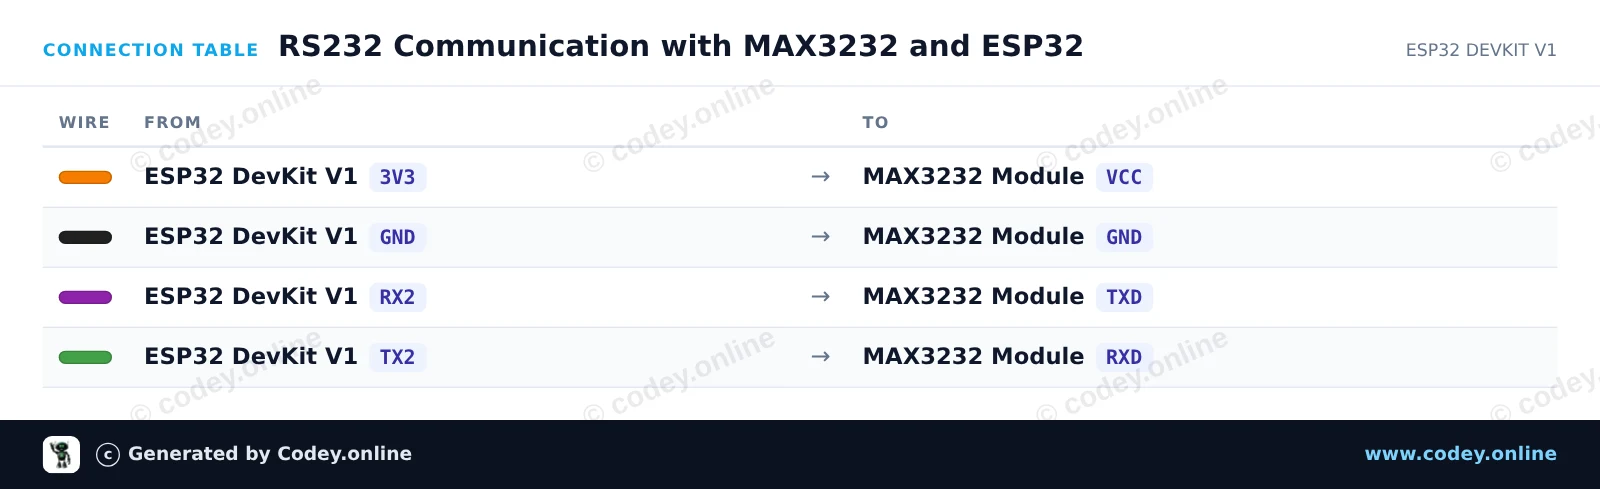
Dieses Projekt verbindet einen ESP32 mit einem MAX3232-Modul, um die RS232-Seriellkommunikation zu ermöglichen. Der ESP32 verwendet Hardware Serial2, um RS232-Signale mit 3.3V-Logikpegeln zu senden und zu empfangen. Um die Funktion innerhalb weniger Minuten zu überprüfen, verbinde die Pins 2 und 3 (RX und TX) am DB9-Anschluss des Moduls für einen Loopback-Test, der ausgehende Nachrichten zurück zum Serial Monitor spiegelt.
/*
* ==================================================================
* Generated by Codey.online — https://www.codey.online
* ==================================================================
* Project : RS232 Communication with MAX3232 and ESP32
* Board : ESP32 DEVKIT V1 (esp32:esp32:esp32doit-devkit-v1)
* Parts : MAX3232 RS232 to TTL Serial Converter Module
* Libraries : none (built-in)
*
* Codey Online is an AI-powered browser IDE for Arduino and ESP32.
* Describe your project and Codey writes the code, draws the wiring
* diagram and uploads it to your board, straight from the browser.
* This code is free to use, modify and share, without warranty.
* ==================================================================
*/
// MAX3232 RS232 Demo for ESP32 DEVKIT V1
// Uses Hardware Serial2: GPIO 16 (RX2) and GPIO 17 (TX2)
const int RX_PIN = 16;
const int TX_PIN = 17;
unsigned long lastSendTime = 0;
const unsigned long sendInterval = 2000; // Send a test string every 2 seconds
int messageCounter = 0;
void setup() {
// USB Serial Monitor
Serial.begin(115200);
while (!Serial && millis() < 2000);
// RS232 Port on Serial2 (9600 baud, 8N1)
Serial2.begin(9600, SERIAL_8N1, RX_PIN, TX_PIN);
Serial.println("--- MAX3232 RS232 Bridge Initialized ---");
Serial.println("Tip: Short DB9 pins 2 & 3 for an automatic loopback test.");
}
void loop() {
// Periodically send a message out via RS232
if (millis() - lastSendTime >= sendInterval) {
lastSendTime = millis();
messageCounter++;
String msg = "RS232 Test Message #" + String(messageCounter);
Serial2.println(msg);
Serial.print("[RS232 TX] ");
Serial.println(msg);
}
// Print any incoming data from the RS232 interface
if (Serial2.available()) {
Serial.print("[RS232 RX] ");
while (Serial2.available()) {
char inChar = (char)Serial2.read();
Serial.print(inChar);
}
}
// Forward any user input from Serial Monitor to RS232
if (Serial.available()) {
char outChar = (char)Serial.read();
Serial2.write(outChar);
}
}
Wiring diagram and example code generated by Codey.online — https://www.codey.online
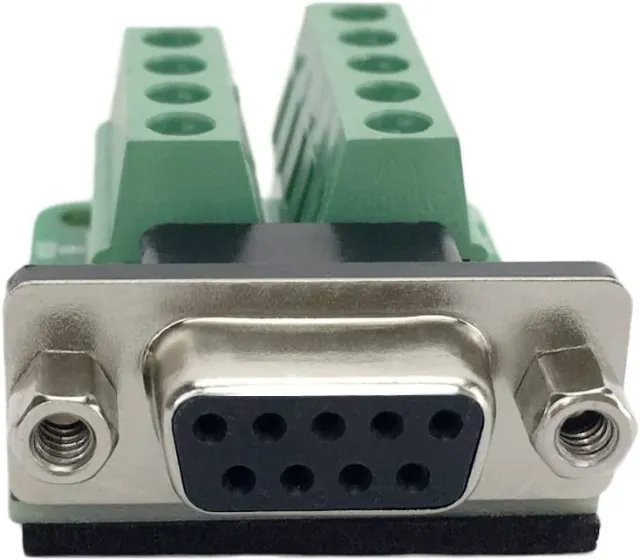
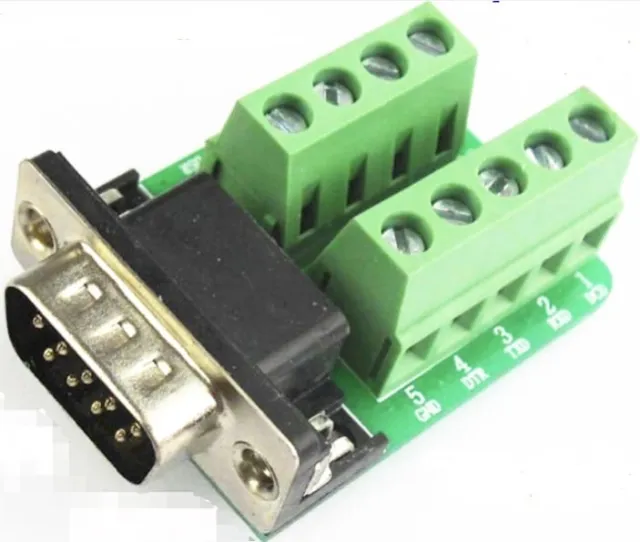
MAX3232 RS232 zu TTL seriële poortconvertermodule DB9-connector
Die wichtigsten Parameter:
Steuerchip: MAX3232
Betriebsspannung: 3.3V-5V DC
Betriebsstrom: 6mA
Stromversorgung: extern
Schnittstelle: TXD, RXD, GND, VCC
Gesamtabmessungen: 33 mm x 32 mm x 16 mm

| Abmessungen | 33 mm x 32 mm x 16 mm |
|---|---|
| Anschluss | DB9-Stecker |
| Modell | MAX3232 |
| Strom | 6mA |
Erfüllt die Erwartungen bestens.
Funktioniert gut angeschlossen an die Esp32 für die Verbindung mit einem Hybrid-Wechselrichter
Noch nicht getestet.
Ich habe das Rs232-Modul an einen Arduino Uno angeschlossen, für eine Rs232-Datenverbindung mit einem Anenji Hybrid-Wechselrichter, um daraus die aktuellen Daten auszulesen. Es funktioniert hervorragend, und ich bin sehr zufrieden damit.
prima Produkte !
Nicht zufrieden? Du hast 30 Tage nach Erhalt Zeit, das Produkt zurückzusenden.
Alles zur Rücksendung
MAX3232 RS232 zu TTL serielle Module