SKU: OT2021-D48 Artikelnummer: AA134 EAN: 4897916523855

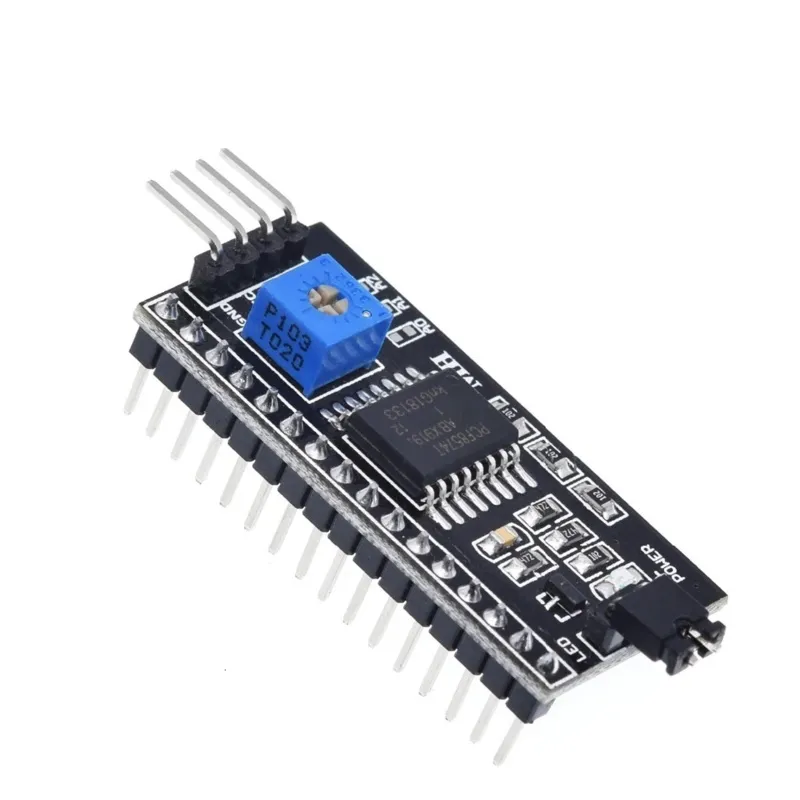
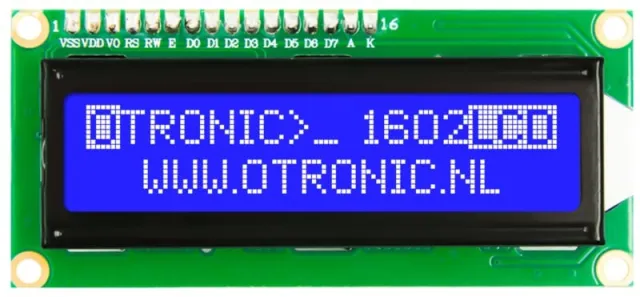
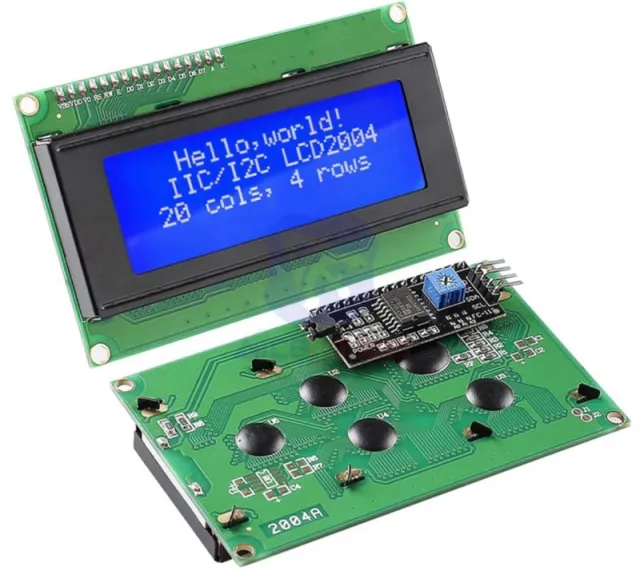
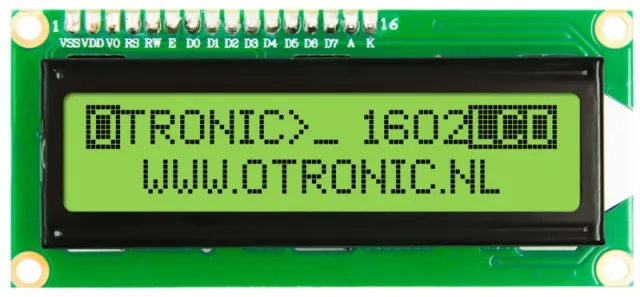
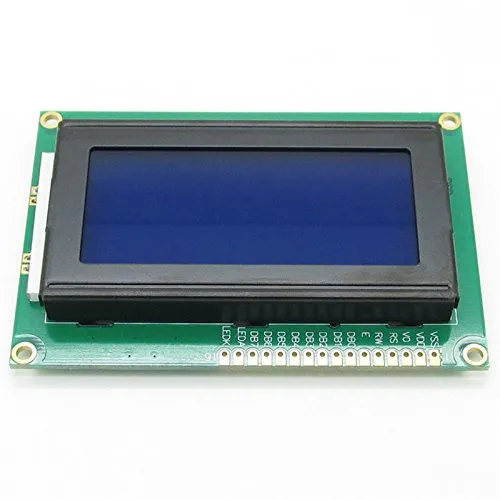
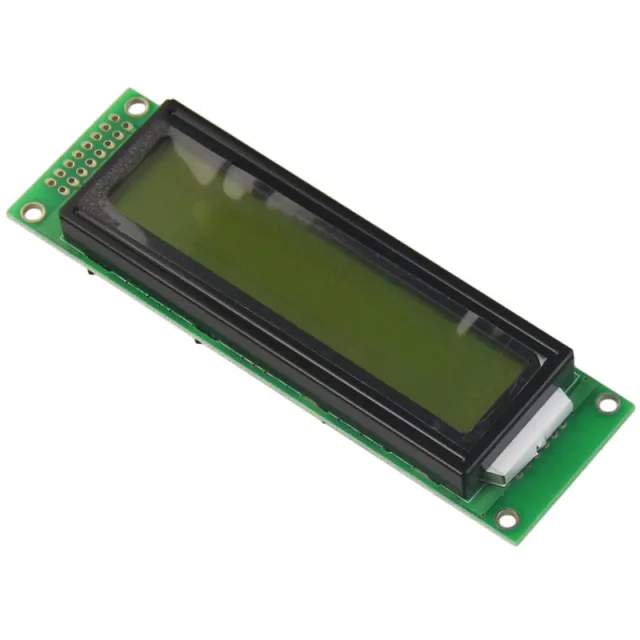
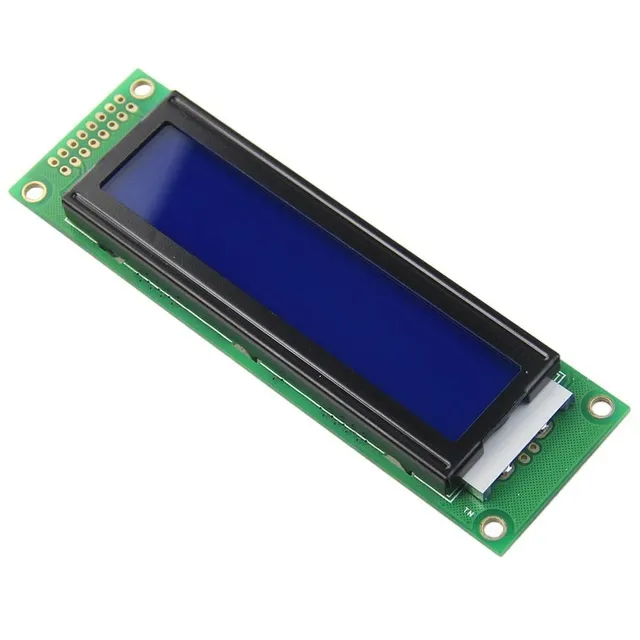
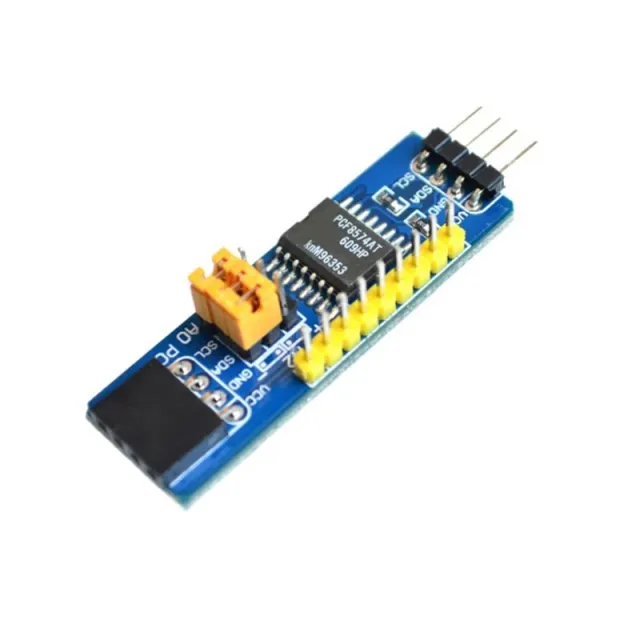
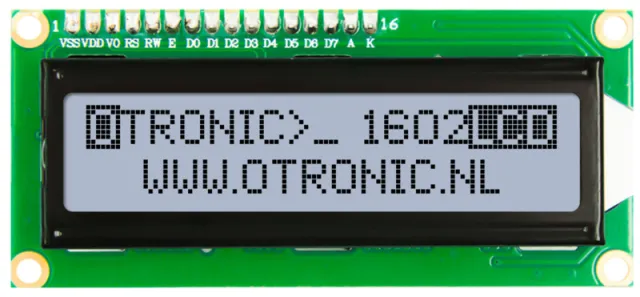
Mit diesem Modul können Sie Ihrer 1602- oder 2004-LCD-Anzeige eine I2C / IIC-Kommunikationsschnittstelle hinzufügen, sodass nur 2 Datenleitungen erforderlich sind, um Ihr LCD-Display anzusteuern.
• Versorgungsspannung: 2,5 - 6 V
• unterstützt das I2C-Protokoll
• Einstellen der Geräteadresse (A0 / A1 / A2)
• Hintergrundbeleuchtung ein-/ausschalten
• Kontrasteinstellung möglich
• Abmessungen (LxBxH): 41,5 x 19 x 15,3 mm
Afmetingen
Lengte: 4,55cm
Breedte: 1,9cm
Hoogte: 1,5cm
Beim Abspielen wird das Video von YouTube geladen.
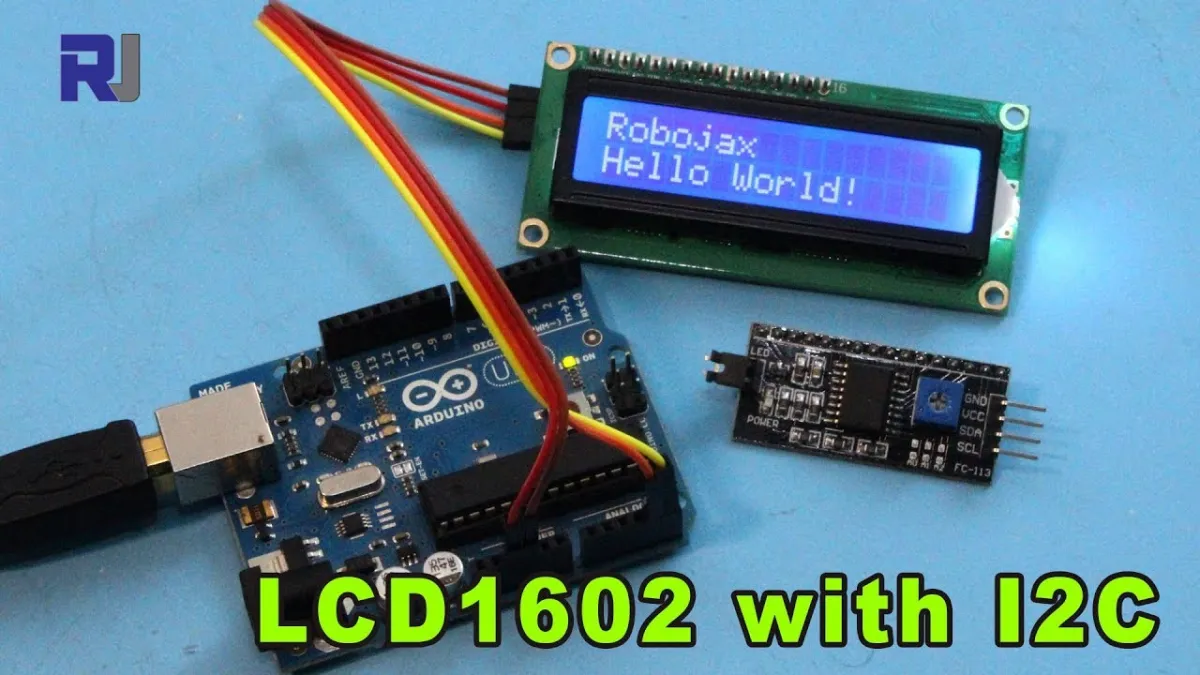
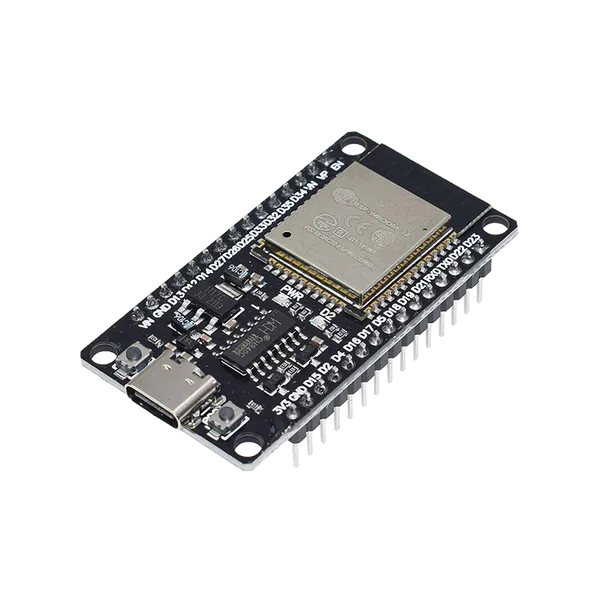
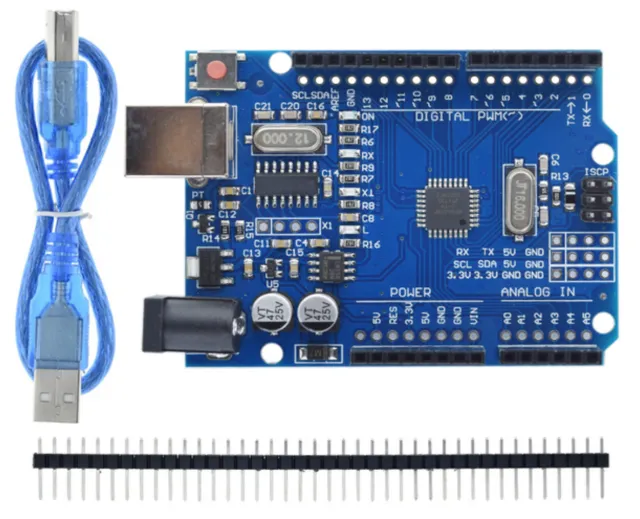
So schließt du den LCD 1602/2004 I2C-Adapter an einen Arduino UNO oder ESP32 an, mit einem Beispiel-Sketch, den du direkt hochladen kannst.
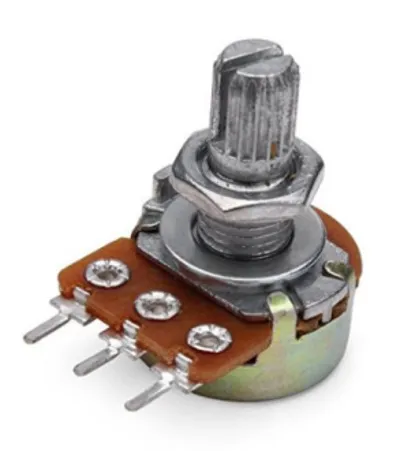
Dieses Projekt zeigt, wie man ein 1602-LCD-Modul mit einem I2C-Backpack anschließt und Text darauf anzeigt. Es initialisiert das Display, schaltet die Hintergrundbeleuchtung ein und gibt eine Begrüßung zusammen mit einem Live-Uptime-Zähler aus. Stelle das Potentiometer auf der Rückseite des Moduls ein, wenn der Textkontrast zu hoch oder zu niedrig ist.
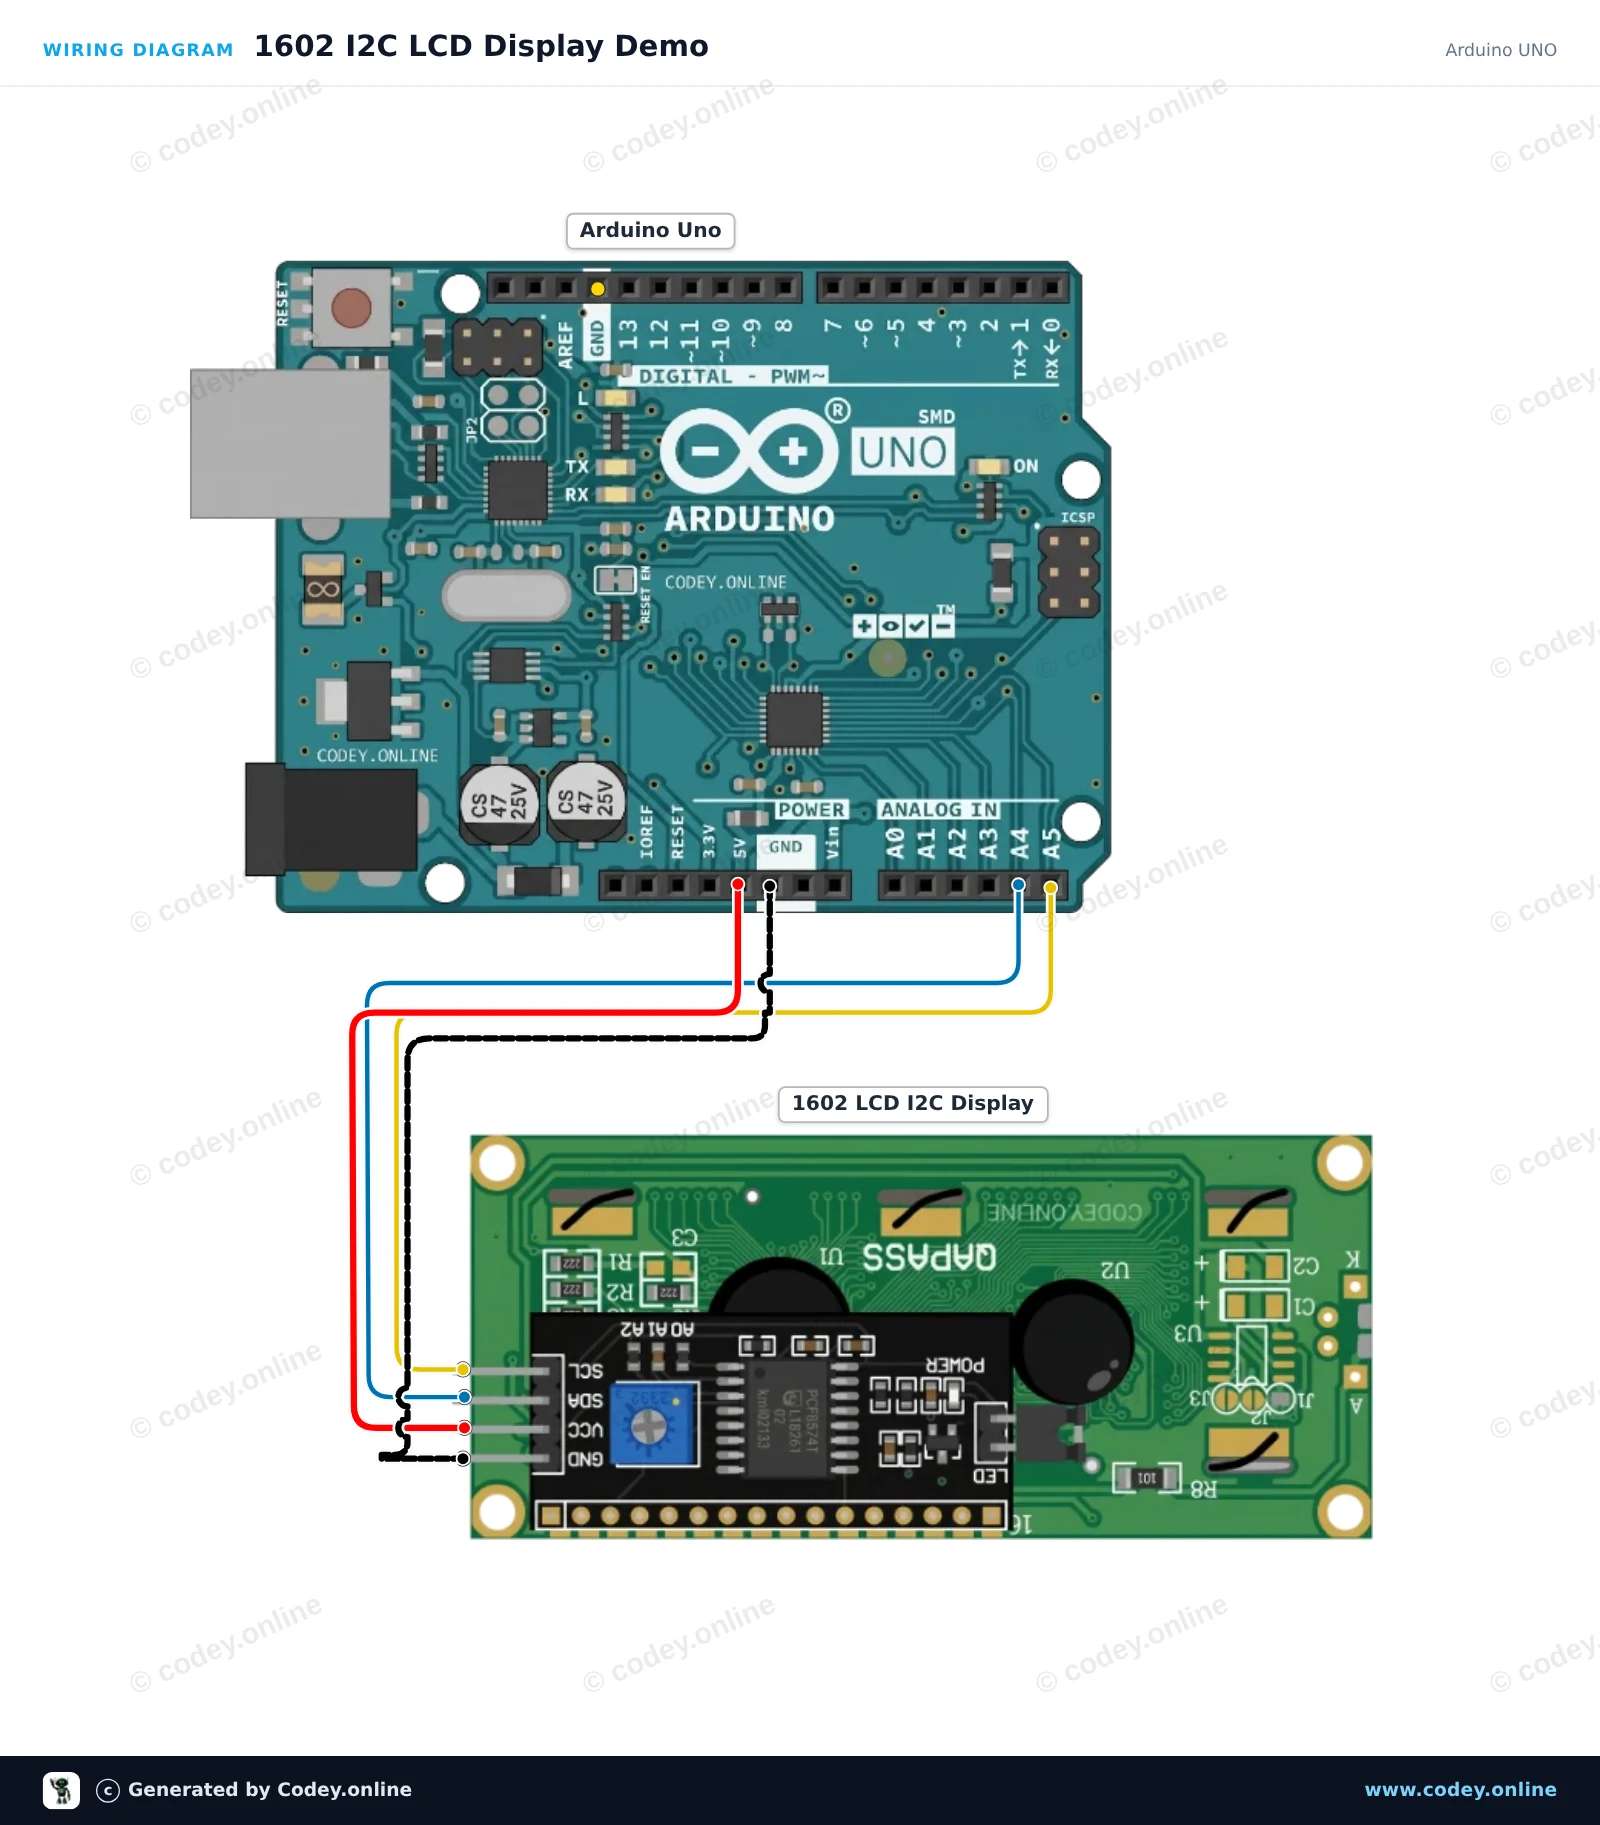
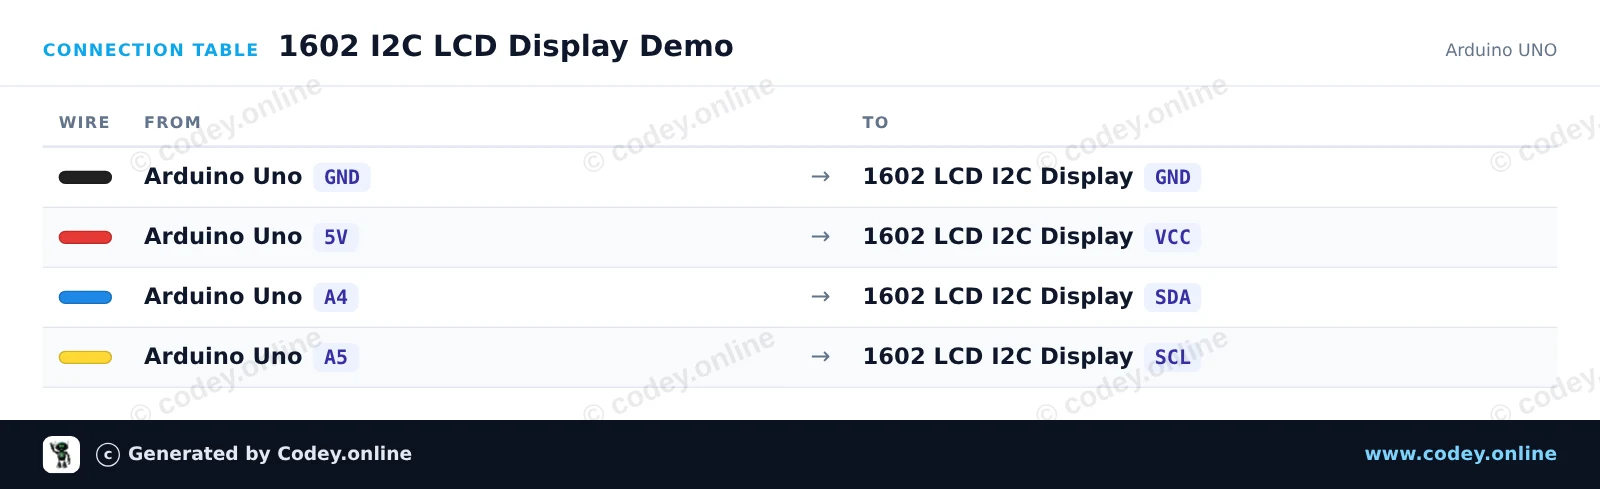
/*
 * ==================================================================
 *  Generated by Codey.online  —  https://www.codey.online
 * ==================================================================
 *  Project   : 1602 I2C LCD Display Demo
 *  Board     : Arduino UNO (arduino:avr:uno)
 *  Parts     : 1602 LCD I2C DISPLAY
 *  Libraries : LiquidCrystal I2C 1.1.2
 *
 *  Codey Online is an AI-powered browser IDE for Arduino and ESP32.
 *  Describe your project and Codey writes the code, draws the wiring
 *  diagram and uploads it to your board, straight from the browser.
 *  This code is free to use, modify and share, without warranty.
 * ==================================================================
 */

#include <Wire.h>
#include <LiquidCrystal_I2C.h>

// Most 1602 I2C modules use address 0x27 or 0x3F
LiquidCrystal_I2C lcd(0x27, 16, 2);

void setup() {
  Serial.begin(115200);

  lcd.init();
  lcd.backlight();

  lcd.setCursor(0, 0);
  lcd.print("Hello, Arduino!");
  lcd.setCursor(0, 1);
  lcd.print("Uptime: 0s");

  Serial.println(F("1602 LCD display initialized."));
}

void loop() {
  static unsigned long seconds = 0;

  delay(1000);
  seconds++;

  lcd.setCursor(8, 1);
  lcd.print(seconds);
  lcd.print("s   ");

  Serial.print(F("Uptime (s): "));
  Serial.println(seconds);
}Benötigte Bibliotheken: LiquidCrystal I2C 1.1.2
Wiring diagram and example code generated by Codey.online — https://www.codey.online
Dieses Projekt zeigt eine Willkommensnachricht und einen Laufzeit-Zähler auf einem 1602 I2C-Zeichen-LCD an. Ein bidirektionaler 4-Kanal-Logic-Level-Shifter wird verwendet, um die 3.3V-I2C-Signale des ESP32 sicher an die 5V-Logik anzupassen, die für das LCD-Backpack erforderlich ist. Nach dem Einschalten initialisiert sich das LCD und aktualisiert die laufenden Sekunden jede Sekunde.
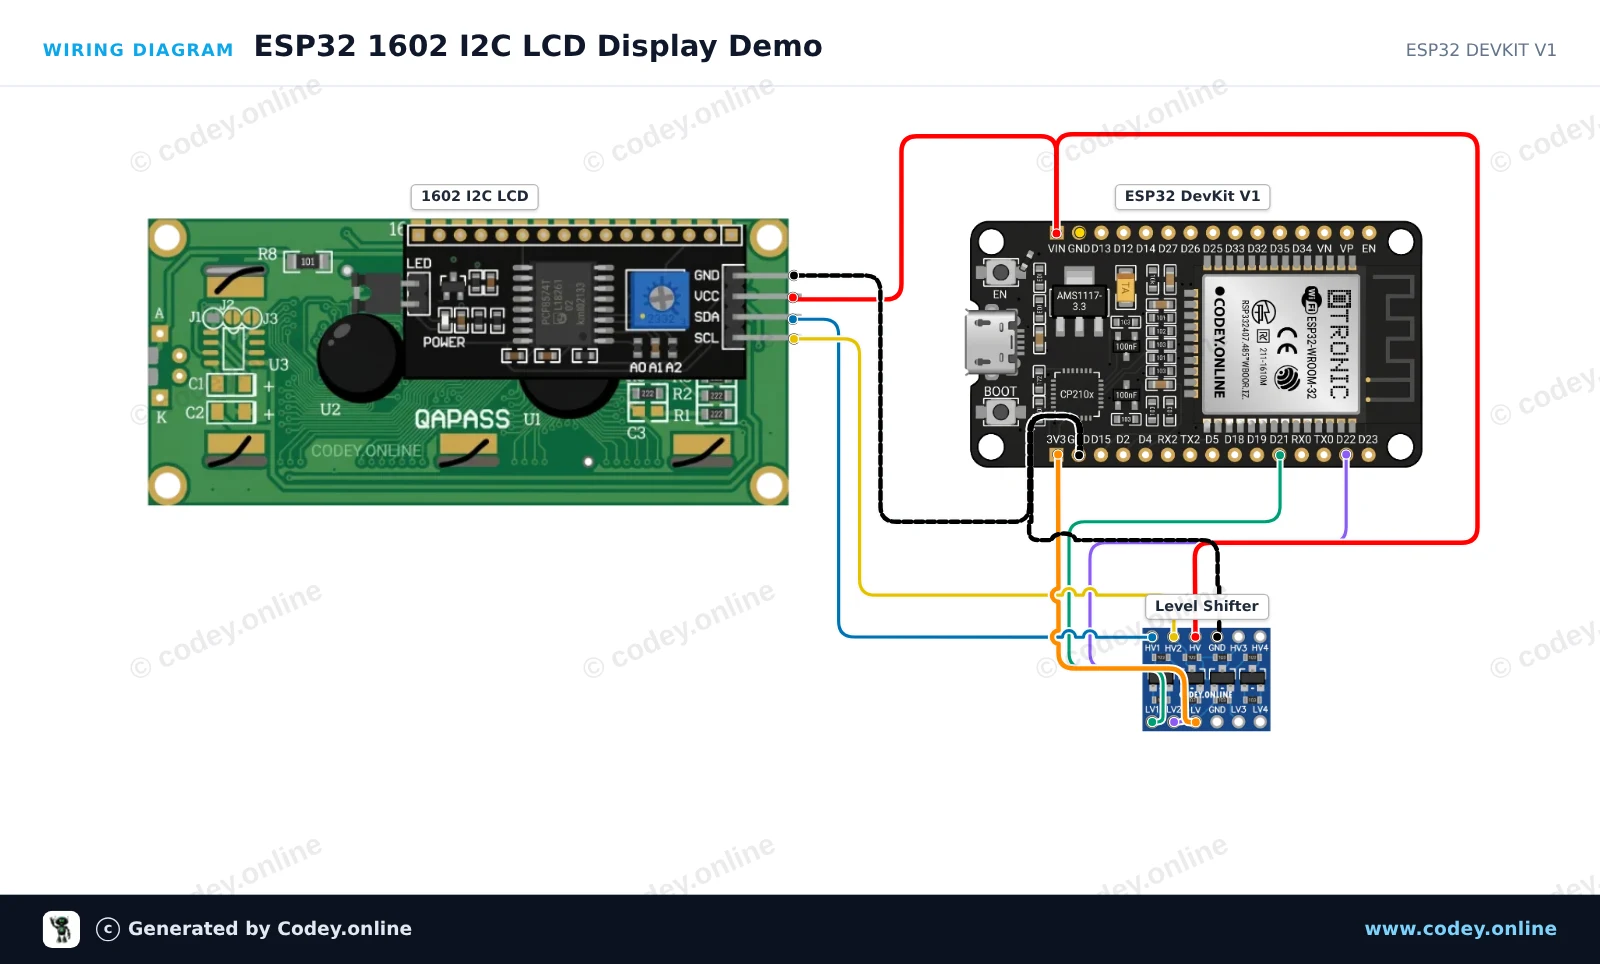
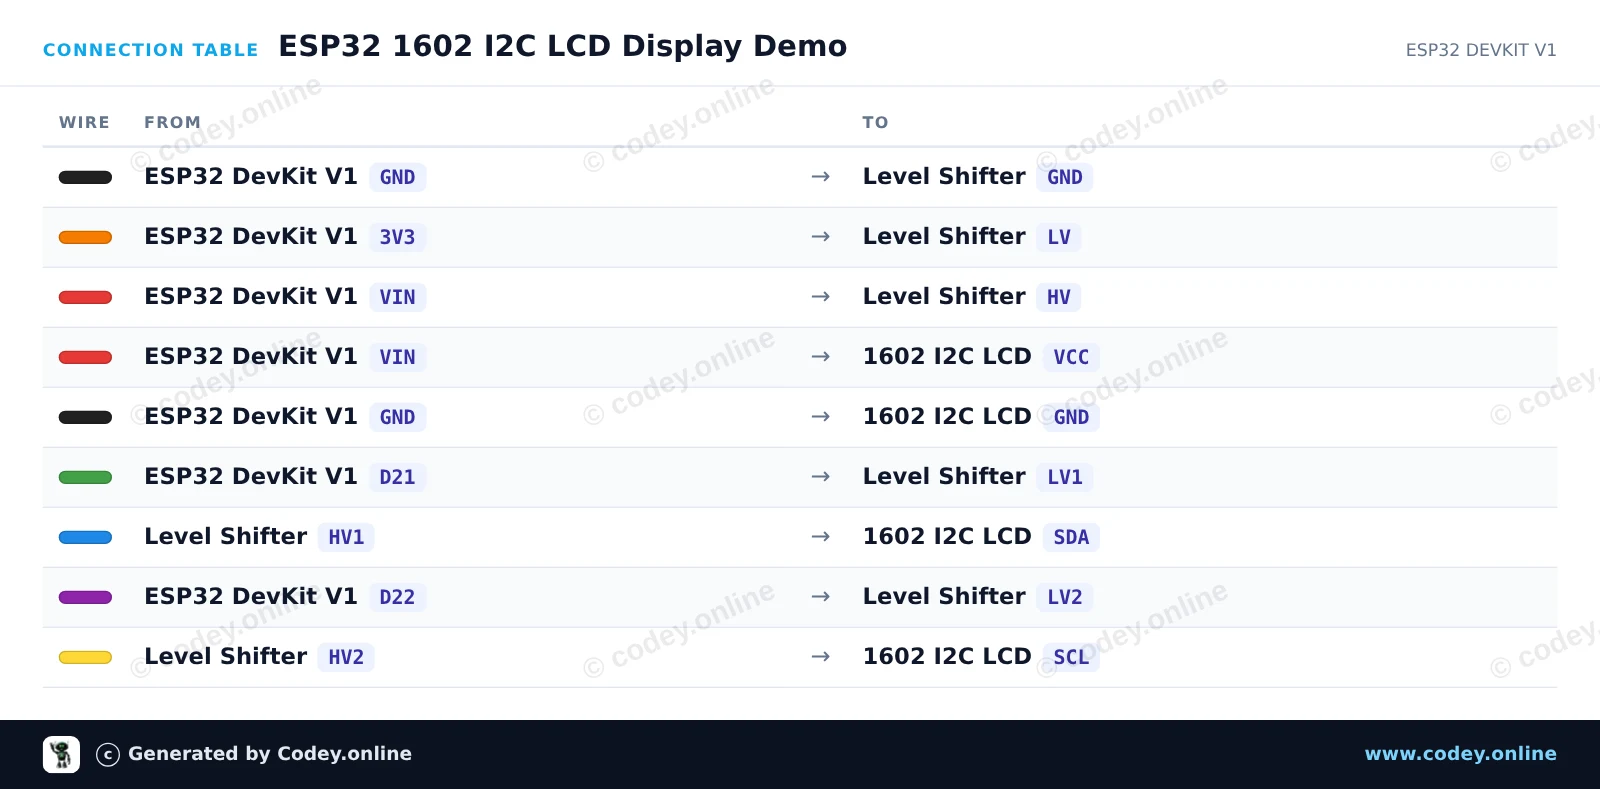
/*
 * ==================================================================
 *  Generated by Codey.online  —  https://www.codey.online
 * ==================================================================
 *  Project   : ESP32 1602 I2C LCD Display Demo
 *  Board     : ESP32 DEVKIT V1 (esp32:esp32:esp32doit-devkit-v1)
 *  Parts     : 1602 LCD I2C DISPLAY
 *  Libraries : LiquidCrystal I2C 1.1.2
 *
 *  Codey Online is an AI-powered browser IDE for Arduino and ESP32.
 *  Describe your project and Codey writes the code, draws the wiring
 *  diagram and uploads it to your board, straight from the browser.
 *  This code is free to use, modify and share, without warranty.
 * ==================================================================
 */

#include <Wire.h>
#include <LiquidCrystal_I2C.h>

// Set the LCD address (commonly 0x27 or 0x3F) for a 16 chars and 2 line display
LiquidCrystal_I2C lcd(0x27, 16, 2);

void setup() {
  Serial.begin(115200);

  // Initialize I2C communication (SDA = GPIO 21, SCL = GPIO 22)
  Wire.begin(21, 22);

  // Initialize the LCD
  lcd.init();
  lcd.backlight();

  // Print greeting
  lcd.setCursor(0, 0);
  lcd.print("ESP32 LCD Demo");
  lcd.setCursor(0, 1);
  lcd.print("Uptime: 0s");

  Serial.println("1602 LCD Initialized!");
}

void loop() {
  // Update uptime counter every second
  static unsigned long lastUpdate = 0;
  if (millis() - lastUpdate >= 1000) {
    lastUpdate = millis();
    unsigned long seconds = millis() / 1000;

    lcd.setCursor(8, 1);
    lcd.print(seconds);
    lcd.print("s   ");

    Serial.print("Uptime: ");
    Serial.print(seconds);
    Serial.println(" s");
  }
}Benötigte Bibliotheken: LiquidCrystal I2C 1.1.2
Wiring diagram and example code generated by Codey.online — https://www.codey.online






 English
  Nederlands
  Frans
Frans  Italiano
  Español
  Suomi
Suomi  Polski
  Dansk
Dansk  Ελληνικά
  Български
  Čeština
  Hrvatski
  Aileen