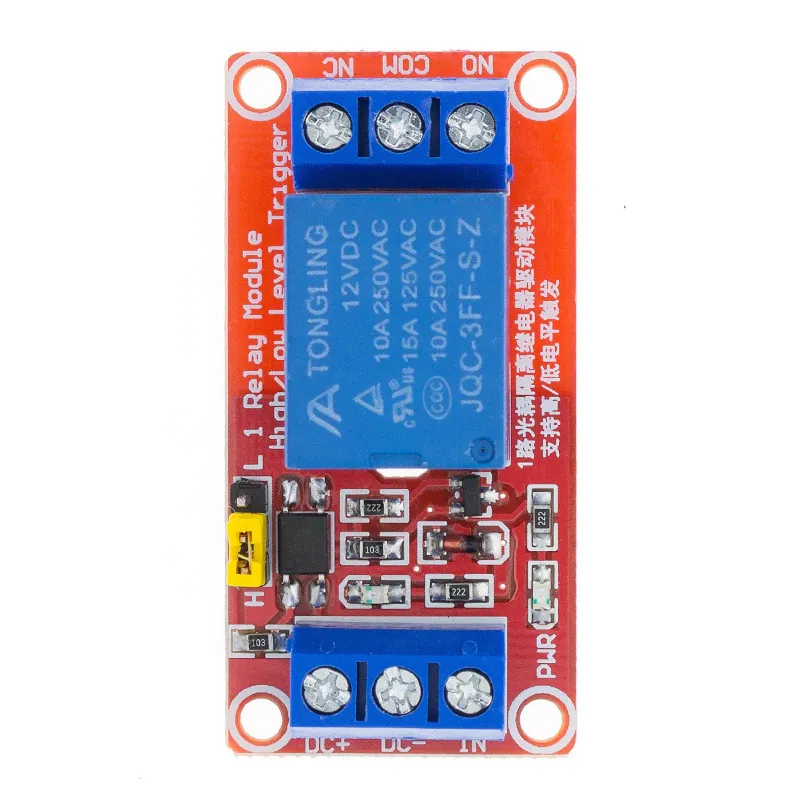
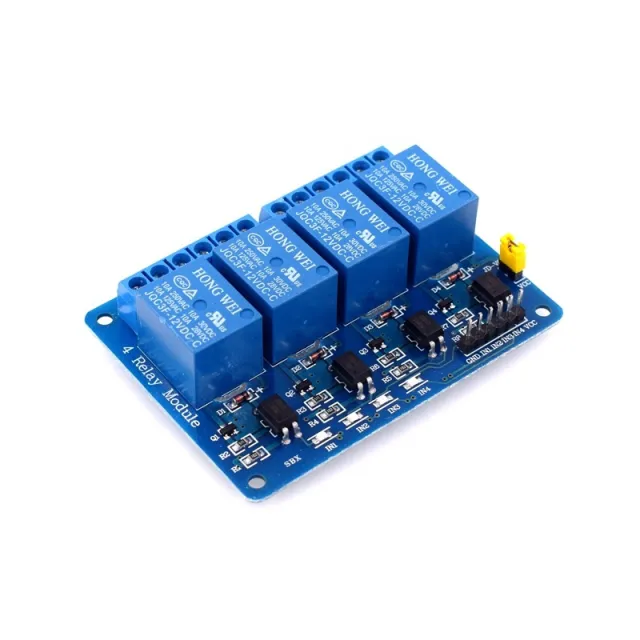
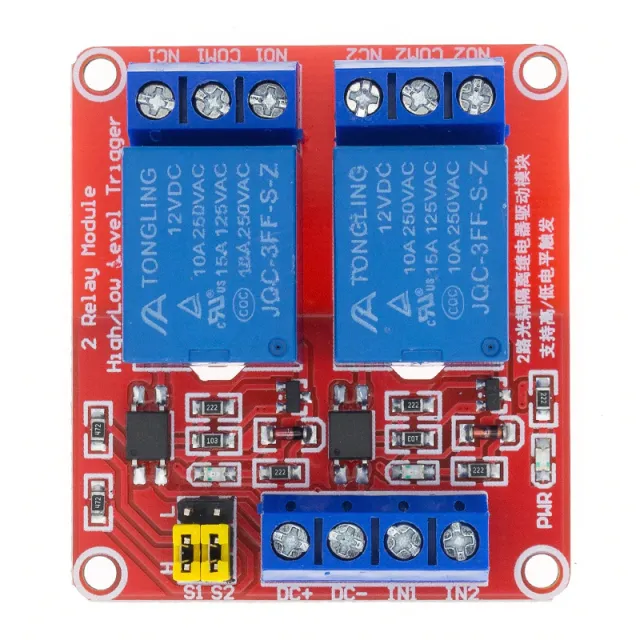
Relaismodul 12V mit 1 Relais auf Leiterplatte und LED-Anzeige zum Schalten hoher Lasten.
SKU: OT901-C111 Artikelnummer: BA050 EAN: 5408955714471 Lagerort: C11.01
Alternative
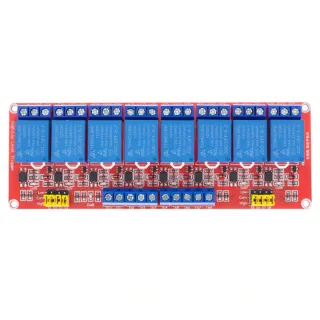
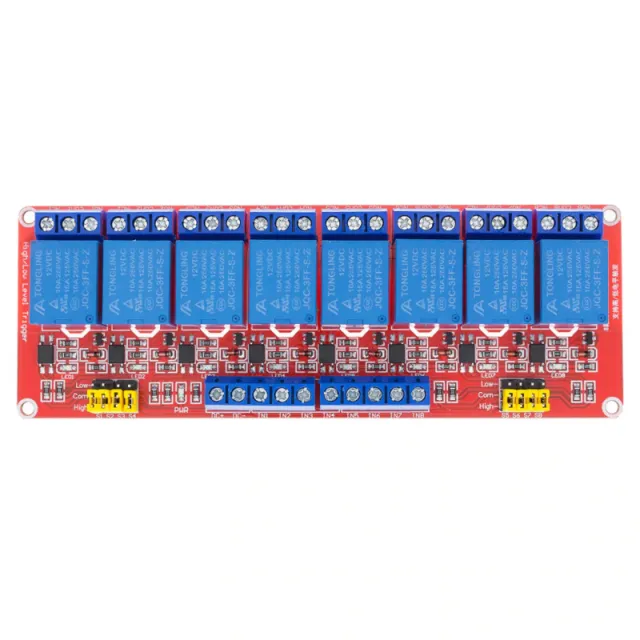
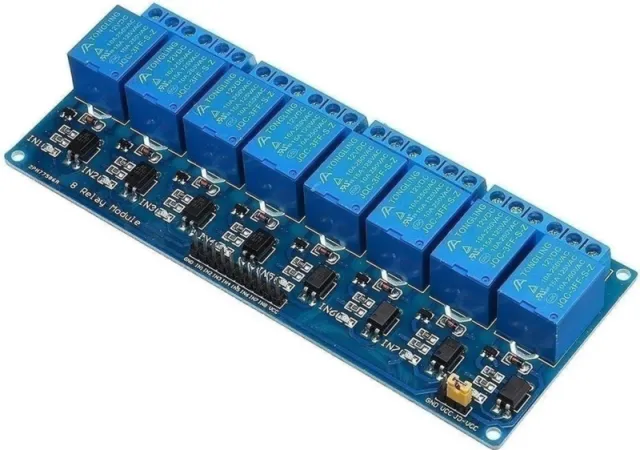
Relais Modul 12v | 8-Kanal
€ 9,85
Diese Alternative ansehen
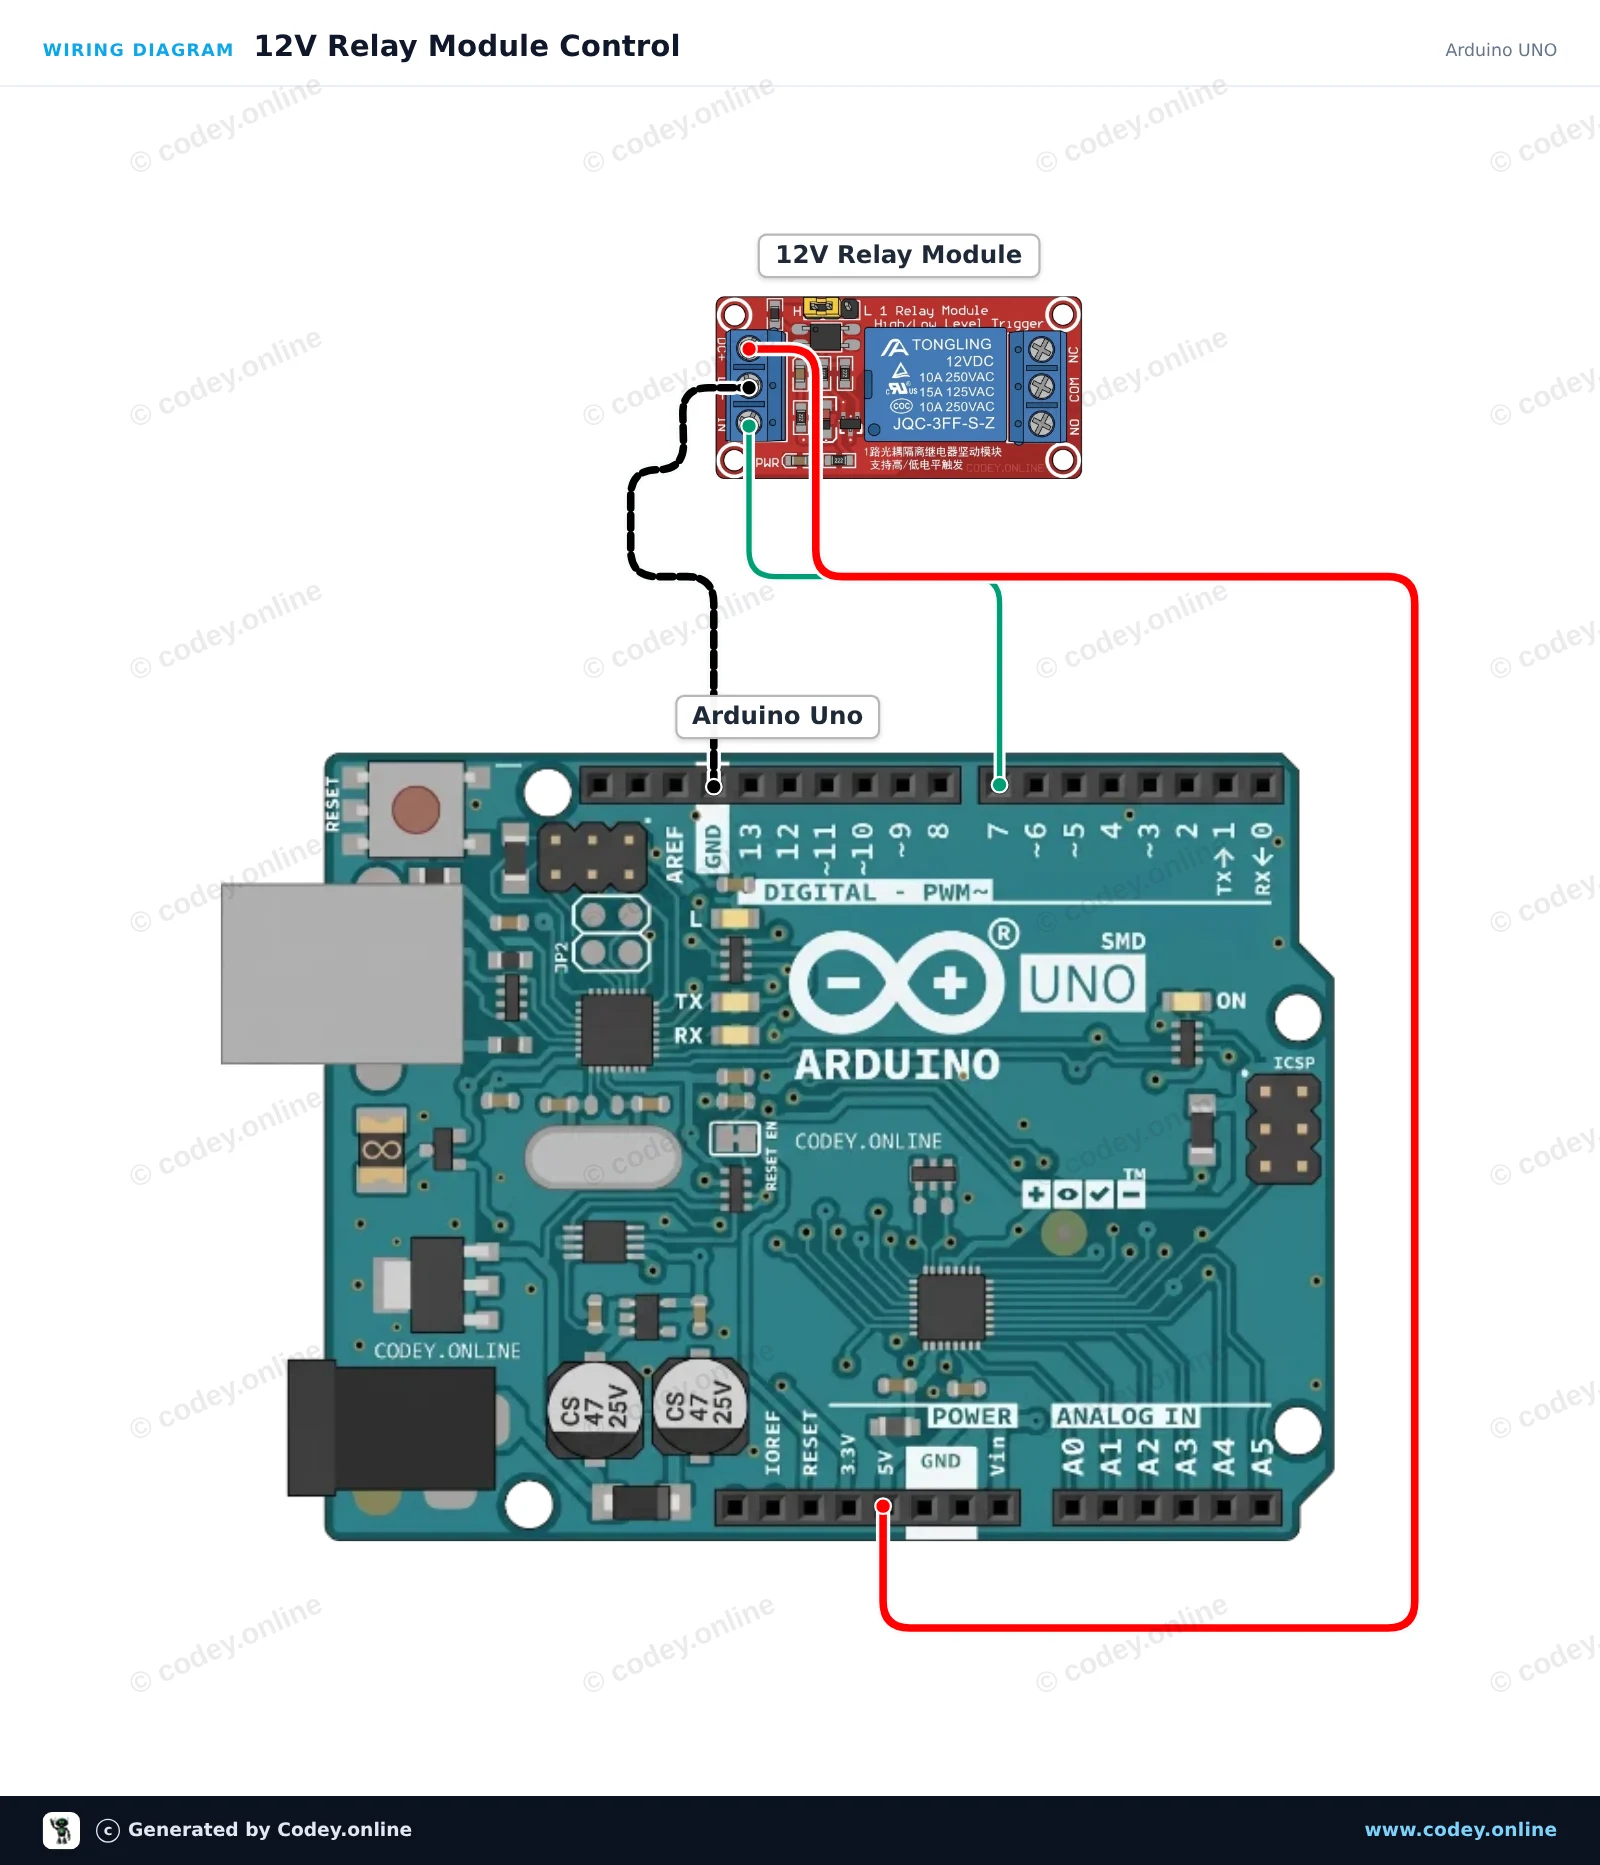
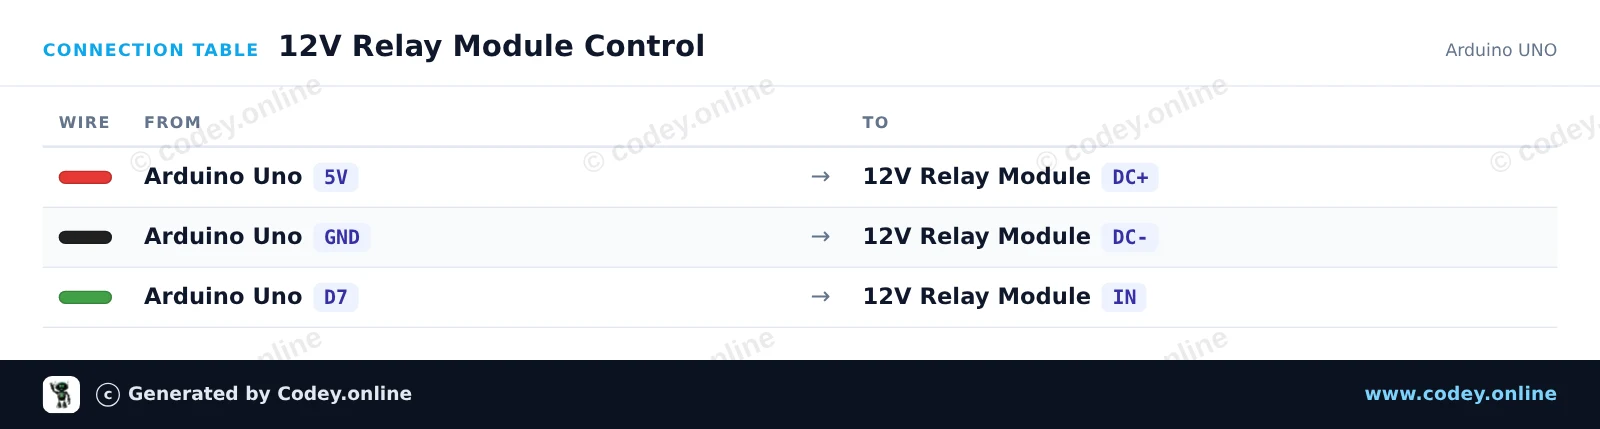
So schließt du den Relaismodul 12v an einen Arduino UNO oder ESP32 an, mit einem Beispiel-Sketch, den du direkt hochladen kannst.
Dieses Projekt zeigt, wie man ein 12V-Relaismodul mit einem Arduino Uno steuert. Der Sketch schaltet das Relais alle 2 Sekunden abwechselnd EIN und AUS und zeigt den aktuellen Zustand im Serial Monitor an. Eine integrierte LED-Anzeige auf dem Modul leuchtet, wenn das Relais aktiviert ist.
/*
* ==================================================================
* Generated by Codey.online — https://www.codey.online
* ==================================================================
* Project : 12V Relay Module Control
* Board : Arduino UNO (arduino:avr:uno)
* Parts : Relais Module 12v AC250V 10A Relais 12v 1 relais LED indicator
* Libraries : none (built-in)
*
* Codey Online is an AI-powered browser IDE for Arduino and ESP32.
* Describe your project and Codey writes the code, draws the wiring
* diagram and uploads it to your board, straight from the browser.
* This code is free to use, modify and share, without warranty.
* ==================================================================
*/
// Pin configuration
const int RELAY_PIN = 7;
void setup() {
// Initialize serial communication
Serial.begin(115200);
while (!Serial) {
; // Wait for serial port to connect
}
// Configure relay control pin
pinMode(RELAY_PIN, OUTPUT);
digitalWrite(RELAY_PIN, HIGH); // Default off (active-low module)
Serial.println(F("12V Relay Module Demo Initialized"));
}
void loop() {
// Activate relay (Low-level trigger)
Serial.println(F("Relay: ON"));
digitalWrite(RELAY_PIN, LOW);
delay(2000);
// Deactivate relay
Serial.println(F("Relay: OFF"));
digitalWrite(RELAY_PIN, HIGH);
delay(2000);
}
Wiring diagram and example code generated by Codey.online — https://www.codey.online
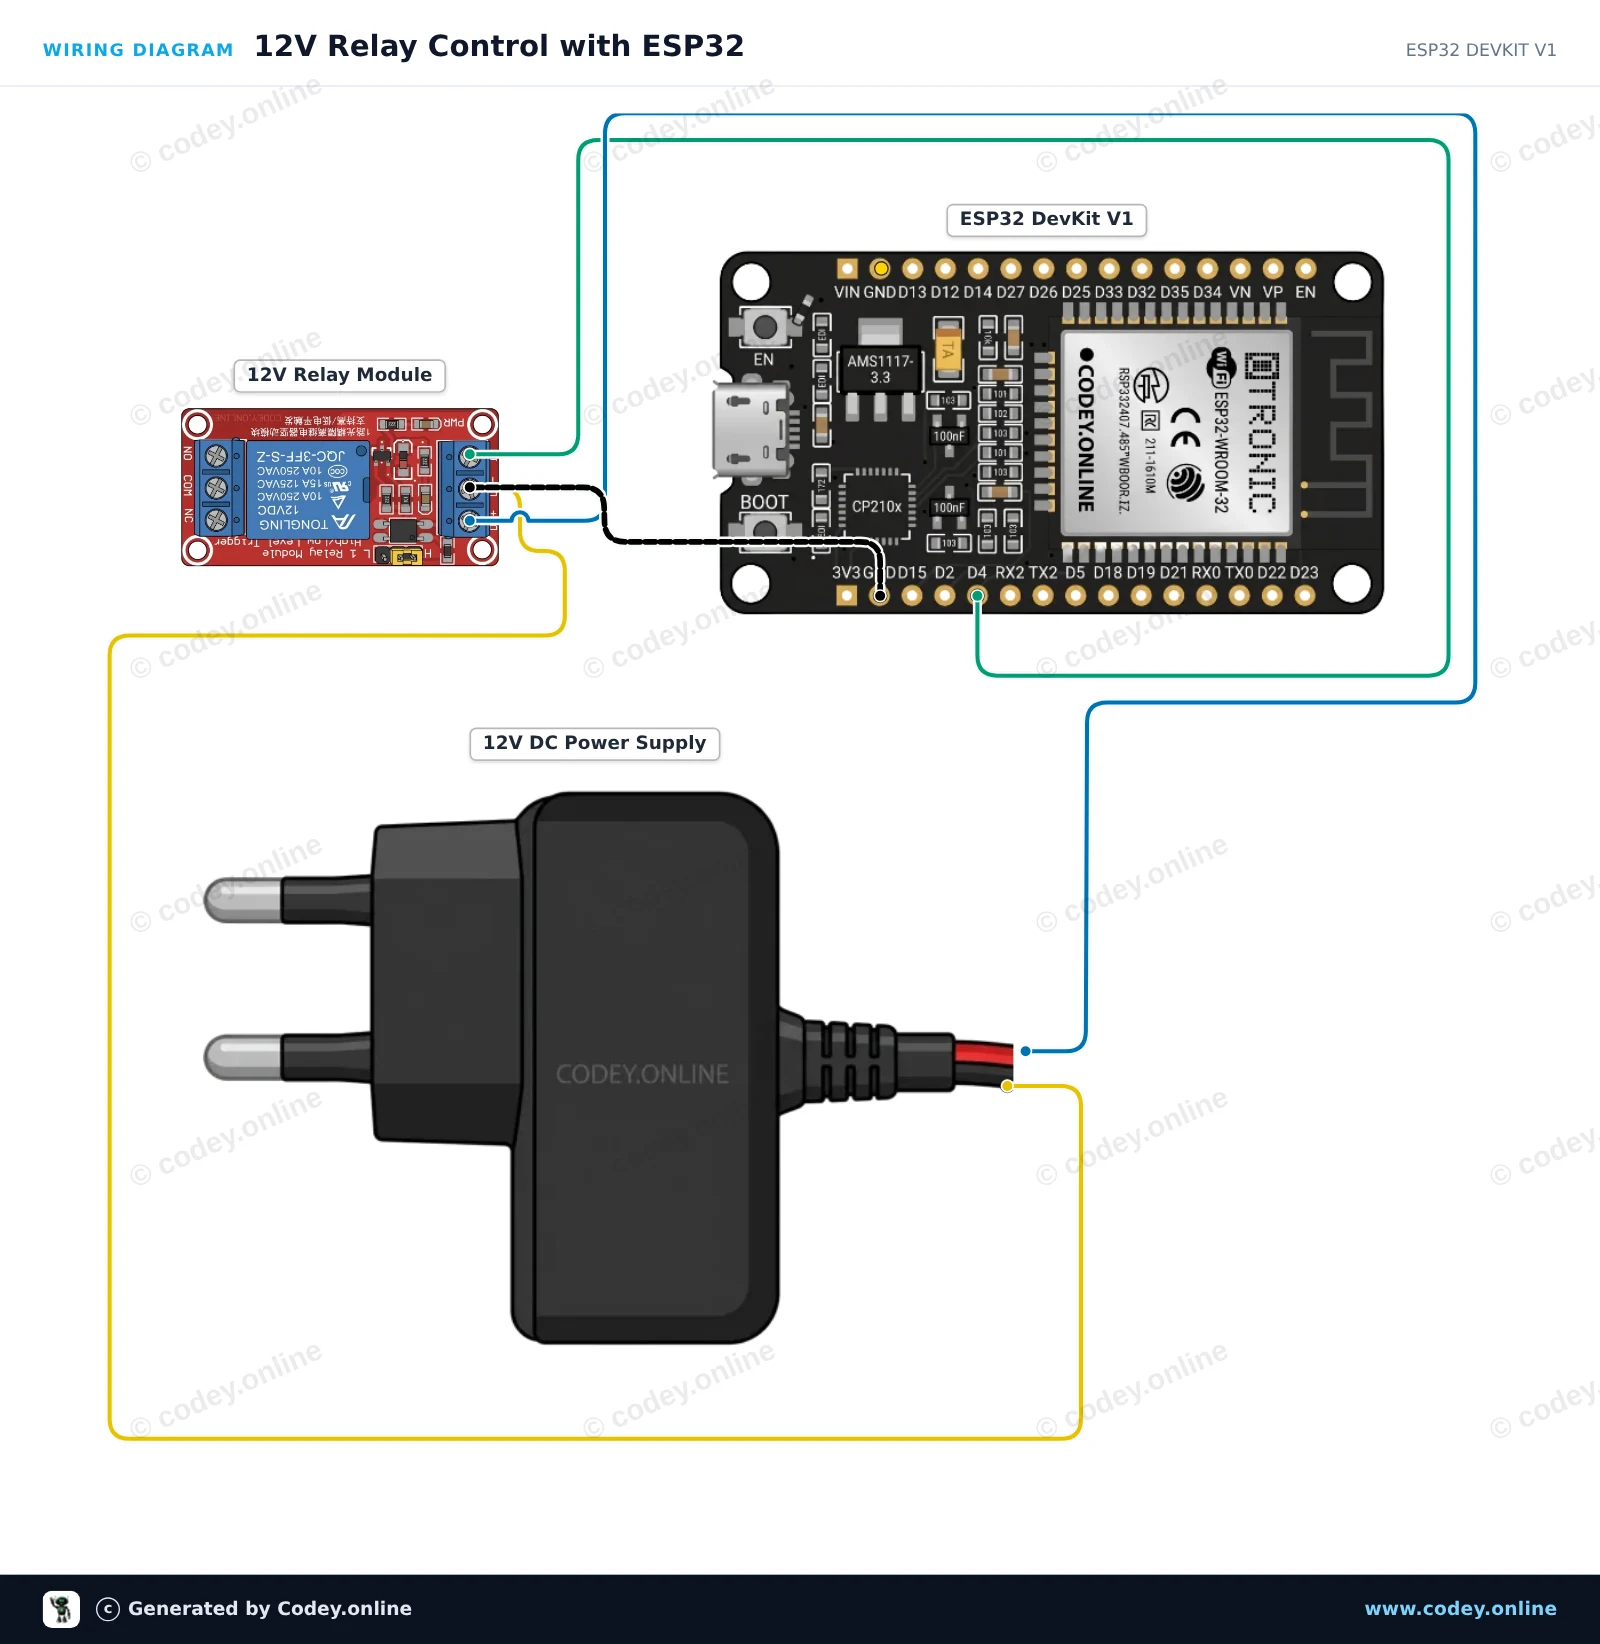
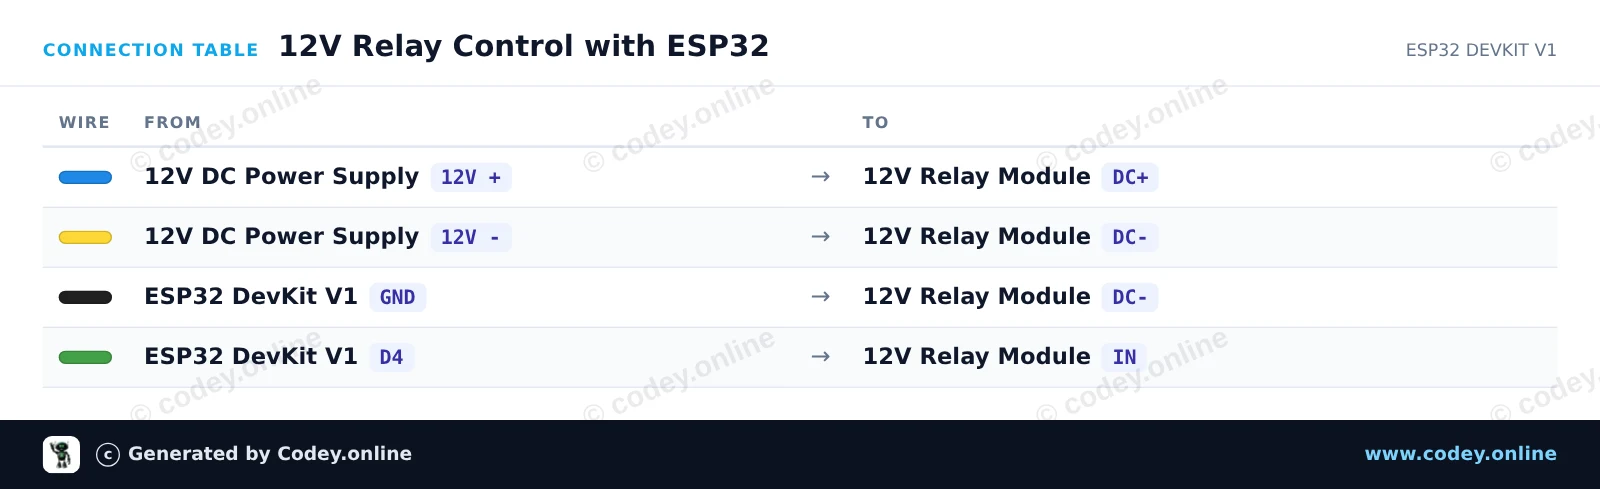
Dieses Projekt zeigt, wie ein 12V-Einkanal-Relaismodul mit einem ESP32 gesteuert wird. Die Relaisspule wird über ein externes 12V-DC-Netzteil mit gemeinsamem Masseanschluss zum ESP32 versorgt, und GPIO 4 schaltet das Relais alle zwei Sekunden ein und aus.
/*
* ==================================================================
* Generated by Codey.online — https://www.codey.online
* ==================================================================
* Project : 12V Relay Control with ESP32
* Board : ESP32 DEVKIT V1 (esp32:esp32:esp32doit-devkit-v1)
* Parts : Relais Module 12v AC250V 10A Relais 12v 1 relais LED indicator
* Libraries : none (built-in)
*
* Codey Online is an AI-powered browser IDE for Arduino and ESP32.
* Describe your project and Codey writes the code, draws the wiring
* diagram and uploads it to your board, straight from the browser.
* This code is free to use, modify and share, without warranty.
* ==================================================================
*/
// Pin connected to relay control input
const int RELAY_PIN = 4;
void setup() {
Serial.begin(115200);
// Configure relay pin as output
pinMode(RELAY_PIN, OUTPUT);
digitalWrite(RELAY_PIN, LOW);
Serial.println("ESP32 12V Relay Demo Started");
}
void loop() {
// Turn relay ON
Serial.println("Relay ON");
digitalWrite(RELAY_PIN, HIGH);
delay(2000);
// Turn relay OFF
Serial.println("Relay OFF");
digitalWrite(RELAY_PIN, LOW);
delay(2000);
}
Wiring diagram and example code generated by Codey.online — https://www.codey.online
Suchbegriffe: 12v relais, relais 12v, relay 12v, 12v relay
Abmessungen
Länge: 5,1cm
Breite: 2,54cm
Höhe: 1,9cm
| Breite | 2,54 cm |
|---|---|
| Länge | 5,1 cm |
| Höhe | 1,9 cm |
| Hohe Belastung möglich | AC250V 10A |
Gutes Produkt zu einem fairen Preis
Tut, was es soll
Gutes Produkt, bei dem man die Anschlüsse selbst durch Messen und so herausfinden muss. Das sollte besser sein
Nicht zufrieden? Du hast 30 Tage nach Erhalt Zeit, das Produkt zurückzusenden.
Alles zur Rücksendung
Relaismodul 12v