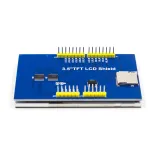
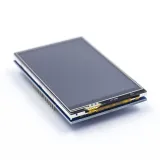
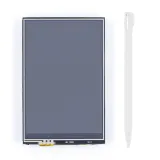
SKU: OT2372-B14 Artikelnummer: AA299 EAN: 8718486678140

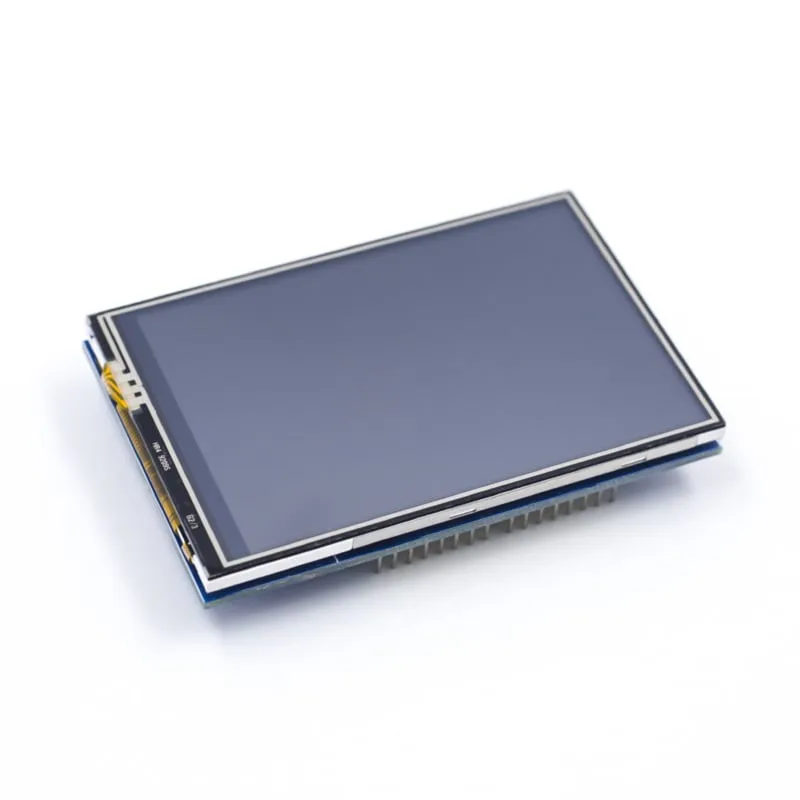
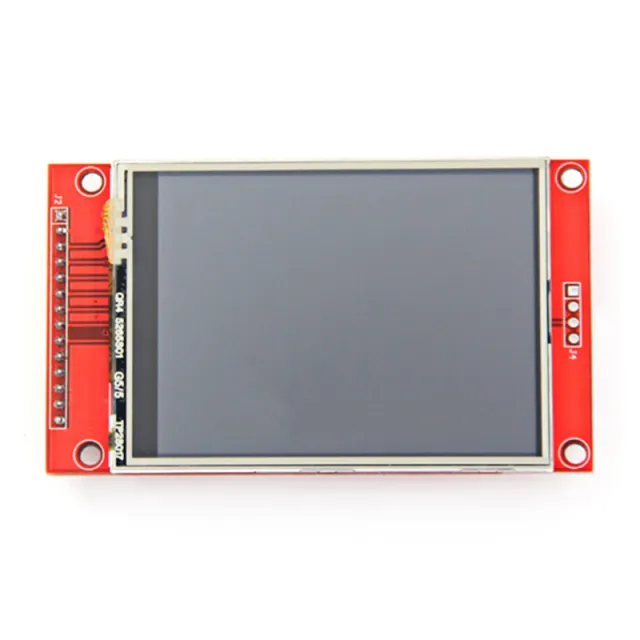
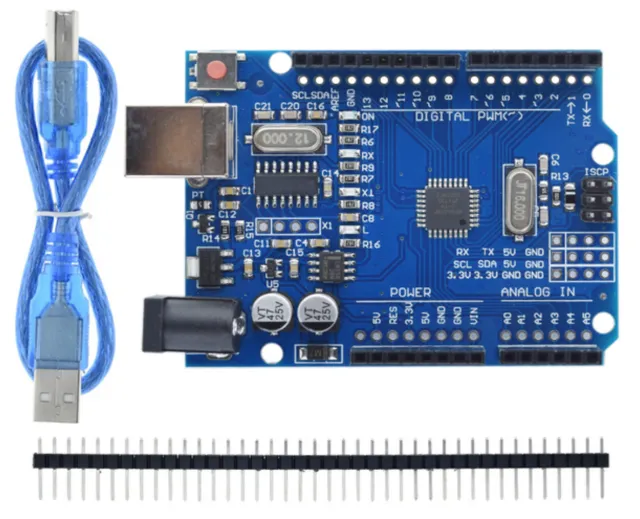
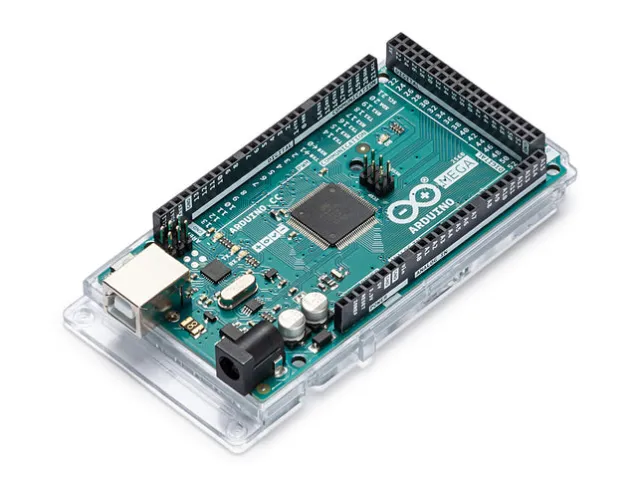
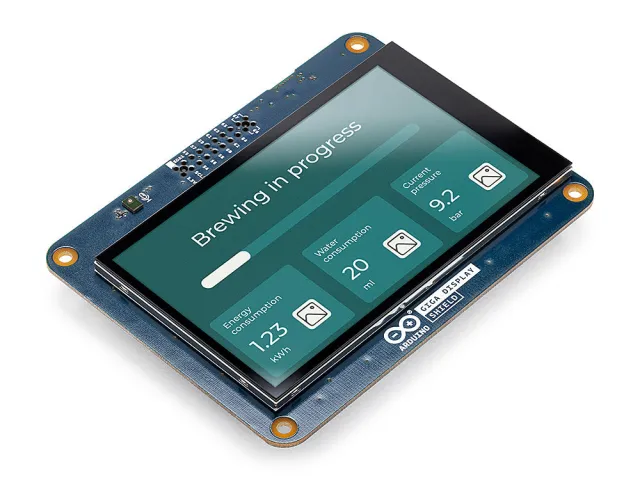
Dieses 3,5 inch Touchscreen-Shield kann direkt an den Arduino UNO und Arduino Mega 2560 angeschlossen werden und arbeitet auf Basis der ili9486 library.
Auflösung: 480x320
Touchscreen: Ja
MicrosSD-Kartenleser: Ja
Laden Sie die Beispiel-Sketches herunter, um direkt mit diesem TFT-Touchscreen-Shield auf Ihrem UNO oder MEGA loszulegen.
Beispiel-Sketches und Libraries für Arduino herunterladen
Afmetingen
Lengte: 8,5cm
Breedte: 5,5cm
Hoogte: 0,7cm
Beim Abspielen wird das Video von YouTube geladen.
So schließt du den 3.5 inch Touchscreen TFT Shield für Arduino UNO und Mega an einen Arduino UNO oder ESP32 an, mit einem Beispiel-Sketch, den du direkt hochladen kannst.
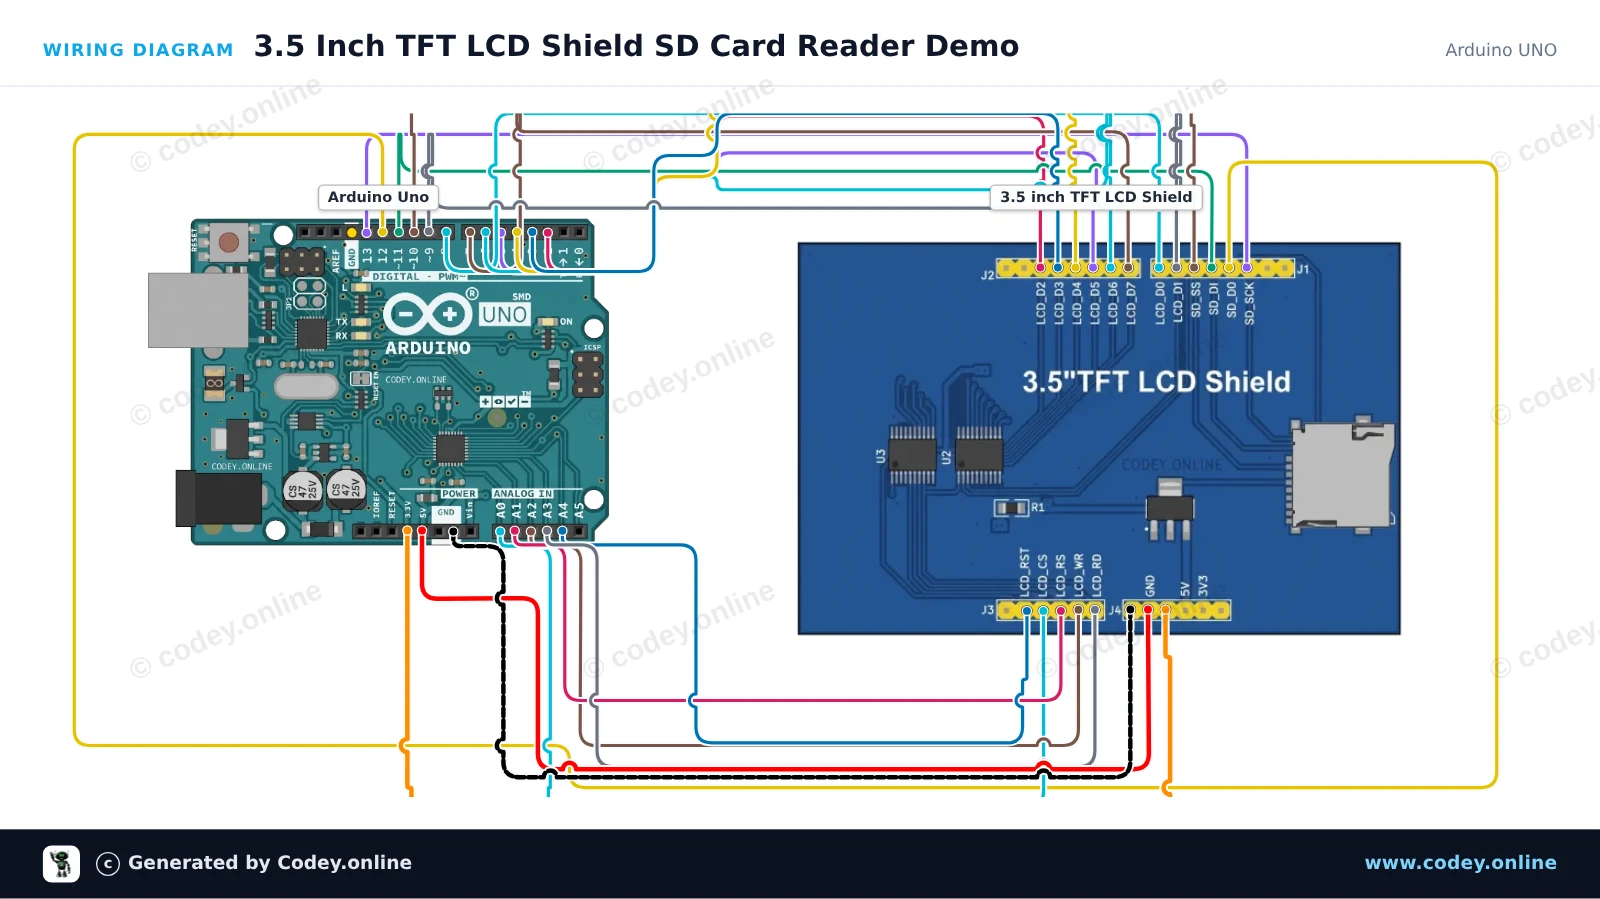
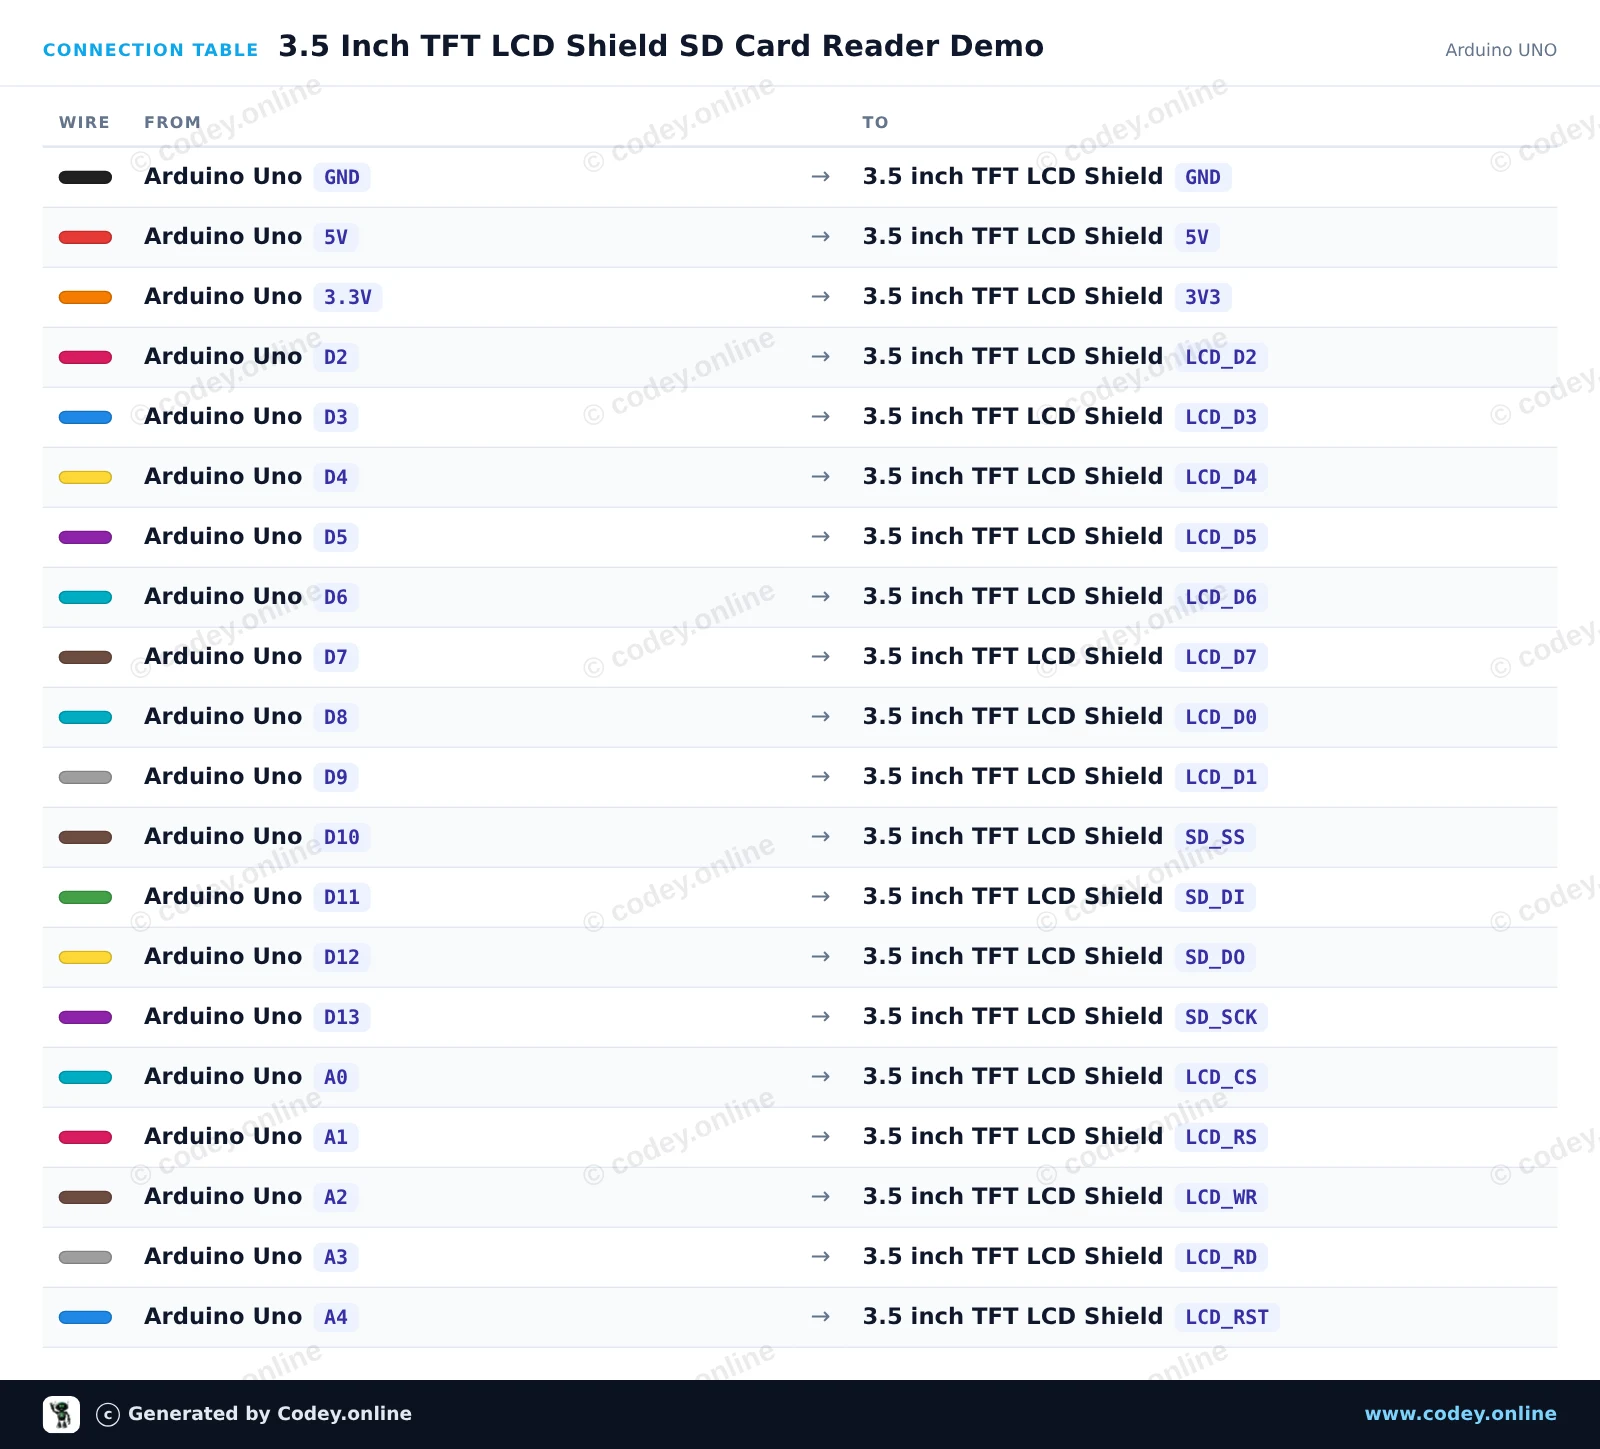
Dieses Projekt demonstriert die integrierte MicroSD-Karten-Schnittstelle des 3.5-inch TFT LCD Shield, das direkt auf einem Arduino Uno montiert ist. Der Sketch initialisiert die SD-Karte über SPI (mit CS pin 10), schreibt eine protokollierte Datei mit Zeitstempel und liest den Inhalt anschließend mit 115200 baud im Serial Monitor zurück.
/*
 * ==================================================================
 *  Generated by Codey.online  —  https://www.codey.online
 * ==================================================================
 *  Project   : 3.5 Inch TFT LCD Shield SD Card Reader Demo
 *  Board     : Arduino UNO (arduino:avr:uno)
 *  Parts     : 3.5 inch TFT LCD Shield
 *  Libraries : none (built-in)
 *
 *  Codey Online is an AI-powered browser IDE for Arduino and ESP32.
 *  Describe your project and Codey writes the code, draws the wiring
 *  diagram and uploads it to your board, straight from the browser.
 *  This code is free to use, modify and share, without warranty.
 * ==================================================================
 */

#include <SPI.h>
#include <SD.h>

const int chipSelect = 10;

void setup() {
  Serial.begin(115200);
  while (!Serial) {
    ; // Wait for serial port to connect
  }

  Serial.println(F("--- 3.5\" TFT Shield SD Card Demo ---"));
  Serial.print(F("Initializing SD card on pin 10..."));

  if (!SD.begin(chipSelect)) {
    Serial.println(F(" FAILED!"));
    Serial.println(F("Please check that a FAT16/FAT32 formatted microSD card is inserted."));
    return;
  }
  Serial.println(F(" OK!"));

  // Write sample data to test.txt
  File myFile = SD.open("test.txt", FILE_WRITE);
  if (myFile) {
    Serial.println(F("Writing to test.txt..."));
    myFile.println(F("Hello from Arduino Uno and 3.5 inch TFT Shield!"));
    myFile.println(F("MicroSD storage test successful."));
    myFile.close();
    Serial.println(F("Done writing."));
  } else {
    Serial.println(F("Error opening test.txt for writing."));
  }

  // Read back the data
  myFile = SD.open("test.txt");
  if (myFile) {
    Serial.println(F("--- File contents:"));
    while (myFile.available()) {
      Serial.write(myFile.read());
    }
    myFile.close();
    Serial.println(F("--- End of file"));
  } else {
    Serial.println(F("Error opening test.txt for reading."));
  }
}

void loop() {
  // Nothing to do in loop
  delay(1000);
}Wiring diagram and example code generated by Codey.online — https://www.codey.online
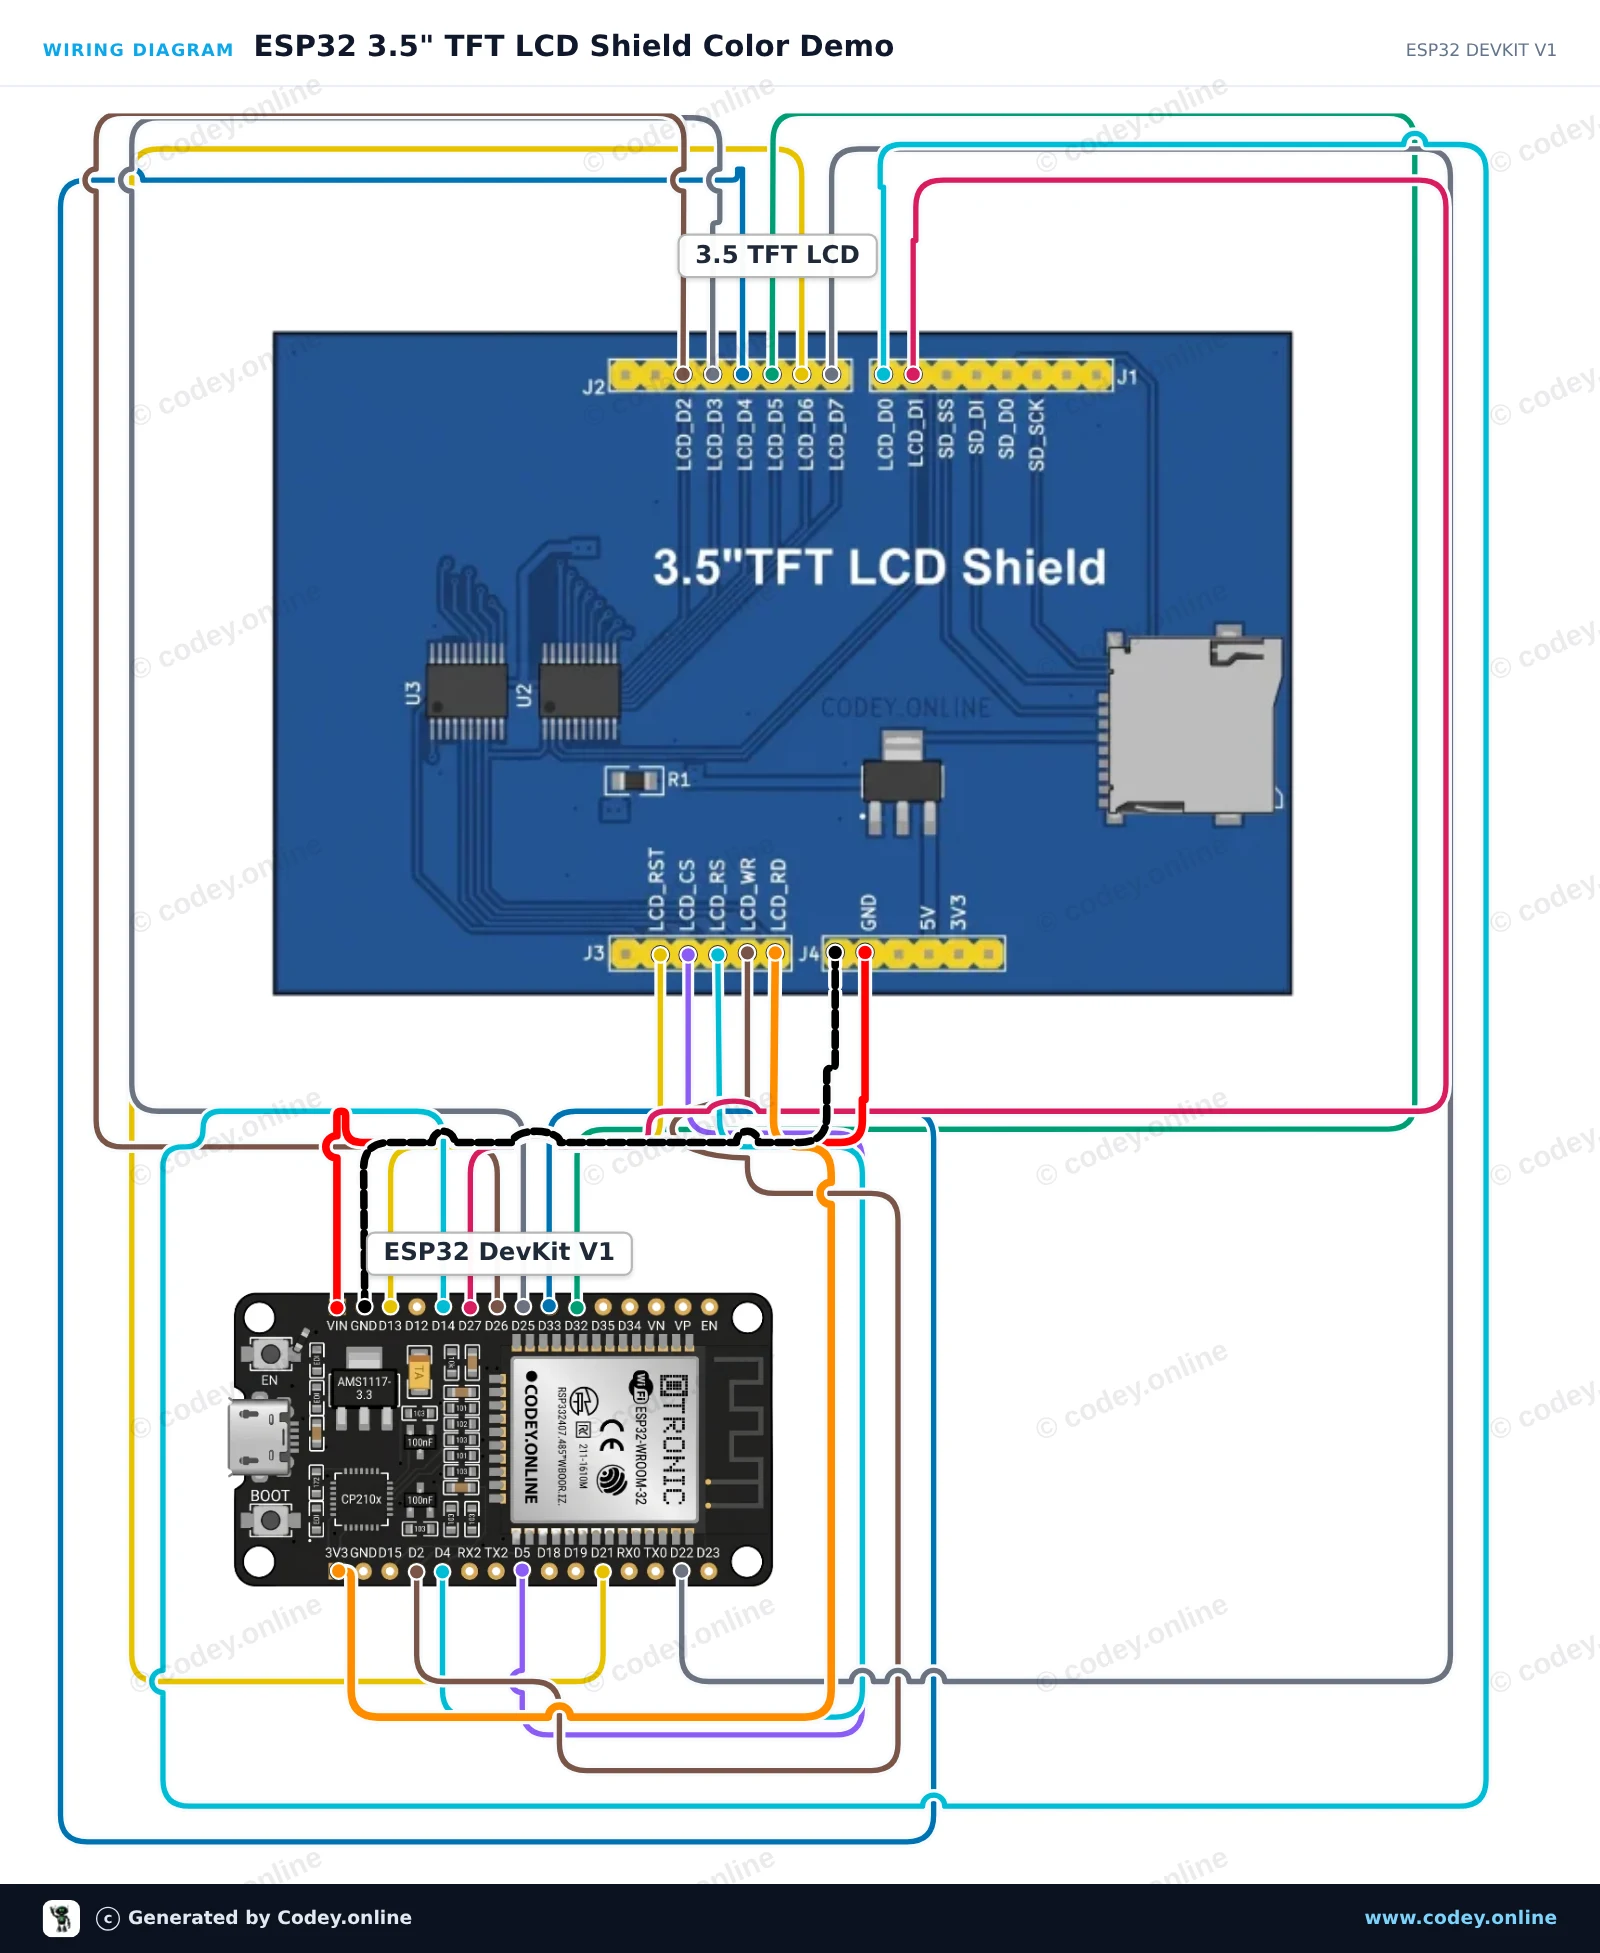
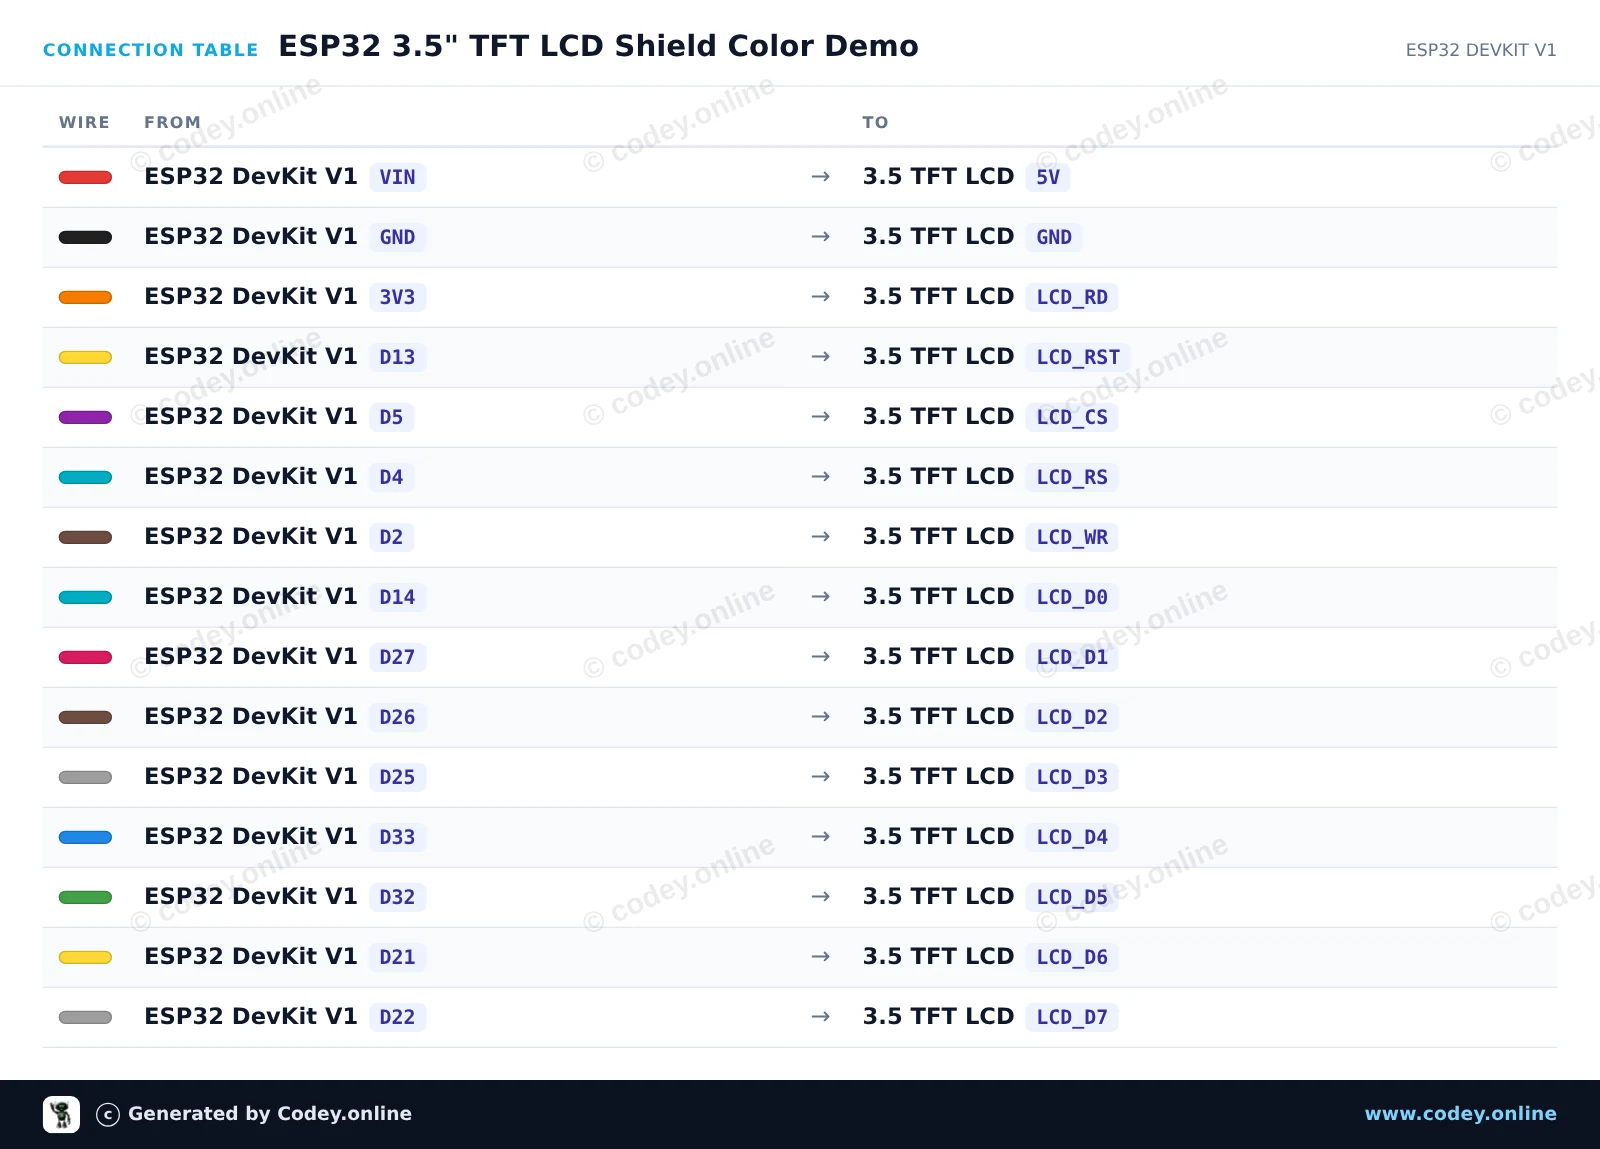
Dieses Projekt verbindet ein 3,5-Zoll-paralleles TFT-LCD-Shield mit dem ESP32 und wechselt durch Hintergrundfarben. Es nutzt direkte 8-Bit-parallele GPIO-Kommunikation, um das Display zurückzusetzen, zu initialisieren und Farbfelder auf den Bildschirm zu schreiben.
/*
 * ==================================================================
 *  Generated by Codey.online  —  https://www.codey.online
 * ==================================================================
 *  Project   : ESP32 3.5" TFT LCD Shield Color Demo
 *  Board     : ESP32 DEVKIT V1 (esp32:esp32:esp32doit-devkit-v1)
 *  Parts     : 3.5 inch TFT LCD Shield
 *  Libraries : none (built-in)
 *
 *  Codey Online is an AI-powered browser IDE for Arduino and ESP32.
 *  Describe your project and Codey writes the code, draws the wiring
 *  diagram and uploads it to your board, straight from the browser.
 *  This code is free to use, modify and share, without warranty.
 * ==================================================================
 */

// 3.5 inch TFT LCD 8-bit Parallel Demo for ESP32

const int PIN_RST = 13;
const int PIN_CS  = 5;
const int PIN_RS  = 4;
const int PIN_WR  = 2;

// 8-bit data bus pins D0 to D7
const int DATA_PINS[8] = {14, 27, 26, 25, 33, 32, 21, 22};

void writeBus(uint8_t val) {
  for (int i = 0; i < 8; i++) {
    digitalWrite(DATA_PINS[i], (val >> i) & 0x01);
  }
  digitalWrite(PIN_WR, LOW);
  digitalWrite(PIN_WR, HIGH);
}

void writeCommand(uint8_t cmd) {
  digitalWrite(PIN_RS, LOW);
  writeBus(cmd);
}

void writeData(uint8_t data) {
  digitalWrite(PIN_RS, HIGH);
  writeBus(data);
}

void setWindow(uint16_t x0, uint16_t y0, uint16_t x1, uint16_t y1) {
  writeCommand(0x2A); // Column addr
  writeData(x0 >> 8);
  writeData(x0 & 0xFF);
  writeData(x1 >> 8);
  writeData(x1 & 0xFF);

  writeCommand(0x2B); // Row addr
  writeData(y0 >> 8);
  writeData(y0 & 0xFF);
  writeData(y1 >> 8);
  writeData(y1 & 0xFF);

  writeCommand(0x2C); // Memory write
}

void fillScreen(uint16_t color) {
  setWindow(0, 0, 319, 479);
  digitalWrite(PIN_RS, HIGH);
  uint8_t hi = color >> 8;
  uint8_t lo = color & 0xFF;
  for (uint32_t i = 0; i < (320UL * 480UL); i++) {
    writeBus(hi);
    writeBus(lo);
  }
}

void initLCD() {
  digitalWrite(PIN_CS, LOW);
  digitalWrite(PIN_RST, HIGH);
  delay(10);
  digitalWrite(PIN_RST, LOW);
  delay(20);
  digitalWrite(PIN_RST, HIGH);
  delay(120);

  writeCommand(0x11); // Sleep OUT
  delay(120);
  writeCommand(0x3A); // Pixel format
  writeData(0x55);   // 16-bit color
  writeCommand(0x29); // Display ON
  delay(50);
}

void setup() {
  Serial.begin(115200);
  Serial.println("Starting 3.5-inch TFT LCD demo...");

  pinMode(PIN_RST, OUTPUT);
  pinMode(PIN_CS, OUTPUT);
  pinMode(PIN_RS, OUTPUT);
  pinMode(PIN_WR, OUTPUT);

  digitalWrite(PIN_CS, HIGH);
  digitalWrite(PIN_WR, HIGH);
  digitalWrite(PIN_RS, HIGH);

  for (int i = 0; i < 8; i++) {
    pinMode(DATA_PINS[i], OUTPUT);
  }

  initLCD();
  Serial.println("Display initialized!");
}

void loop() {
  Serial.println("Color: RED");
  fillScreen(0xF800);
  delay(1000);

  Serial.println("Color: GREEN");
  fillScreen(0x07E0);
  delay(1000);

  Serial.println("Color: BLUE");
  fillScreen(0x001F);
  delay(1000);

  Serial.println("Color: WHITE");
  fillScreen(0xFFFF);
  delay(1000);
}Wiring diagram and example code generated by Codey.online — https://www.codey.online





 English
  Nederlands
  Frans
Frans  Italiano
  Español
  Suomi
Suomi  Polski
  Dansk
Dansk  Ελληνικά
  Български
  Čeština
  Hrvatski
  Aileen