SKU: OT3499 Artikelnummer: AA431 EAN: 8720618489661

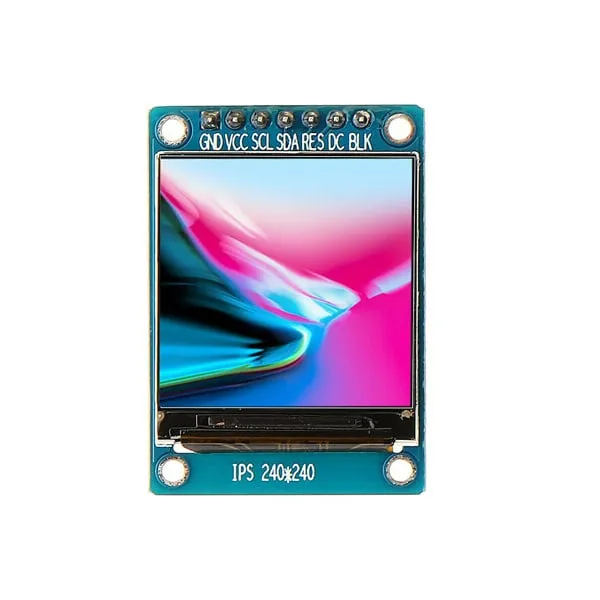
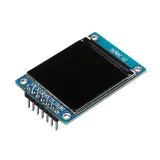
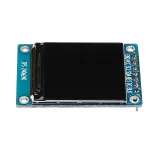
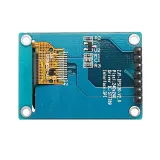
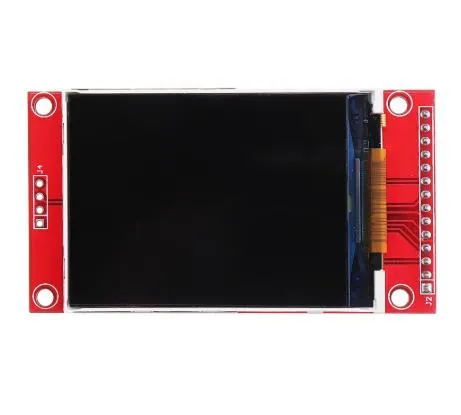
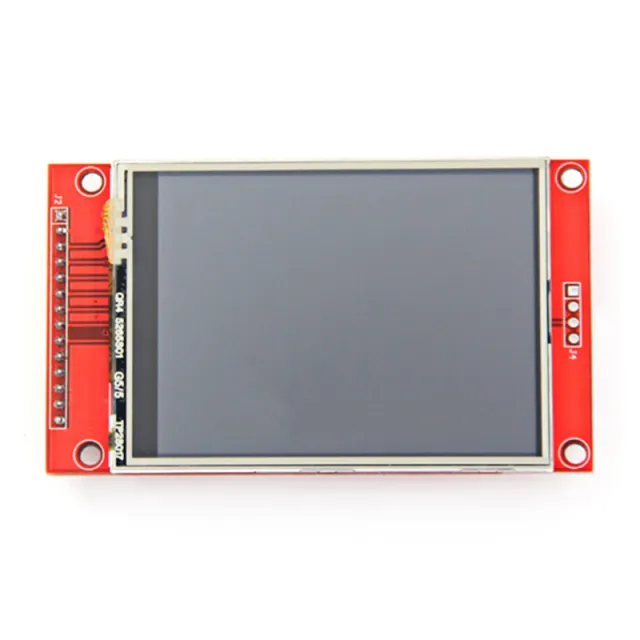
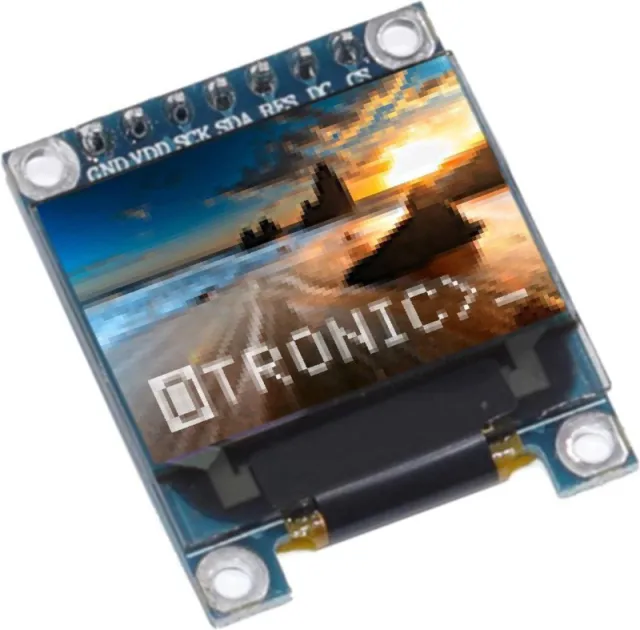
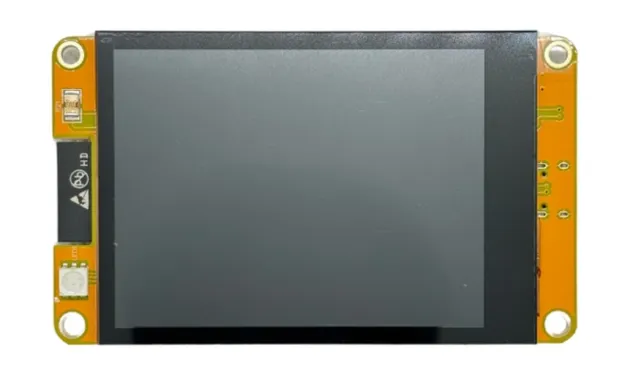
Ein kleiner Bildschirm mit 1,3" Diagonale. Mit der hohen Pixeldichte von 260 ppi ist dies ein fantastisches 240x240-Pixel-Display mit Ablesbarkeit aus allen Blickwinkeln.
Displays dieser Klasse werden auch für Smartwatches und kleine elektronische Geräte verwendet.
Verfügt über einen ST7789-Displaytreiber, der mit allen Mikrocontrollern und Mikrocomputern funktioniert.
Dies ist der beste Weg, um einem beliebigen Projekt einen kleinen, farbenfrohen und sehr hellen Bildschirm hinzuzufügen. Es verwendet 4-Draht-SPI zur Kommunikation.
Mit seinem eigenen pixeladressierbaren Framebuffer kann es sogar mit sehr kleinen Mikrocontrollern mit wenig Speicher oder verfügbaren Pins verwendet werden.
Der Bildschirm hat 240x240 16-Bit-Full-Color-Pixel und ist IPS, sodass die Farben bis zu 80 Grad von jeder Achse in jede Richtung hervorragend aussehen. Der TFT-Treiber (ST7789) ähnelt stark dem beliebten ST7735 und wird von mehreren Arduino-Bibliotheken gut unterstützt.
Adafruit hat zum Beispiel eine vollständige Open-Source-Grafikbibliothek geschrieben, die in Kombination mit der Adafruit GFX Library Pixel, Linien, Rechtecke, Kreise, Text und Bitmaps zeichnen kann. (siehe diese Seite, um loszulegen) Außerdem gibt es auch Beispielcode. Dieser Code wurde für Arduino geschrieben, kann aber leicht an Ihren bevorzugten Mikrocontroller angepasst werden.
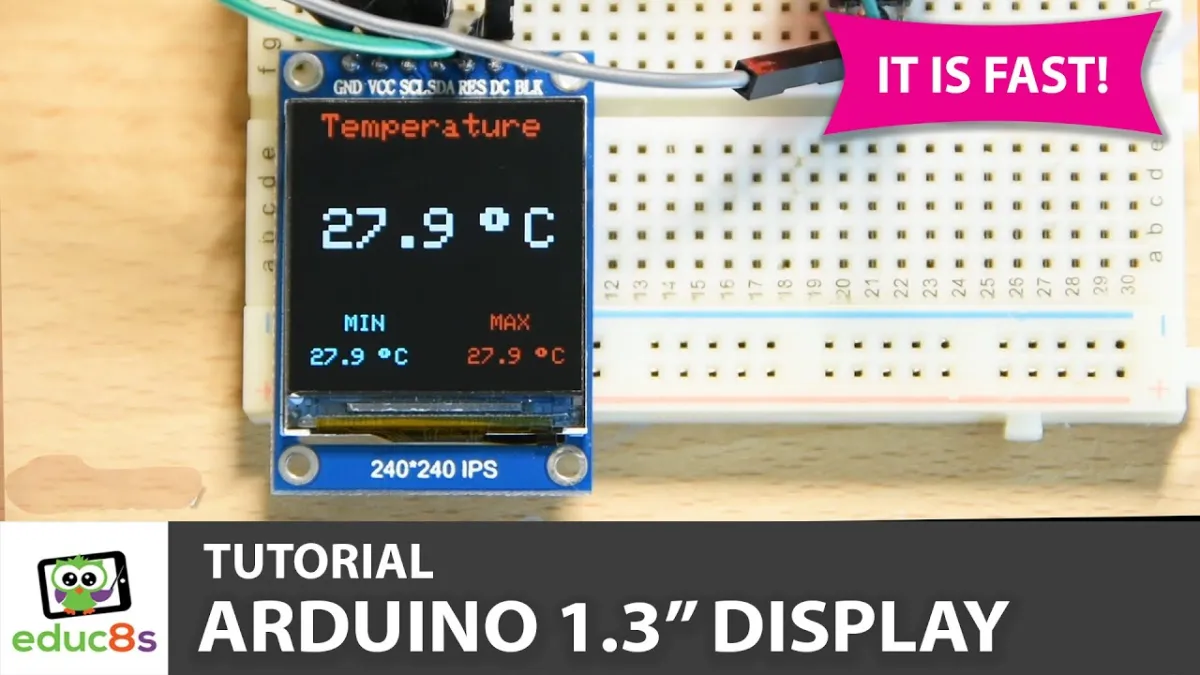
Beim Abspielen wird das Video von YouTube geladen.
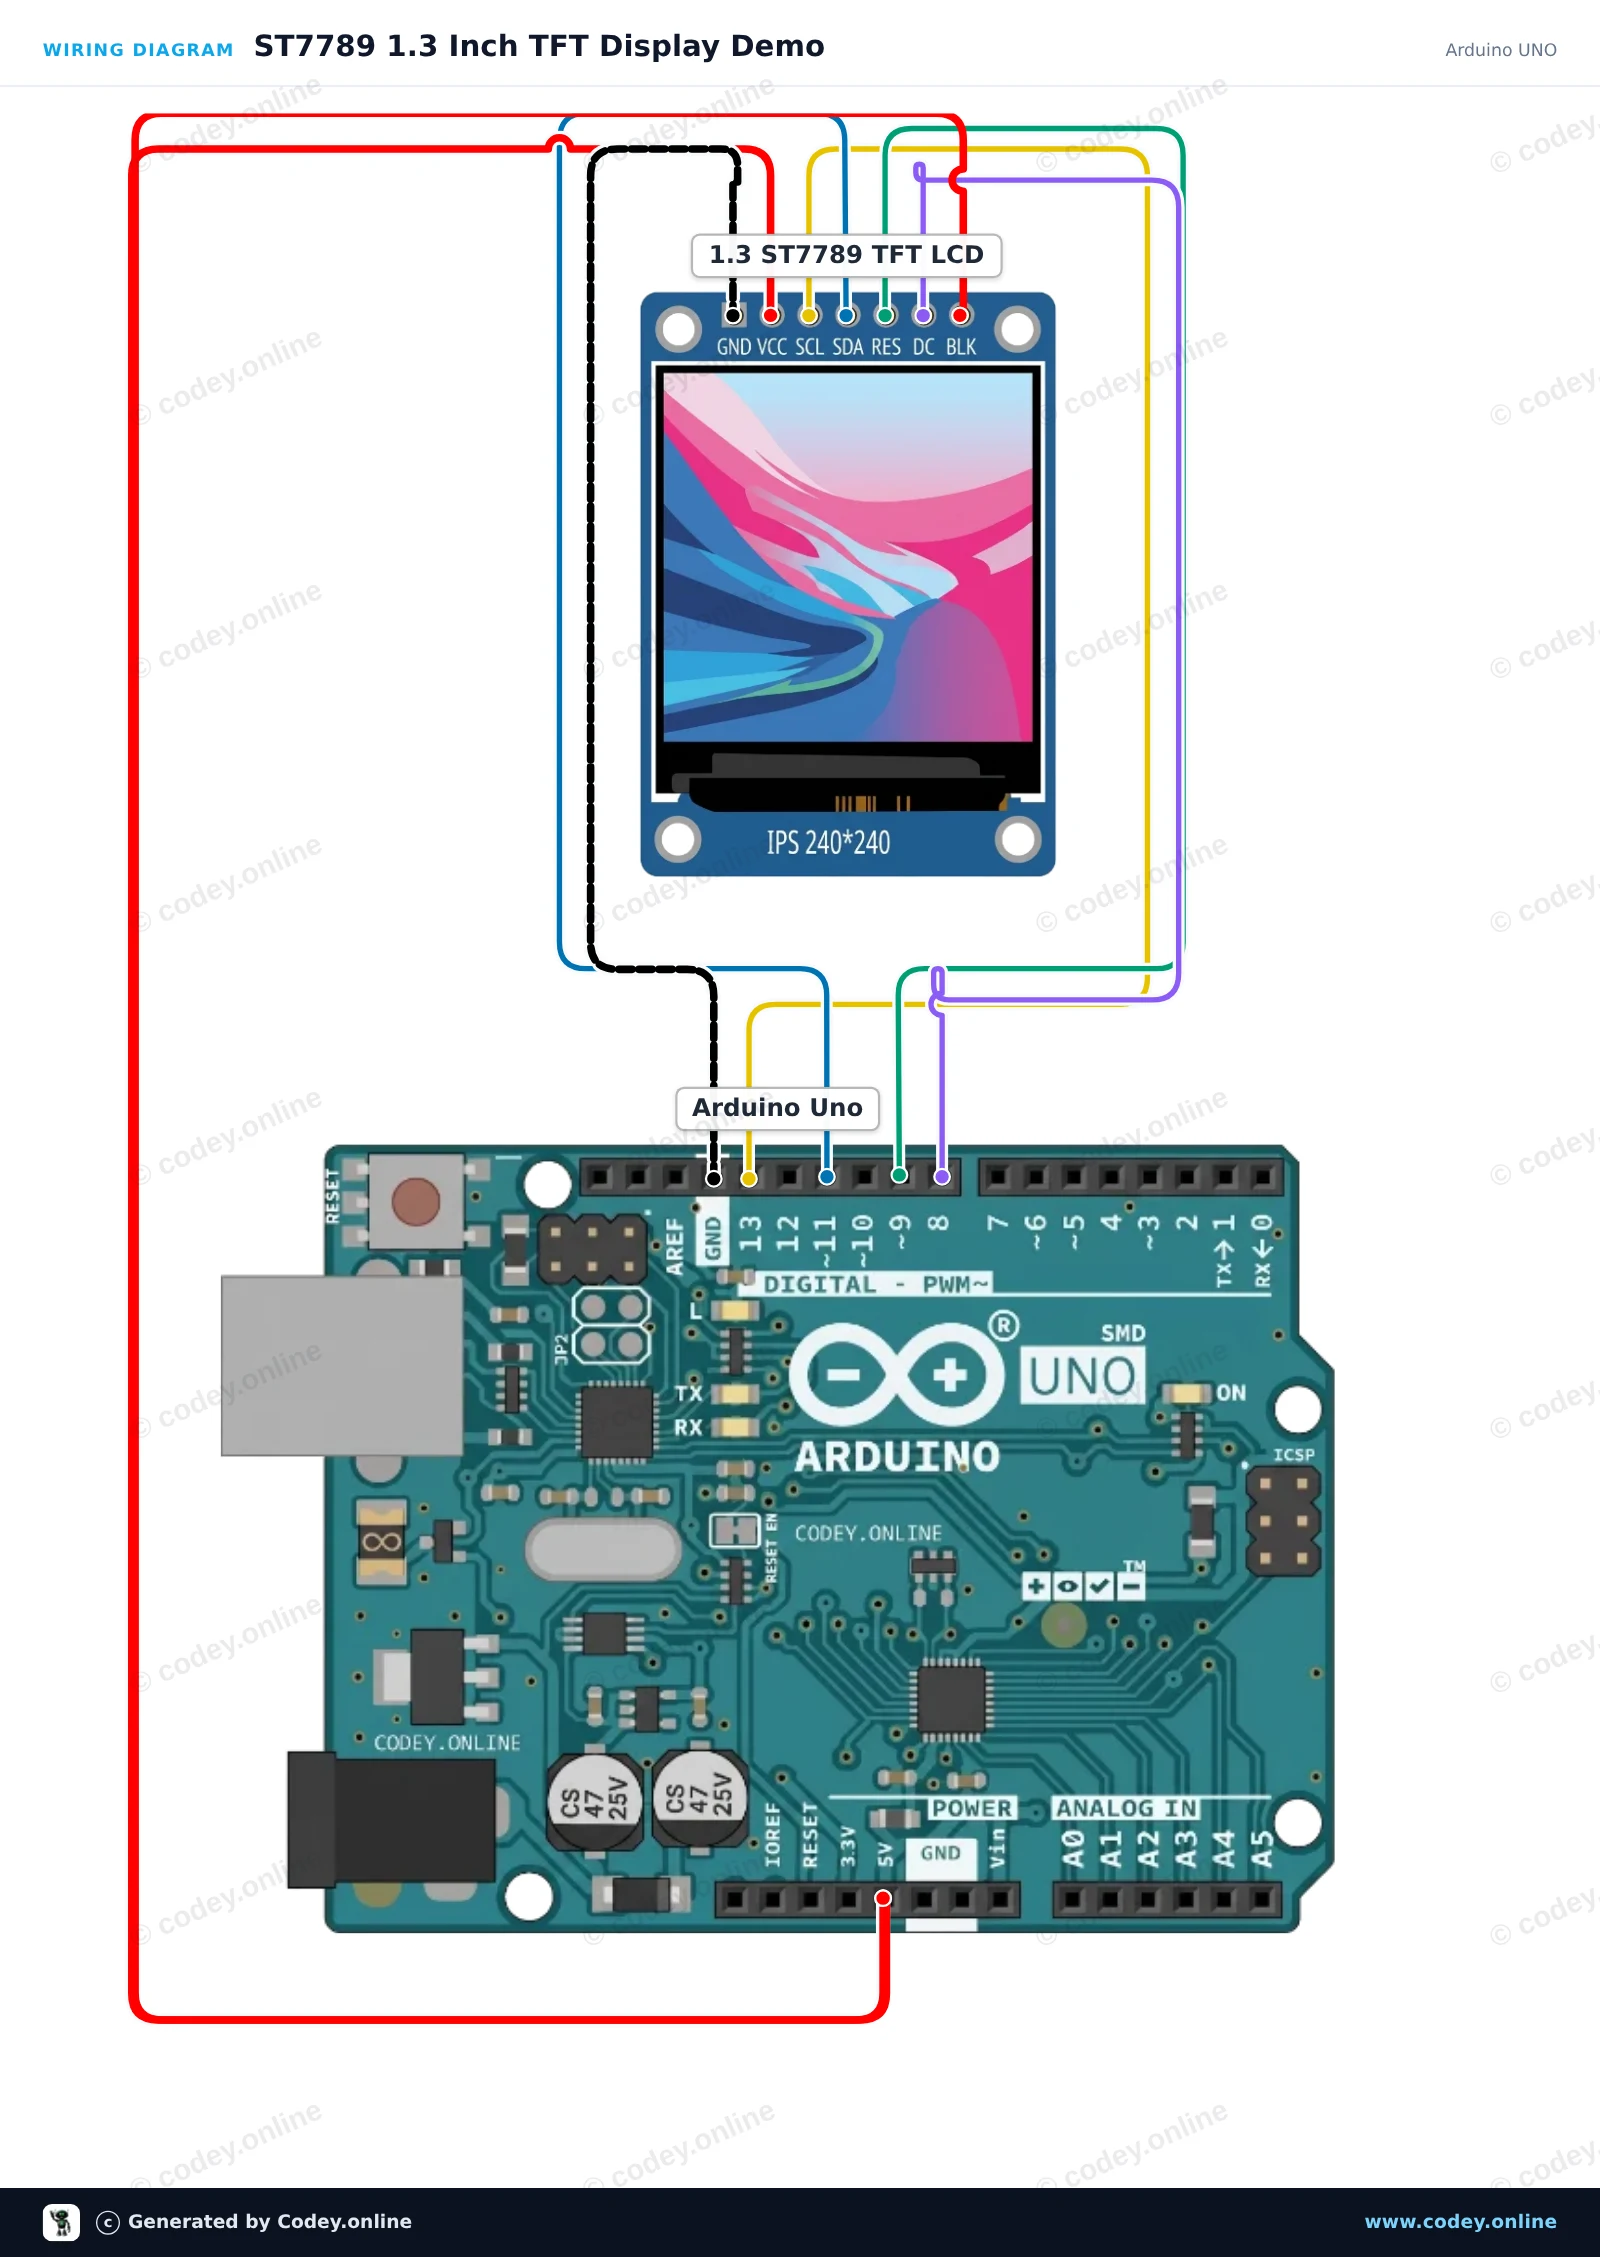
So schließt du den 1.3inch SPI TFT LCD Display RGB (ST7789, 3.3V) an einen Arduino UNO oder ESP32 an, mit einem Beispiel-Sketch, den du direkt hochladen kannst.
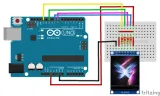
Dieses Projekt initialisiert ein 1.3-inch 240x240 ST7789 SPI TFT Display mit einem Arduino Uno. Der Sketch zeichnet Begrüßungstext, Formen und farbige Grafiken, um die Möglichkeiten des Displays zu demonstrieren. Schließen Sie das Display direkt an die Arduino SPI-Pins an, wie gezeigt.
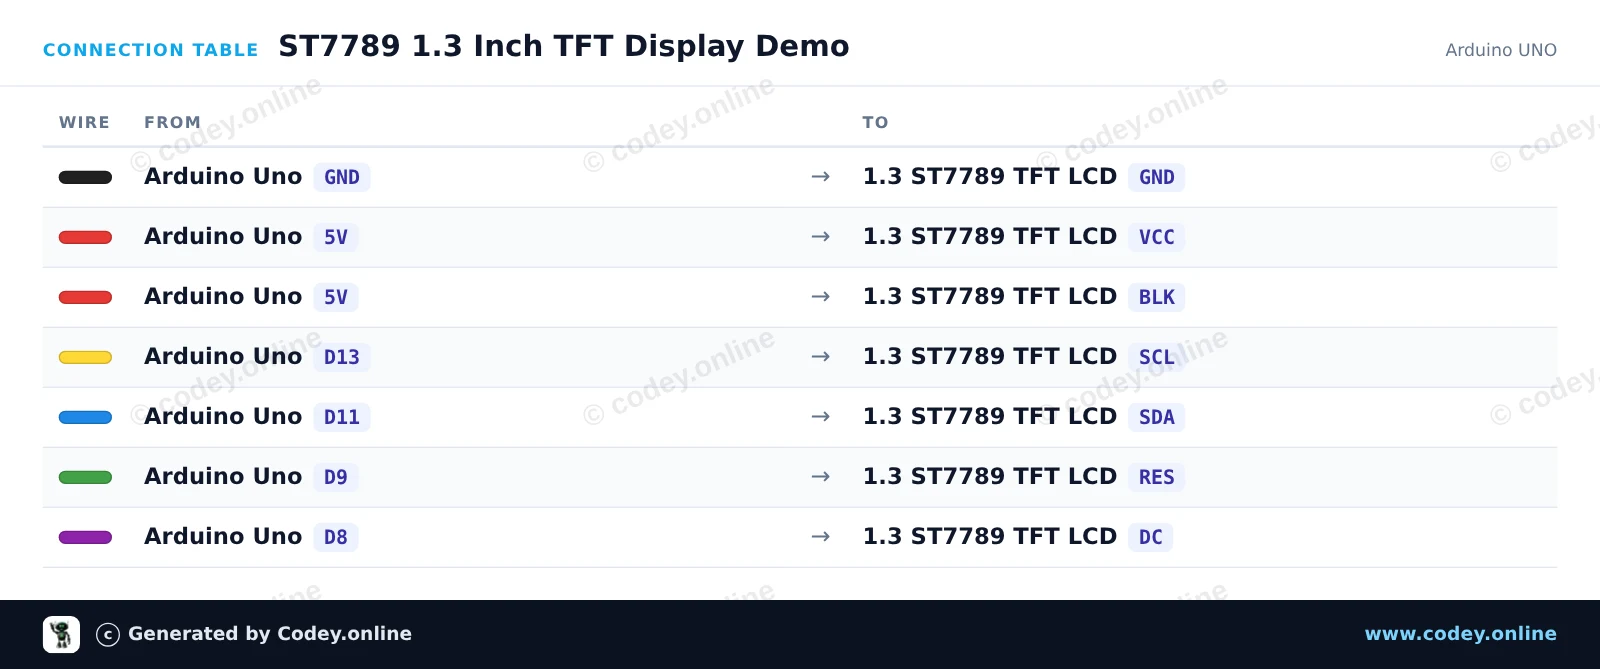
/*
 * ==================================================================
 *  Generated by Codey.online  —  https://www.codey.online
 * ==================================================================
 *  Project   : ST7789 1.3 Inch TFT Display Demo
 *  Board     : Arduino UNO (arduino:avr:uno)
 *  Parts     : LCD Display TFT 1.3inch ST7789
 *  Libraries : Adafruit ST7735 and ST7789 Library 1.11.0
 *
 *  Codey Online is an AI-powered browser IDE for Arduino and ESP32.
 *  Describe your project and Codey writes the code, draws the wiring
 *  diagram and uploads it to your board, straight from the browser.
 *  This code is free to use, modify and share, without warranty.
 * ==================================================================
 */

#include <Adafruit_ST7789.h>
#include <SPI.h>

#define TFT_CS   -1
#define TFT_DC    8
#define TFT_RST   9

Adafruit_ST7789 tft = Adafruit_ST7789(TFT_CS, TFT_DC, TFT_RST);

void setup() {
  Serial.begin(115200);
  Serial.println(F("ST7789 TFT Display Demo"));

  // Initialize 240x240 pixel ST7789 display
  tft.init(240, 240);
  tft.setRotation(0);
  tft.fillScreen(ST77XX_BLACK);

  // Draw greeting text
  tft.setTextWrap(false);
  tft.setTextSize(2);
  tft.setTextColor(ST77XX_WHITE);
  tft.setCursor(20, 20);
  tft.println(F("Hello!"));

  tft.setTextColor(ST77XX_CYAN);
  tft.setCursor(20, 50);
  tft.println(F("ST7789 1.3 TFT"));

  // Draw sample graphics
  tft.drawRect(10, 85, 220, 130, ST77XX_YELLOW);
  tft.fillCircle(60, 145, 25, ST77XX_RED);
  tft.fillTriangle(120, 185, 160, 115, 200, 185, ST77XX_GREEN);

  Serial.println(F("Display ready."));
}

void loop() {
  // Static demo
}Benötigte Bibliotheken: Adafruit ST7735 and ST7789 Library 1.11.0
Wiring diagram and example code generated by Codey.online — https://www.codey.online
Dieses Projekt initialisiert ein 1.3-inch 240x240 SPI-TFT-Display mit dem ST7789-Treiber. Es zeichnet Formen, zeigt Text an und aktualisiert jede Sekunde einen Live-Zähler auf dem Bildschirm.
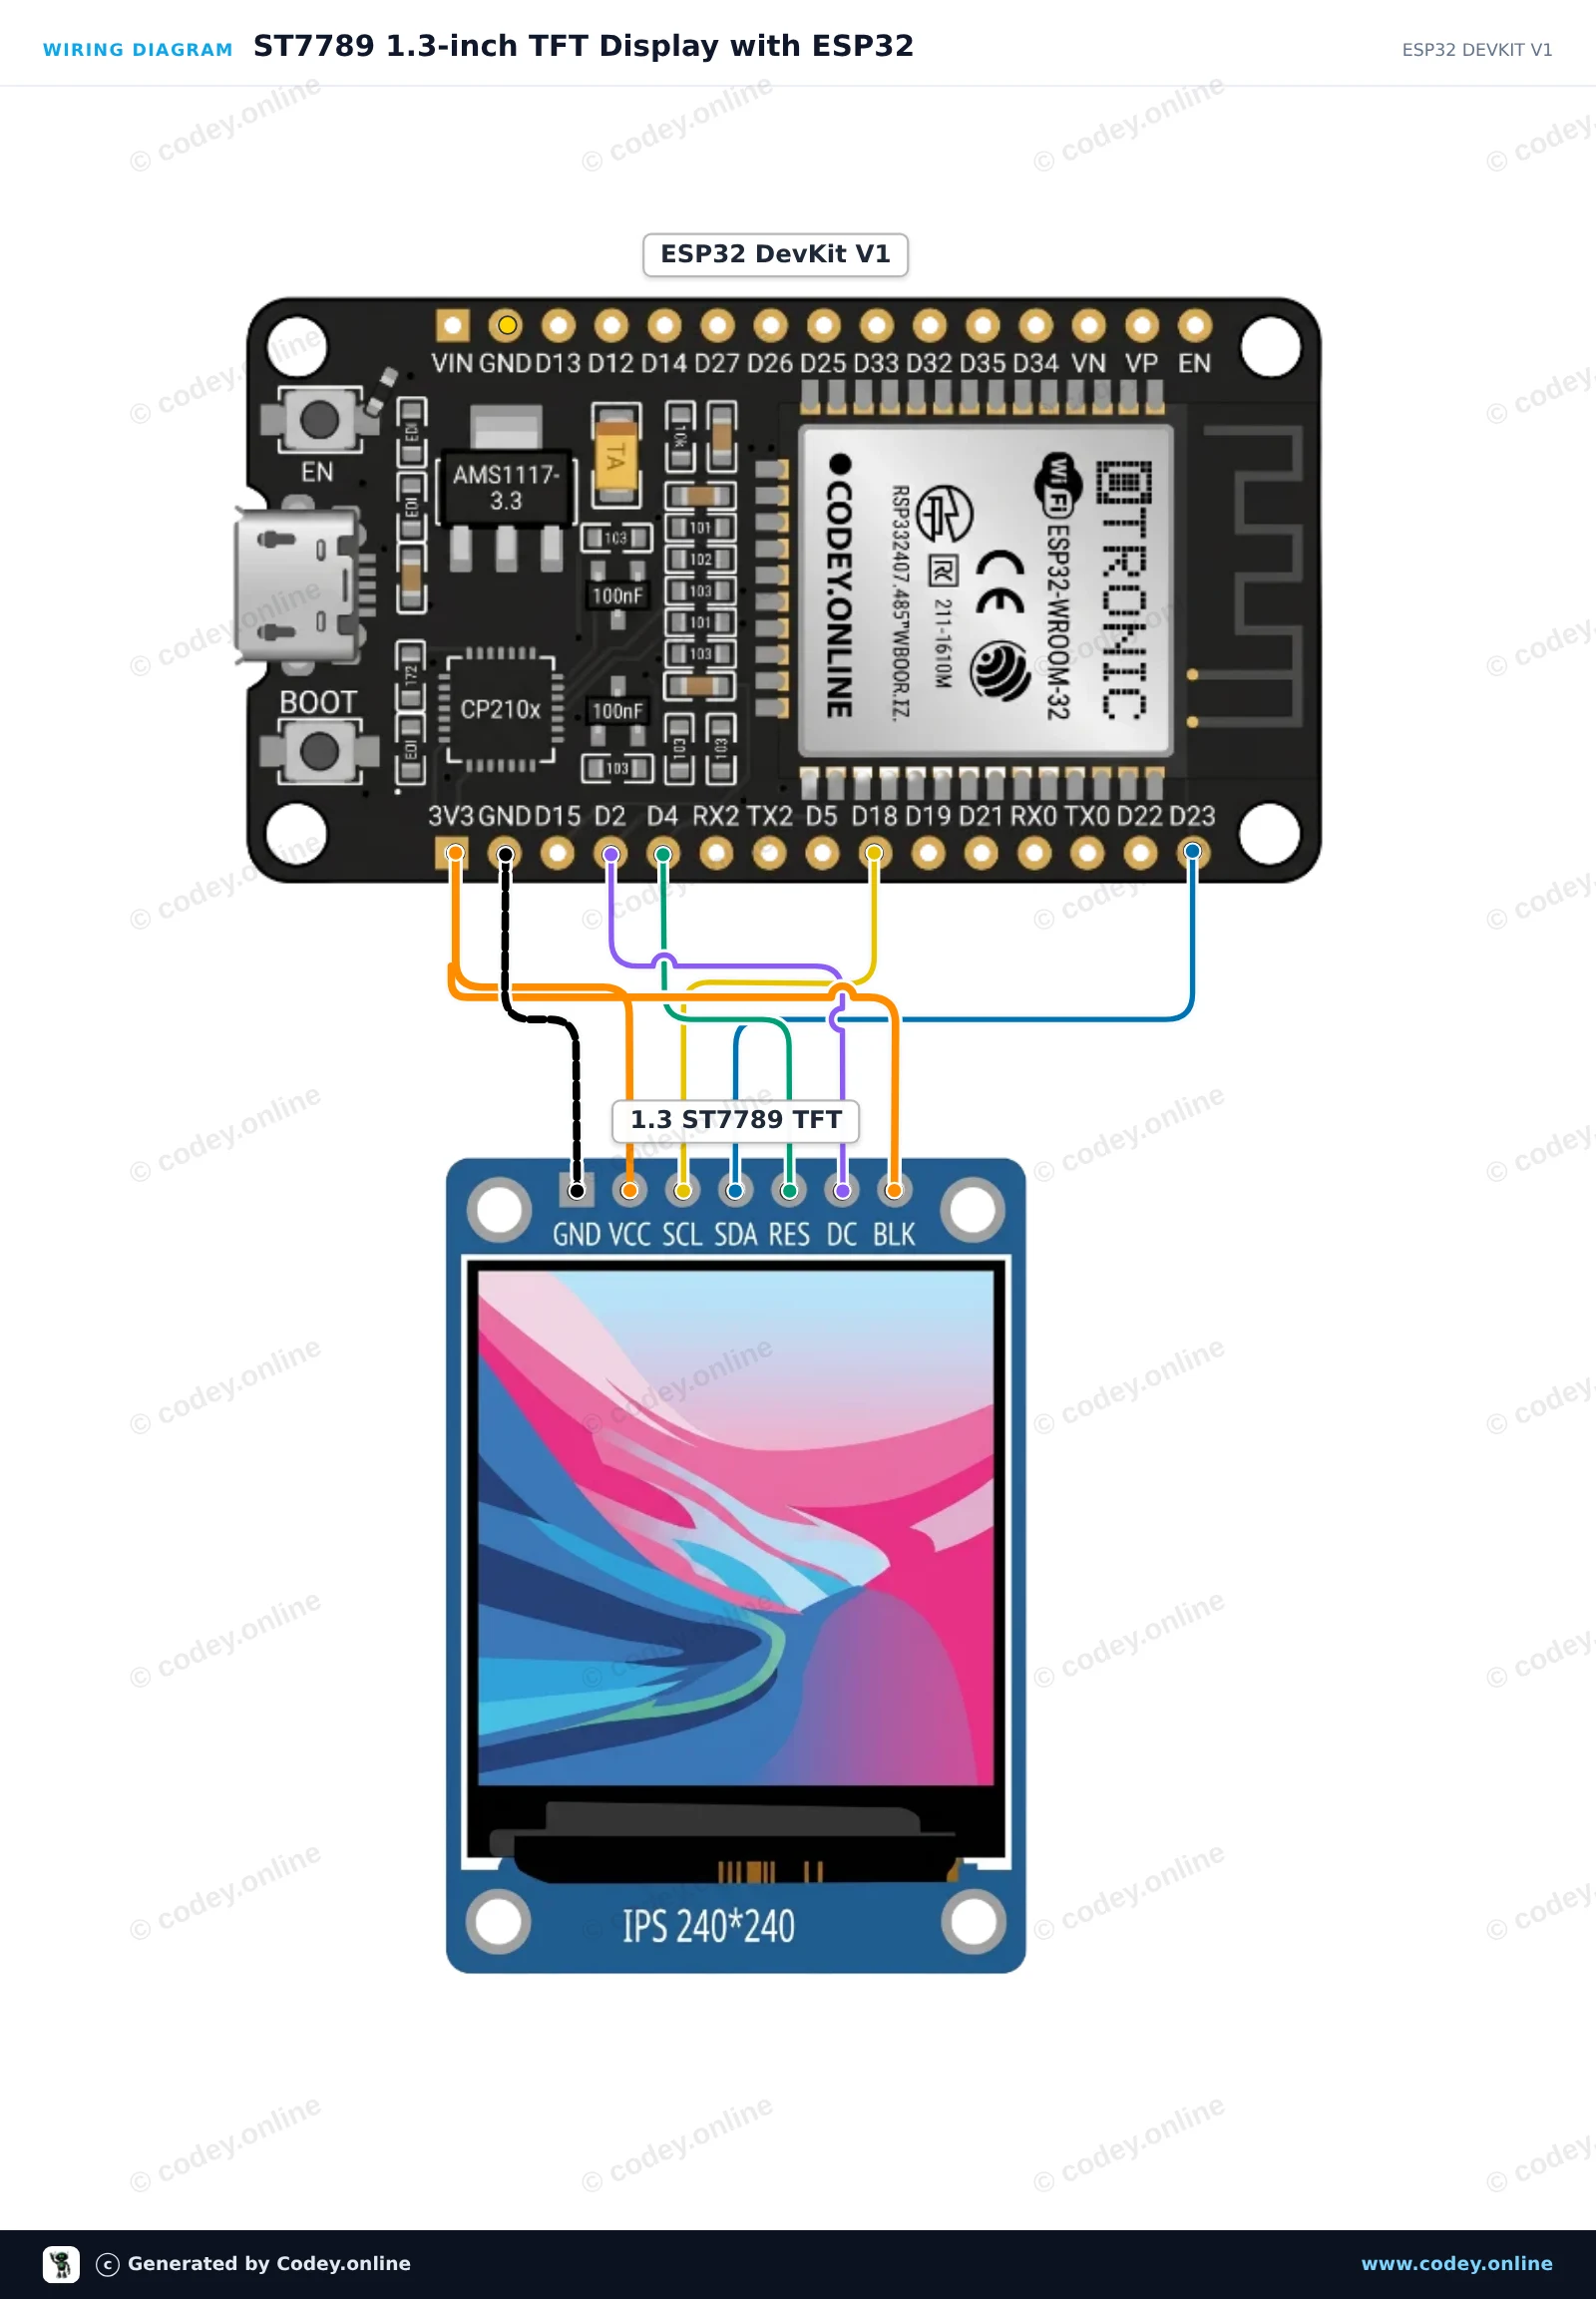
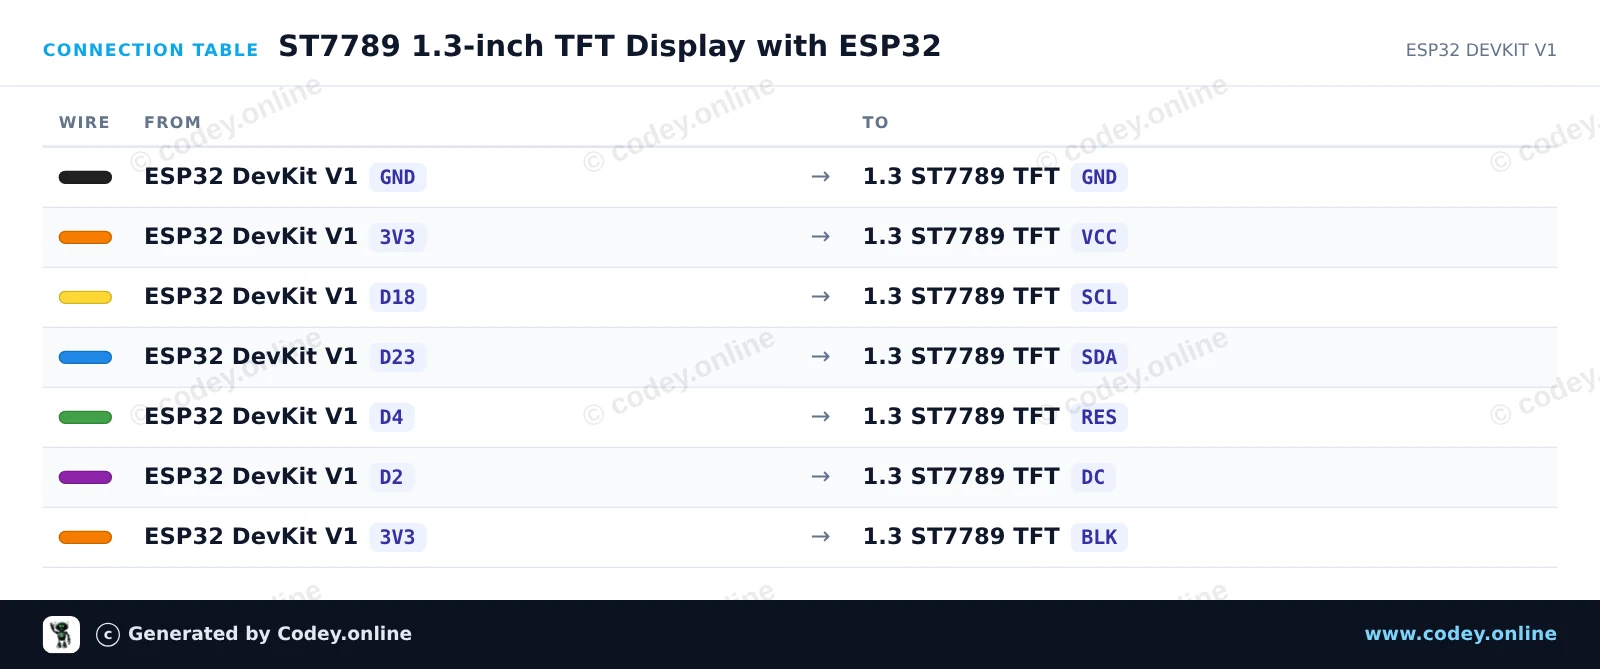
/*
 * ==================================================================
 *  Generated by Codey.online  —  https://www.codey.online
 * ==================================================================
 *  Project   : ST7789 1.3-inch TFT Display with ESP32
 *  Board     : ESP32 DEVKIT V1 (esp32:esp32:esp32doit-devkit-v1)
 *  Parts     : LCD Display TFT 1.3inch ST7789
 *  Libraries : Adafruit GFX Library 1.12.6, Adafruit ST7735 and ST7789 Library 1.11.0
 *
 *  Codey Online is an AI-powered browser IDE for Arduino and ESP32.
 *  Describe your project and Codey writes the code, draws the wiring
 *  diagram and uploads it to your board, straight from the browser.
 *  This code is free to use, modify and share, without warranty.
 * ==================================================================
 */

#include <Adafruit_GFX.h>
#include <Adafruit_ST7789.h>
#include <SPI.h>

#define TFT_DC    2
#define TFT_RST   4
#define TFT_CS   -1

Adafruit_ST7789 tft = Adafruit_ST7789(TFT_CS, TFT_DC, TFT_RST);

int counter = 0;

void setup() {
  Serial.begin(115200);

  // Initialize 240x240 ST7789 display
  tft.init(240, 240);
  tft.setRotation(2);
  tft.fillScreen(ST77XX_BLACK);

  // Draw frame and header
  tft.drawRect(10, 10, 220, 220, ST77XX_BLUE);
  tft.setTextColor(ST77XX_WHITE);
  tft.setTextSize(2);
  tft.setCursor(35, 30);
  tft.println("ESP32 ST7789");

  tft.fillCircle(120, 160, 35, ST77XX_RED);
}

void loop() {
  // Update counter area
  tft.fillRect(40, 80, 160, 30, ST77XX_BLACK);
  tft.setTextColor(ST77XX_GREEN);
  tft.setTextSize(2);
  tft.setCursor(45, 85);
  tft.printf("Count: %d", counter++);

  delay(1000);
}Benötigte Bibliotheken: Adafruit GFX Library 1.12.6, Adafruit ST7735 and ST7789 Library 1.11.0
Wiring diagram and example code generated by Codey.online — https://www.codey.online





 English
  Nederlands
  Frans
Frans  Italiano
  Español
  Suomi
Suomi  Polski
  Dansk
Dansk  Ελληνικά
  Български
  Čeština
  Hrvatski
  Aileen